
Name of Project: 3D Jellyfish
Grade Level or Age of Participant: 2nd Grade
School, Teacher and Classroom:
MCAD Teaching Artist: Lydia Egge
Number of Students: 27 students
Visual Arts Content or Standards
5.2.2.2.2
5.2.2.3.1
5.2.2.3.2
5.2.2.4.1
5.2.3.6.1 (1. Choose artwork based on a theme or concept for an exhibit.)?
5.2.4.7.1
5.2.4.8.2 (maybe)
Curricular Link / Standards
2009 Minnesota Academic Standards in Science
2.2.1.1.1
2.2.2.1.2
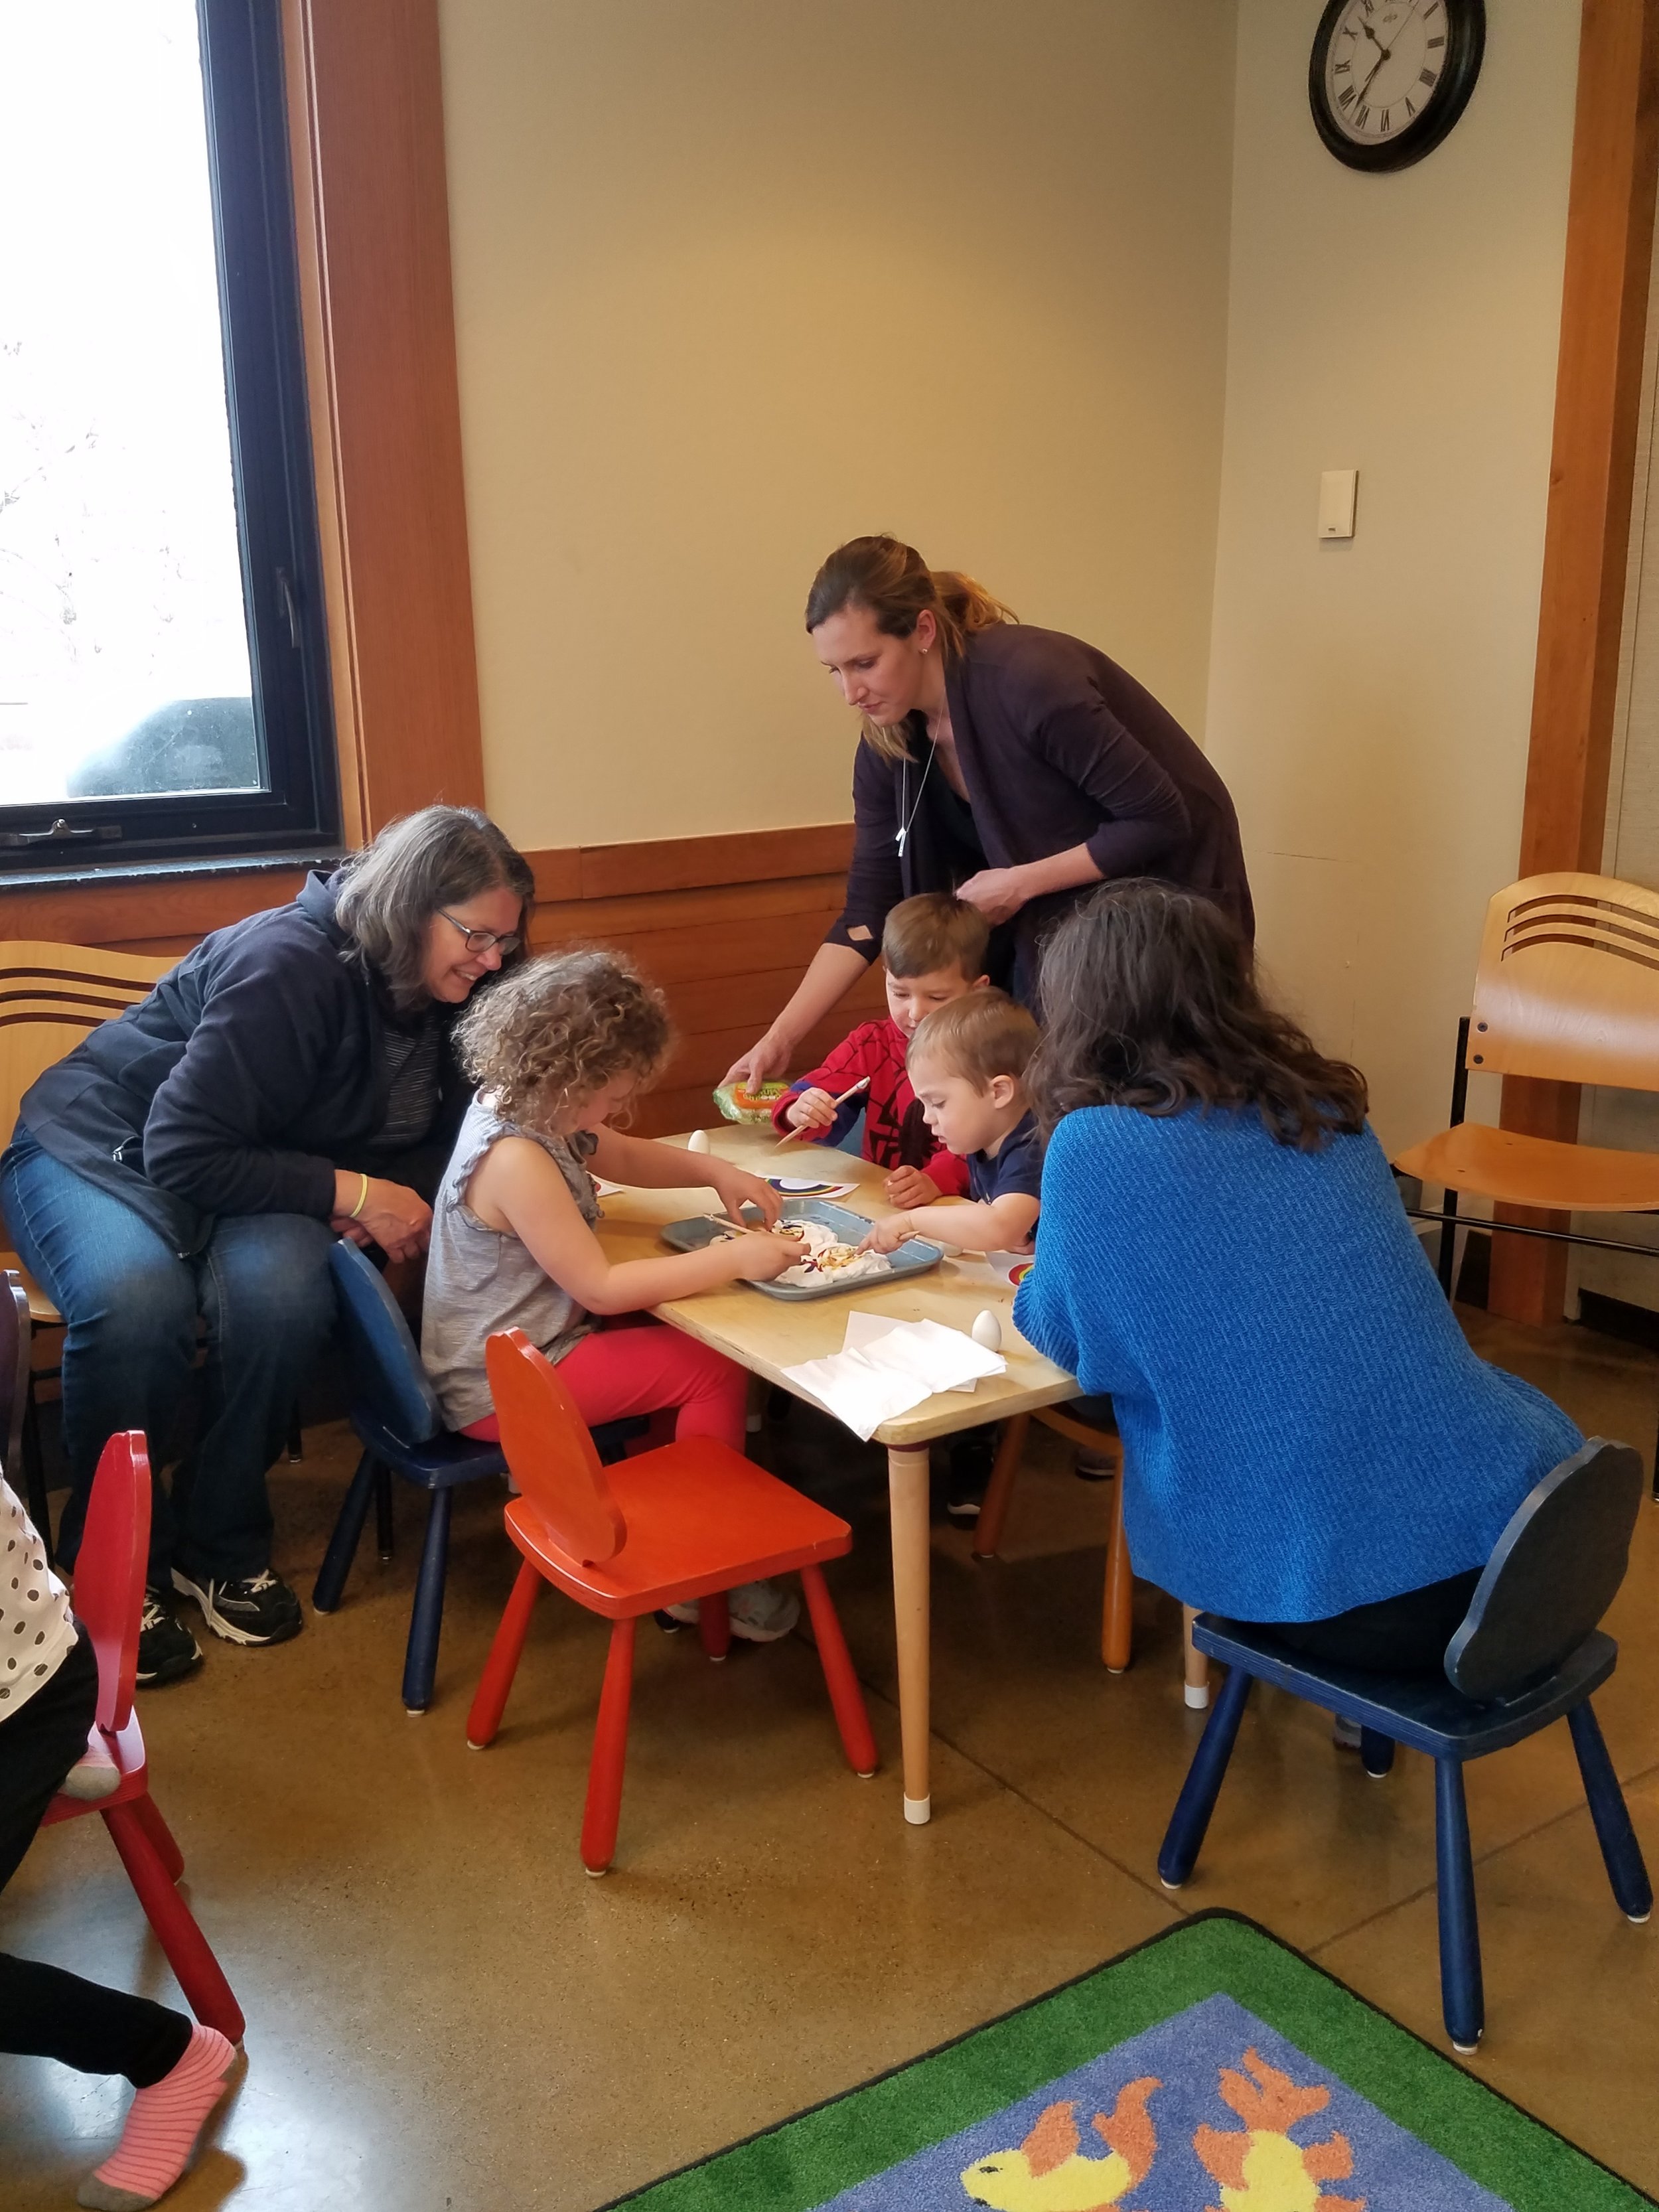
Overview of Project
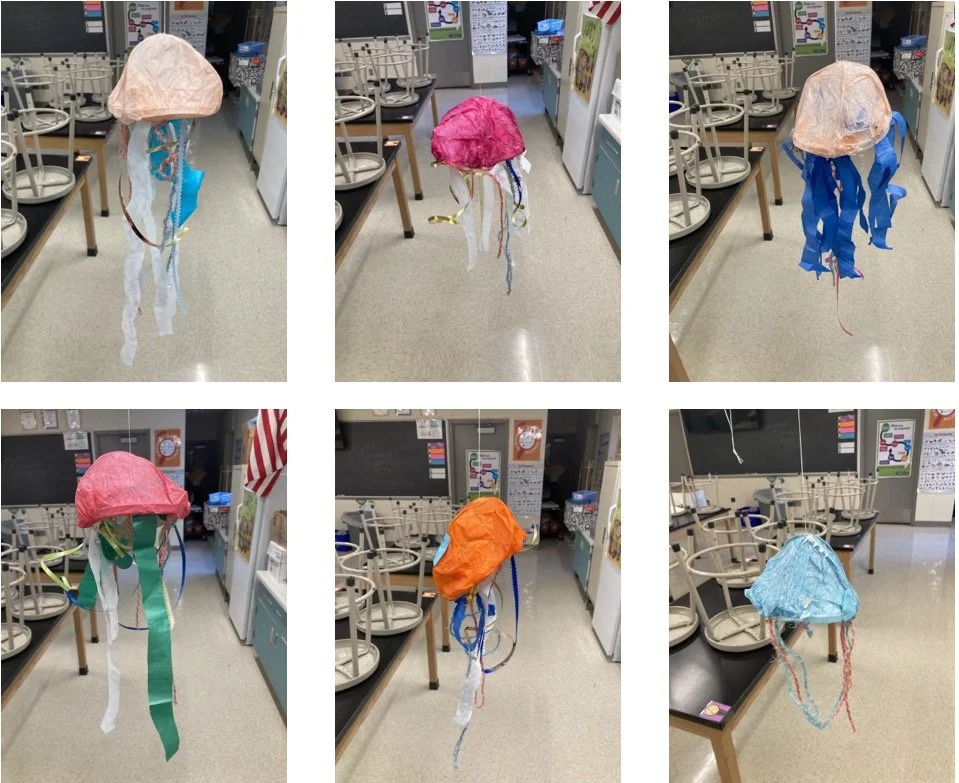
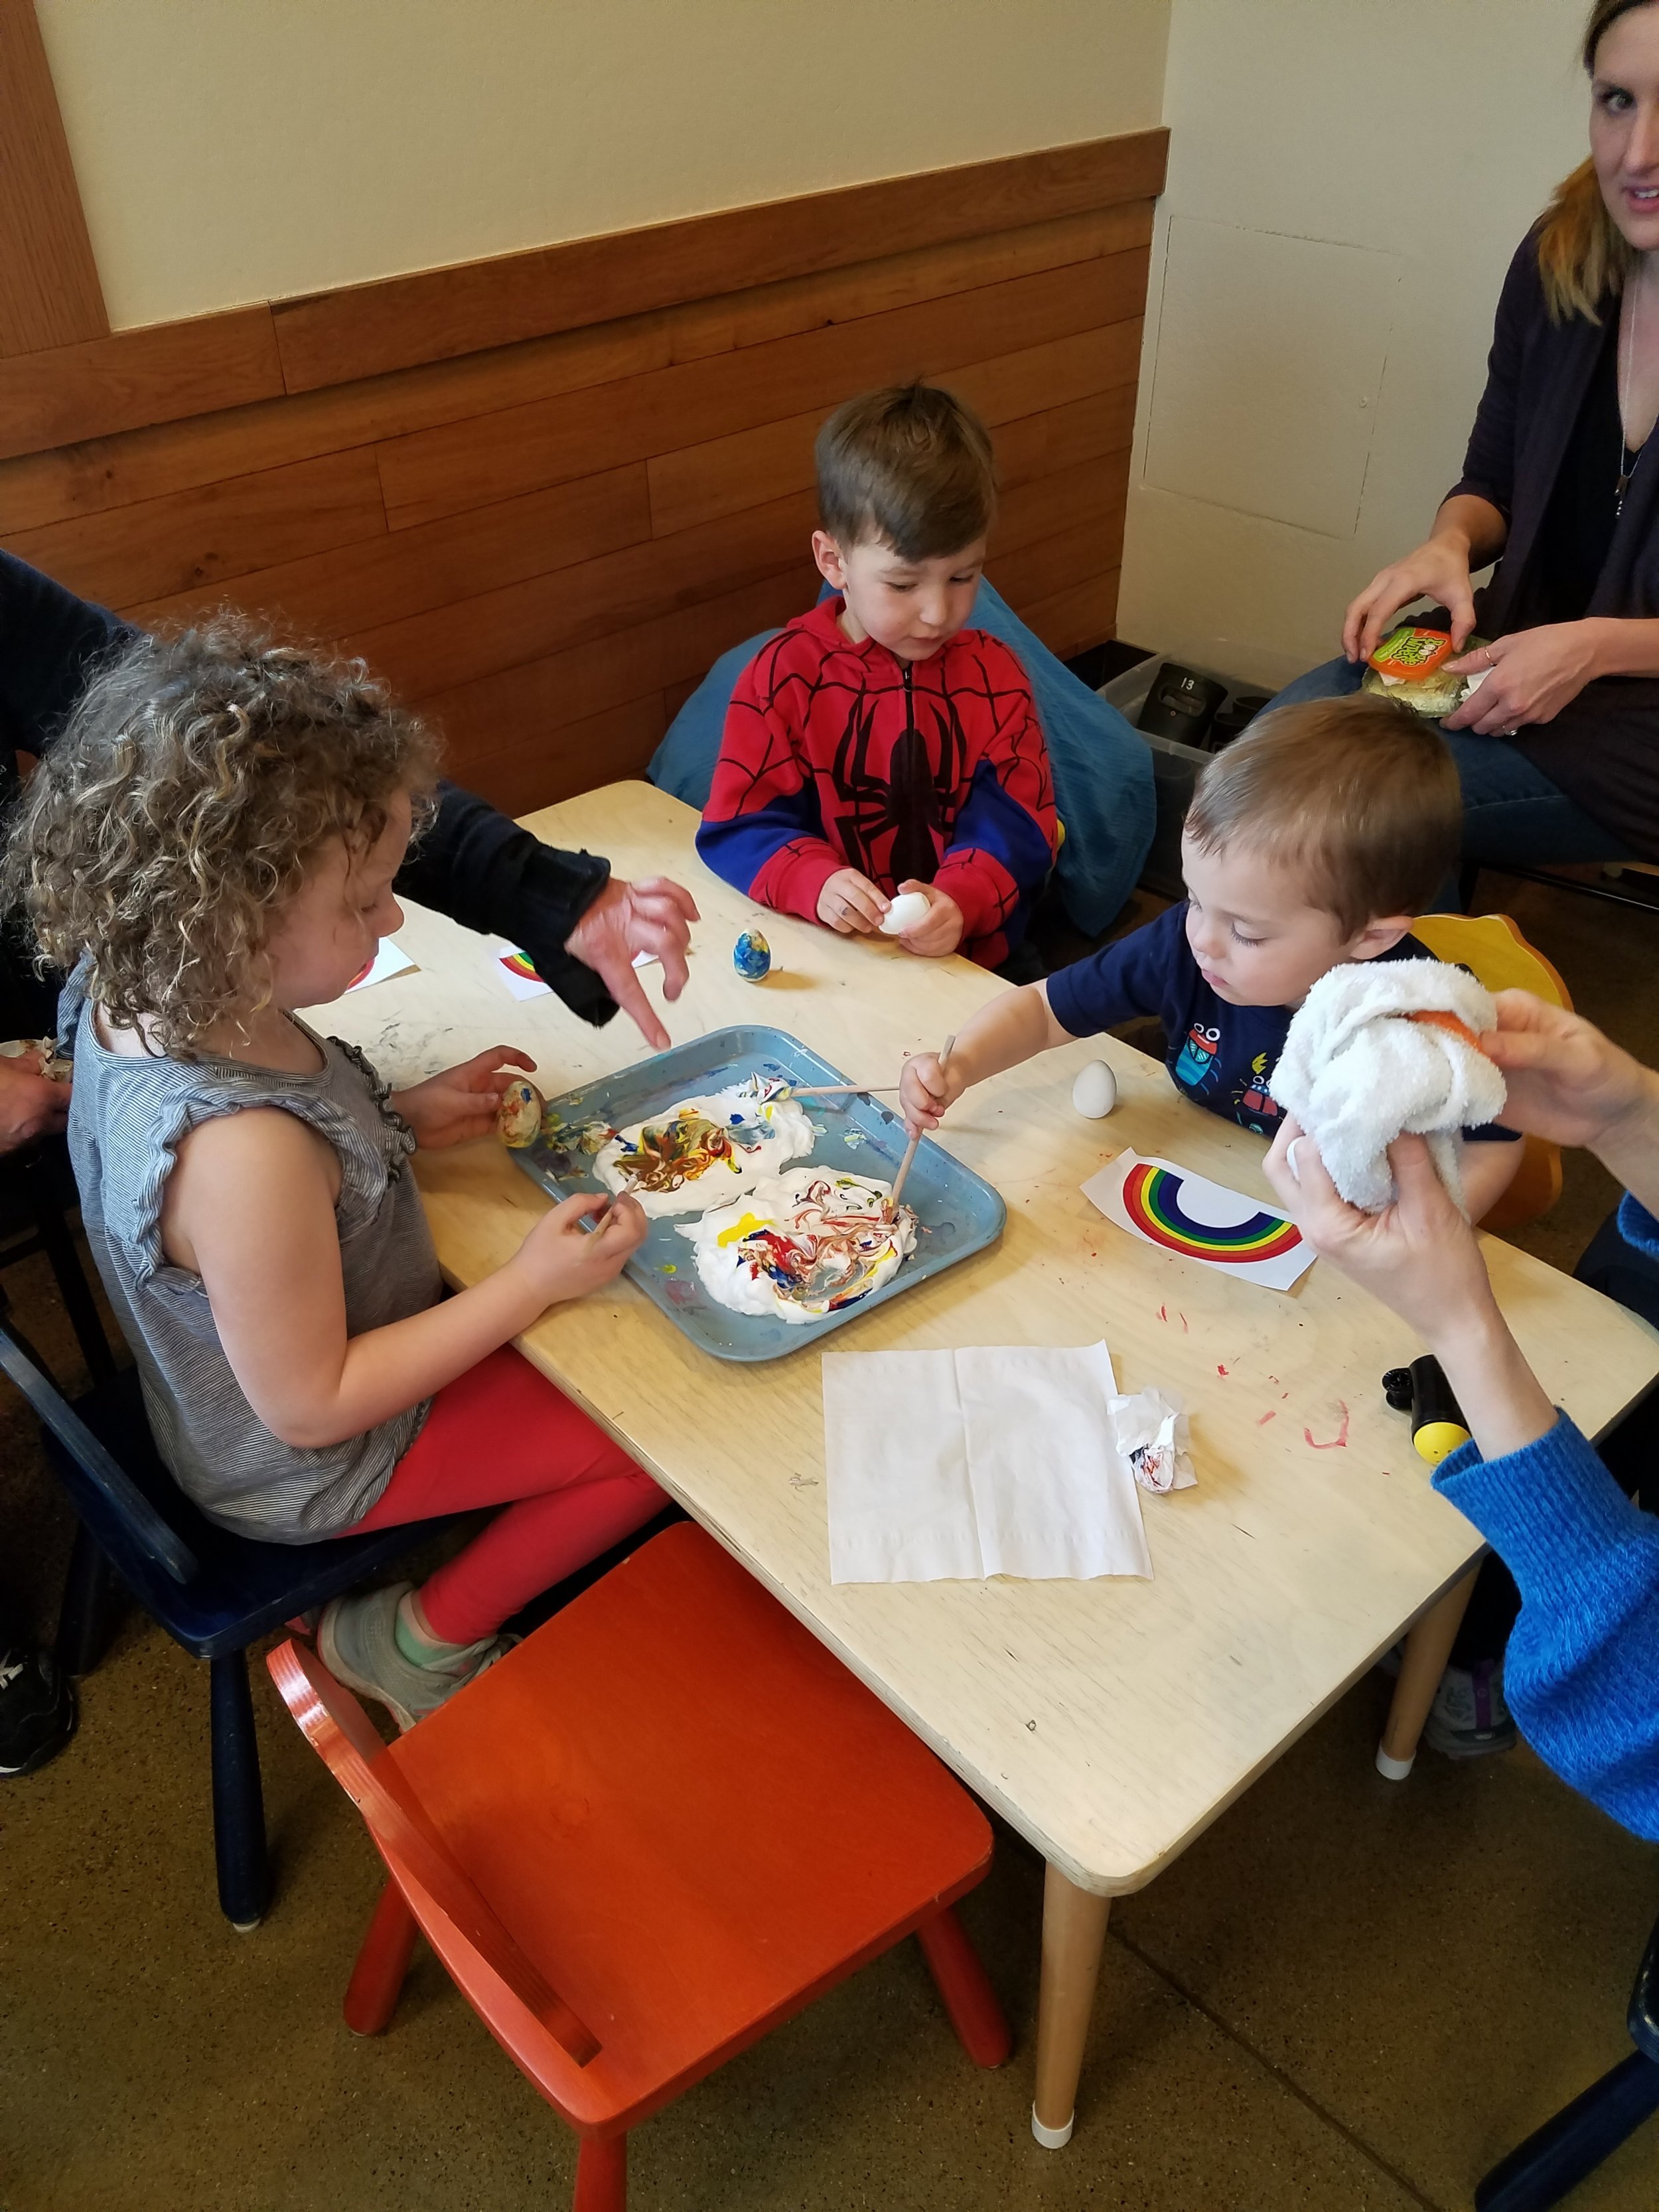
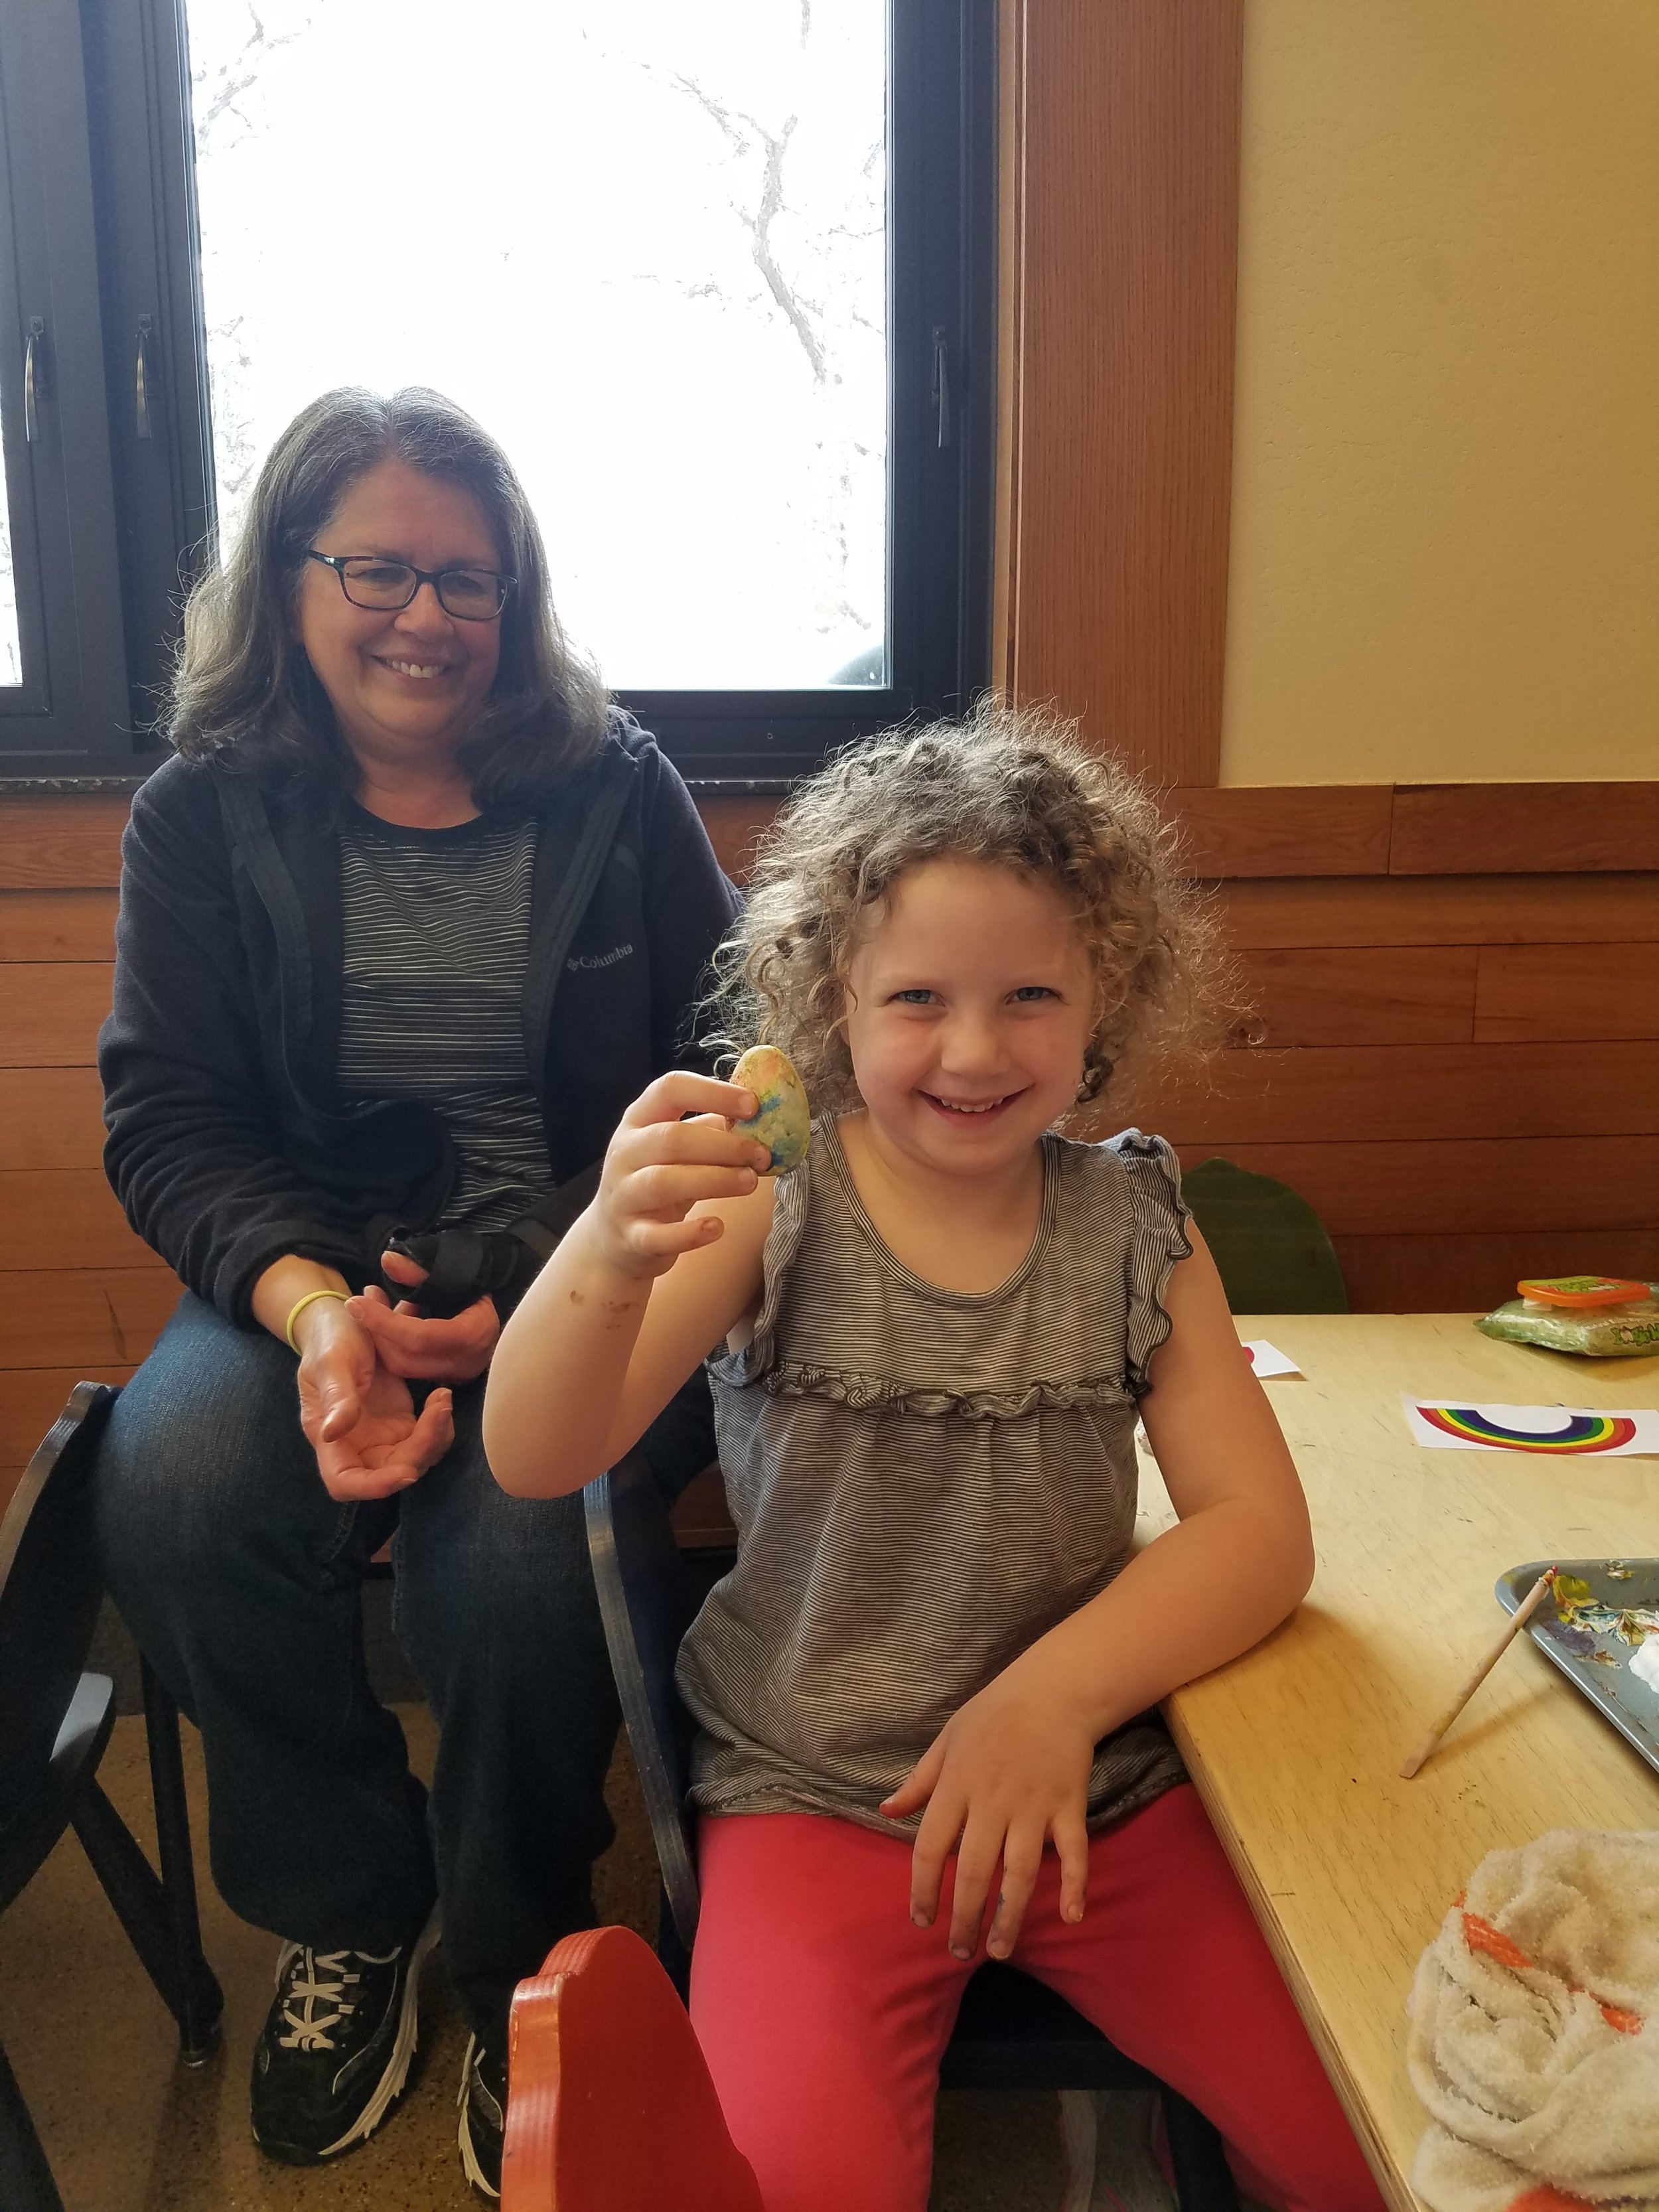
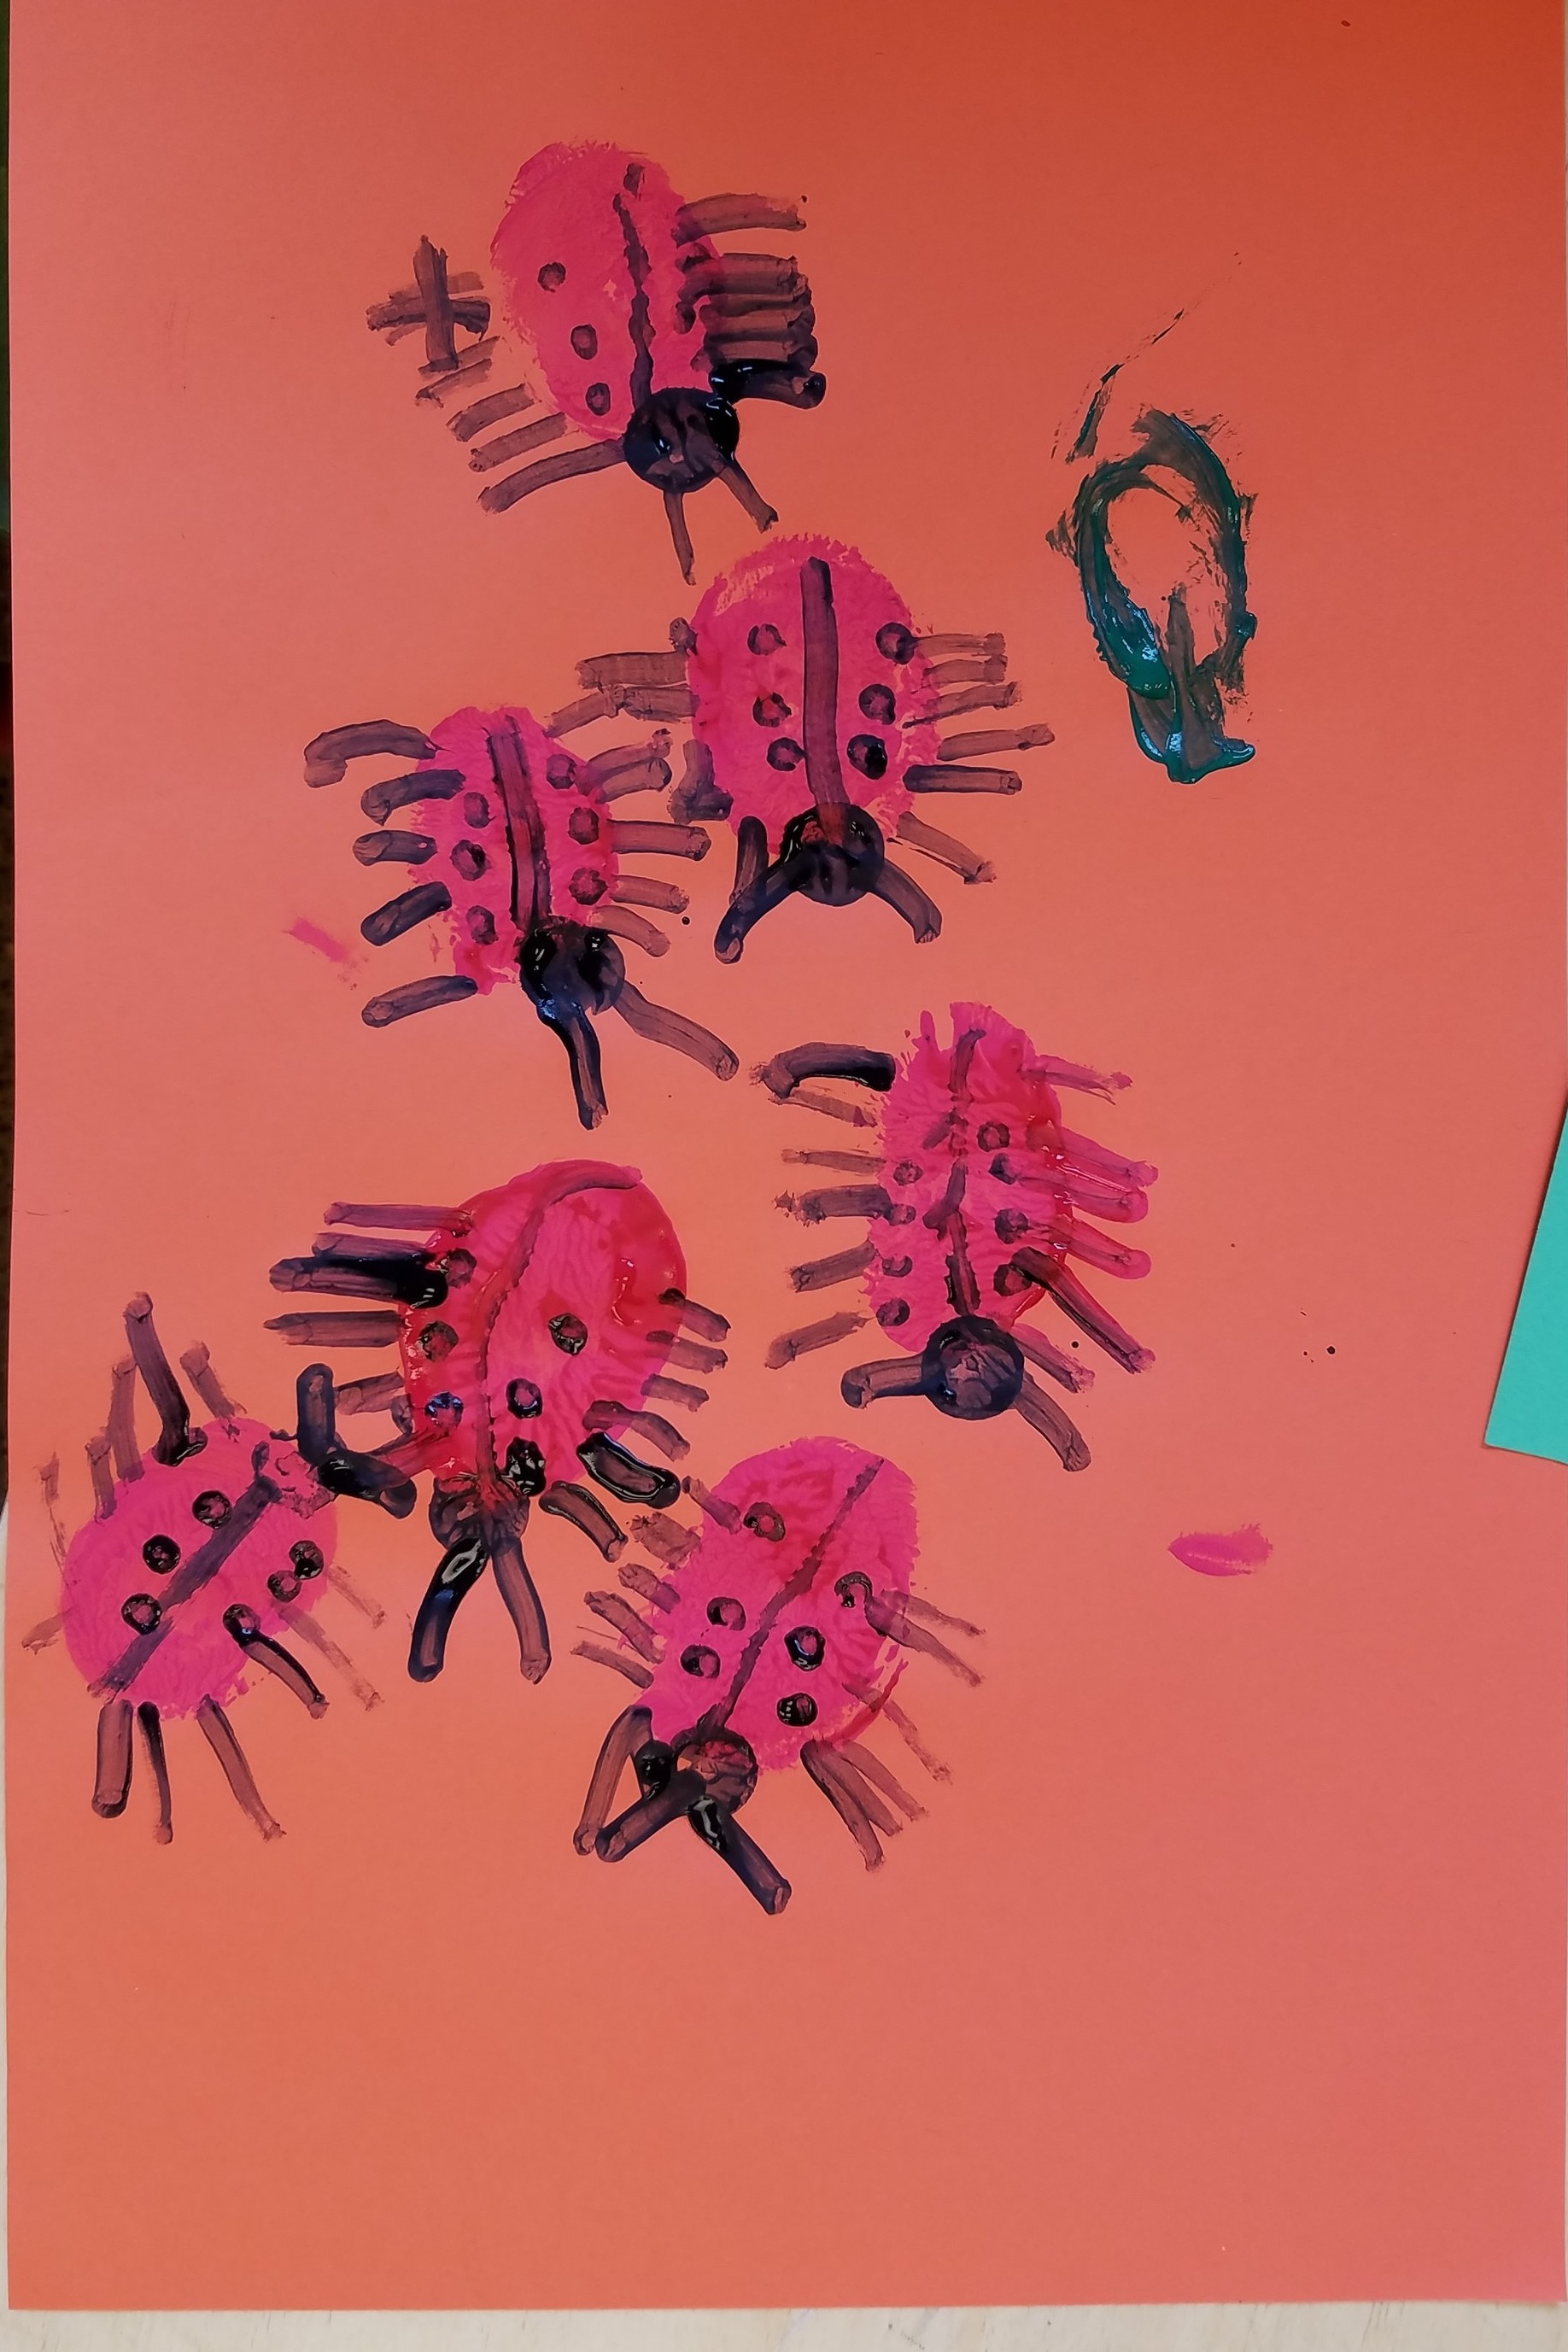
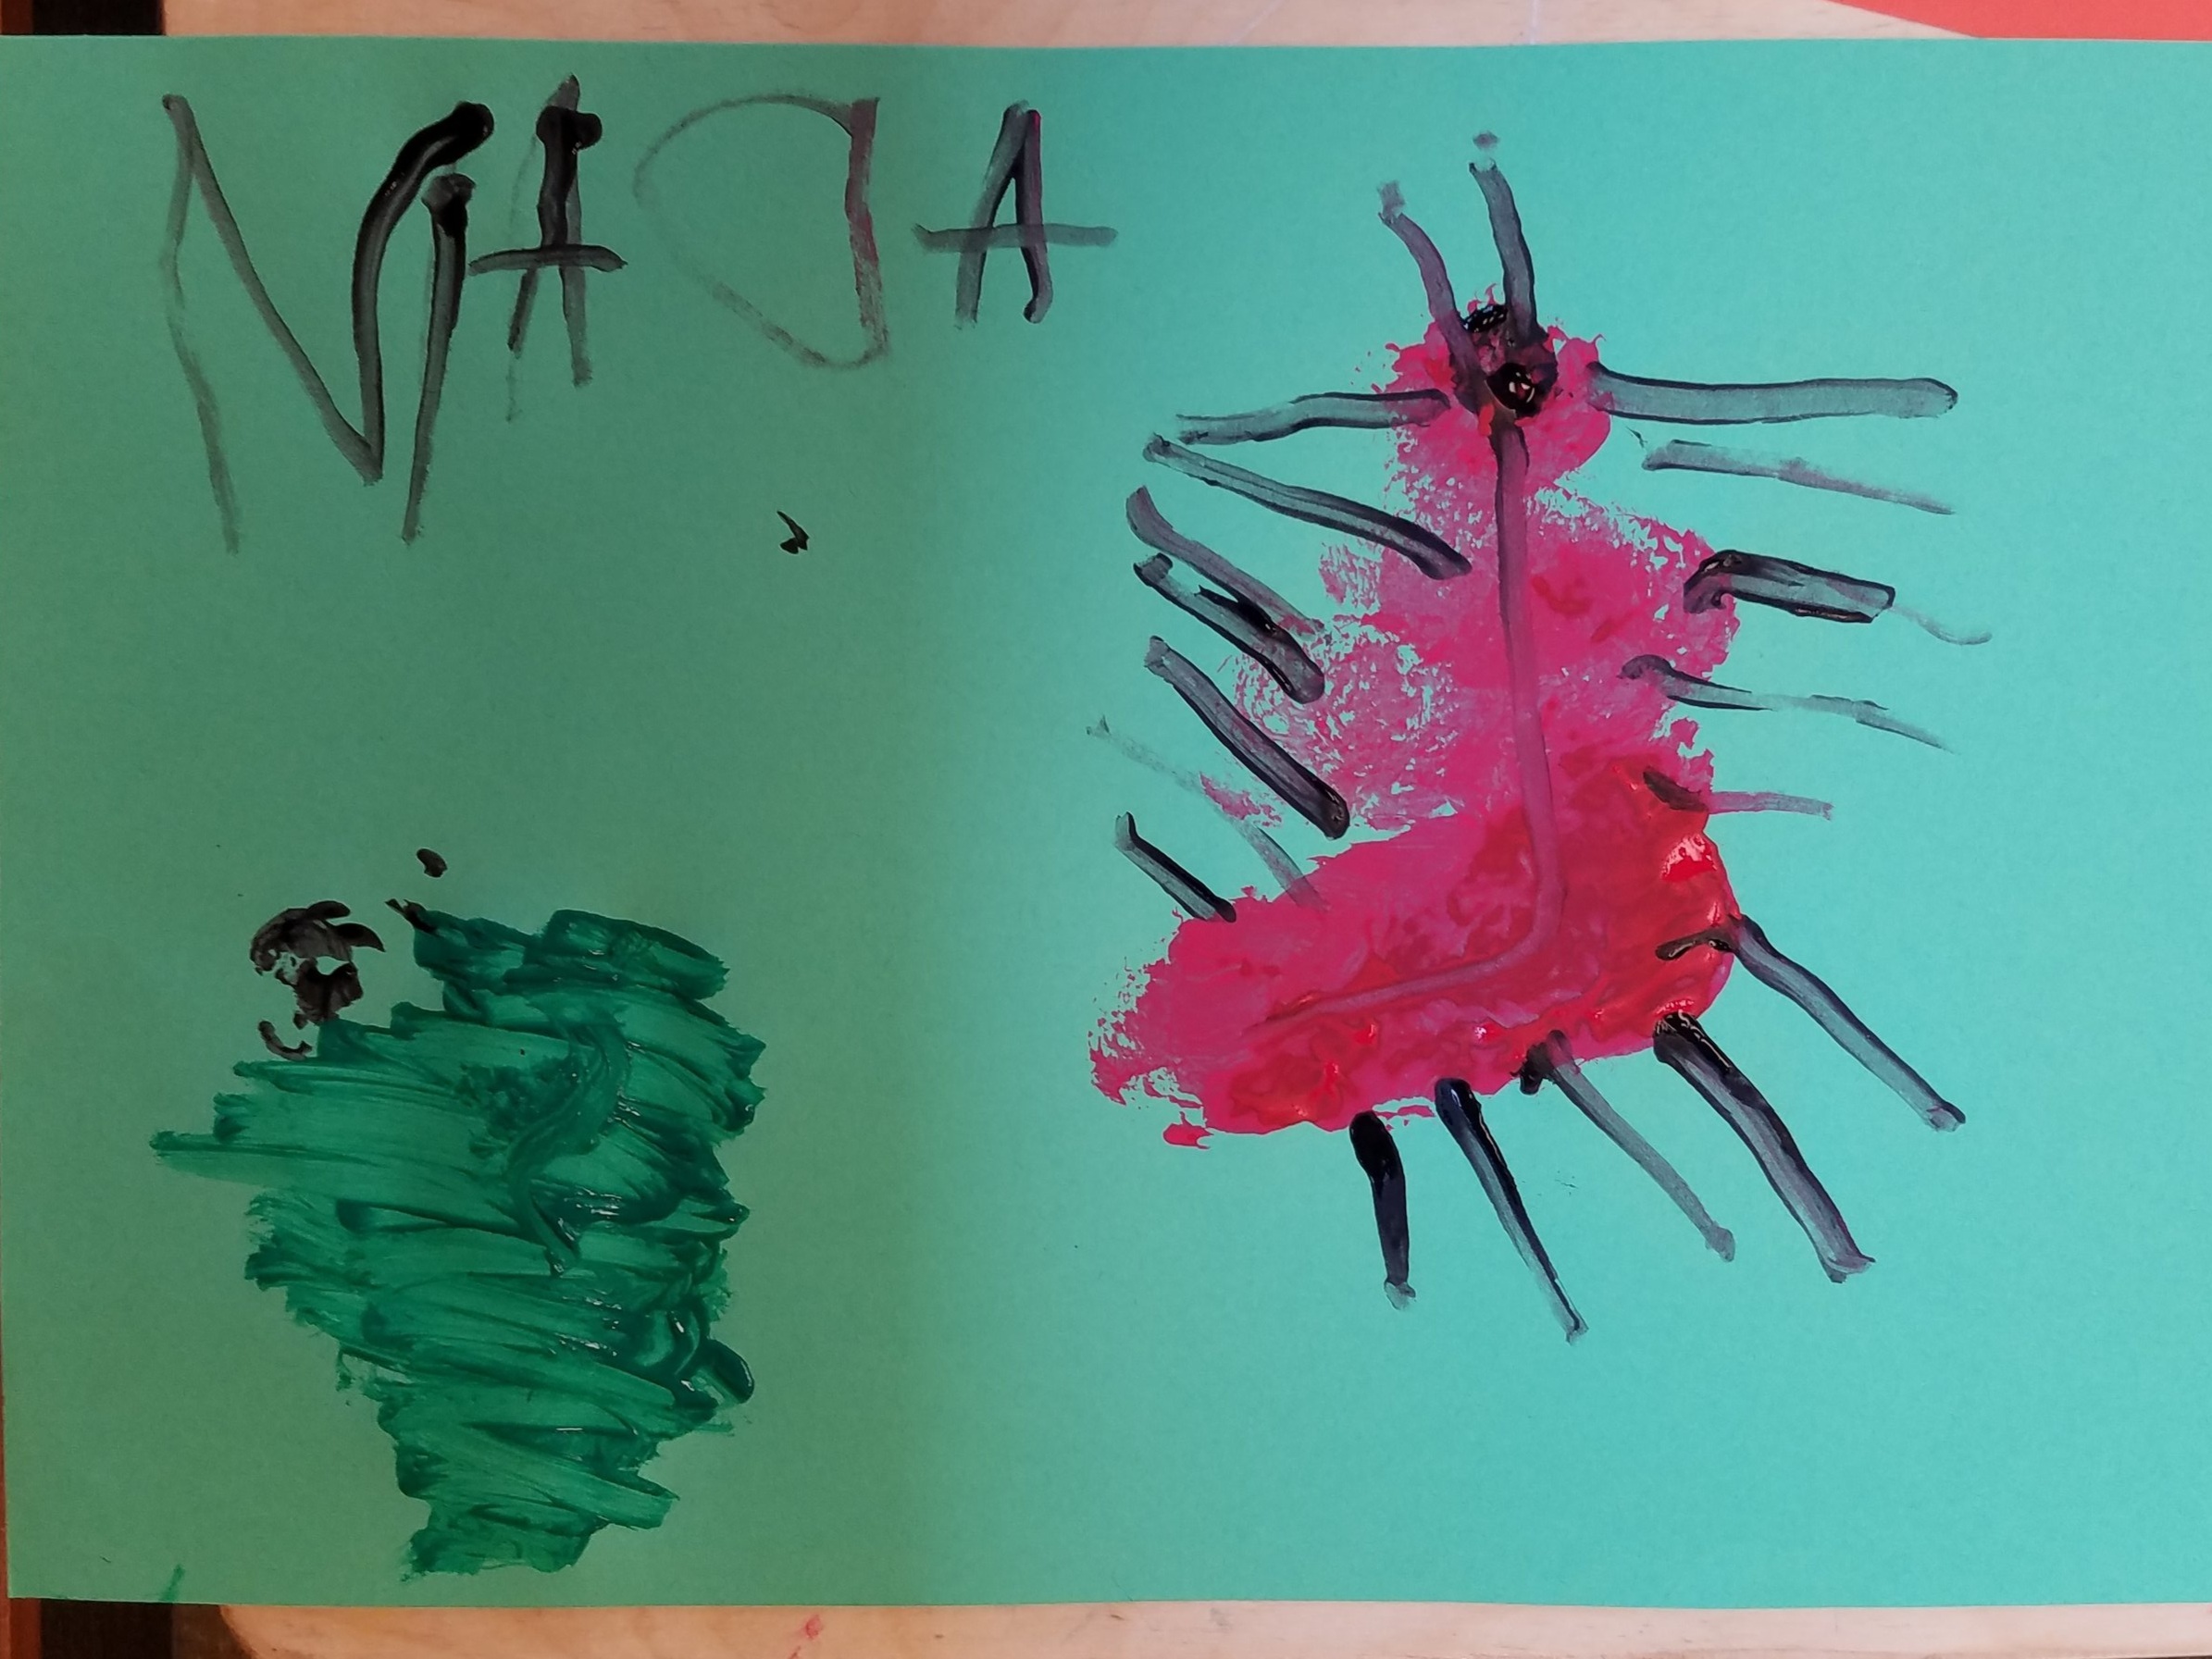
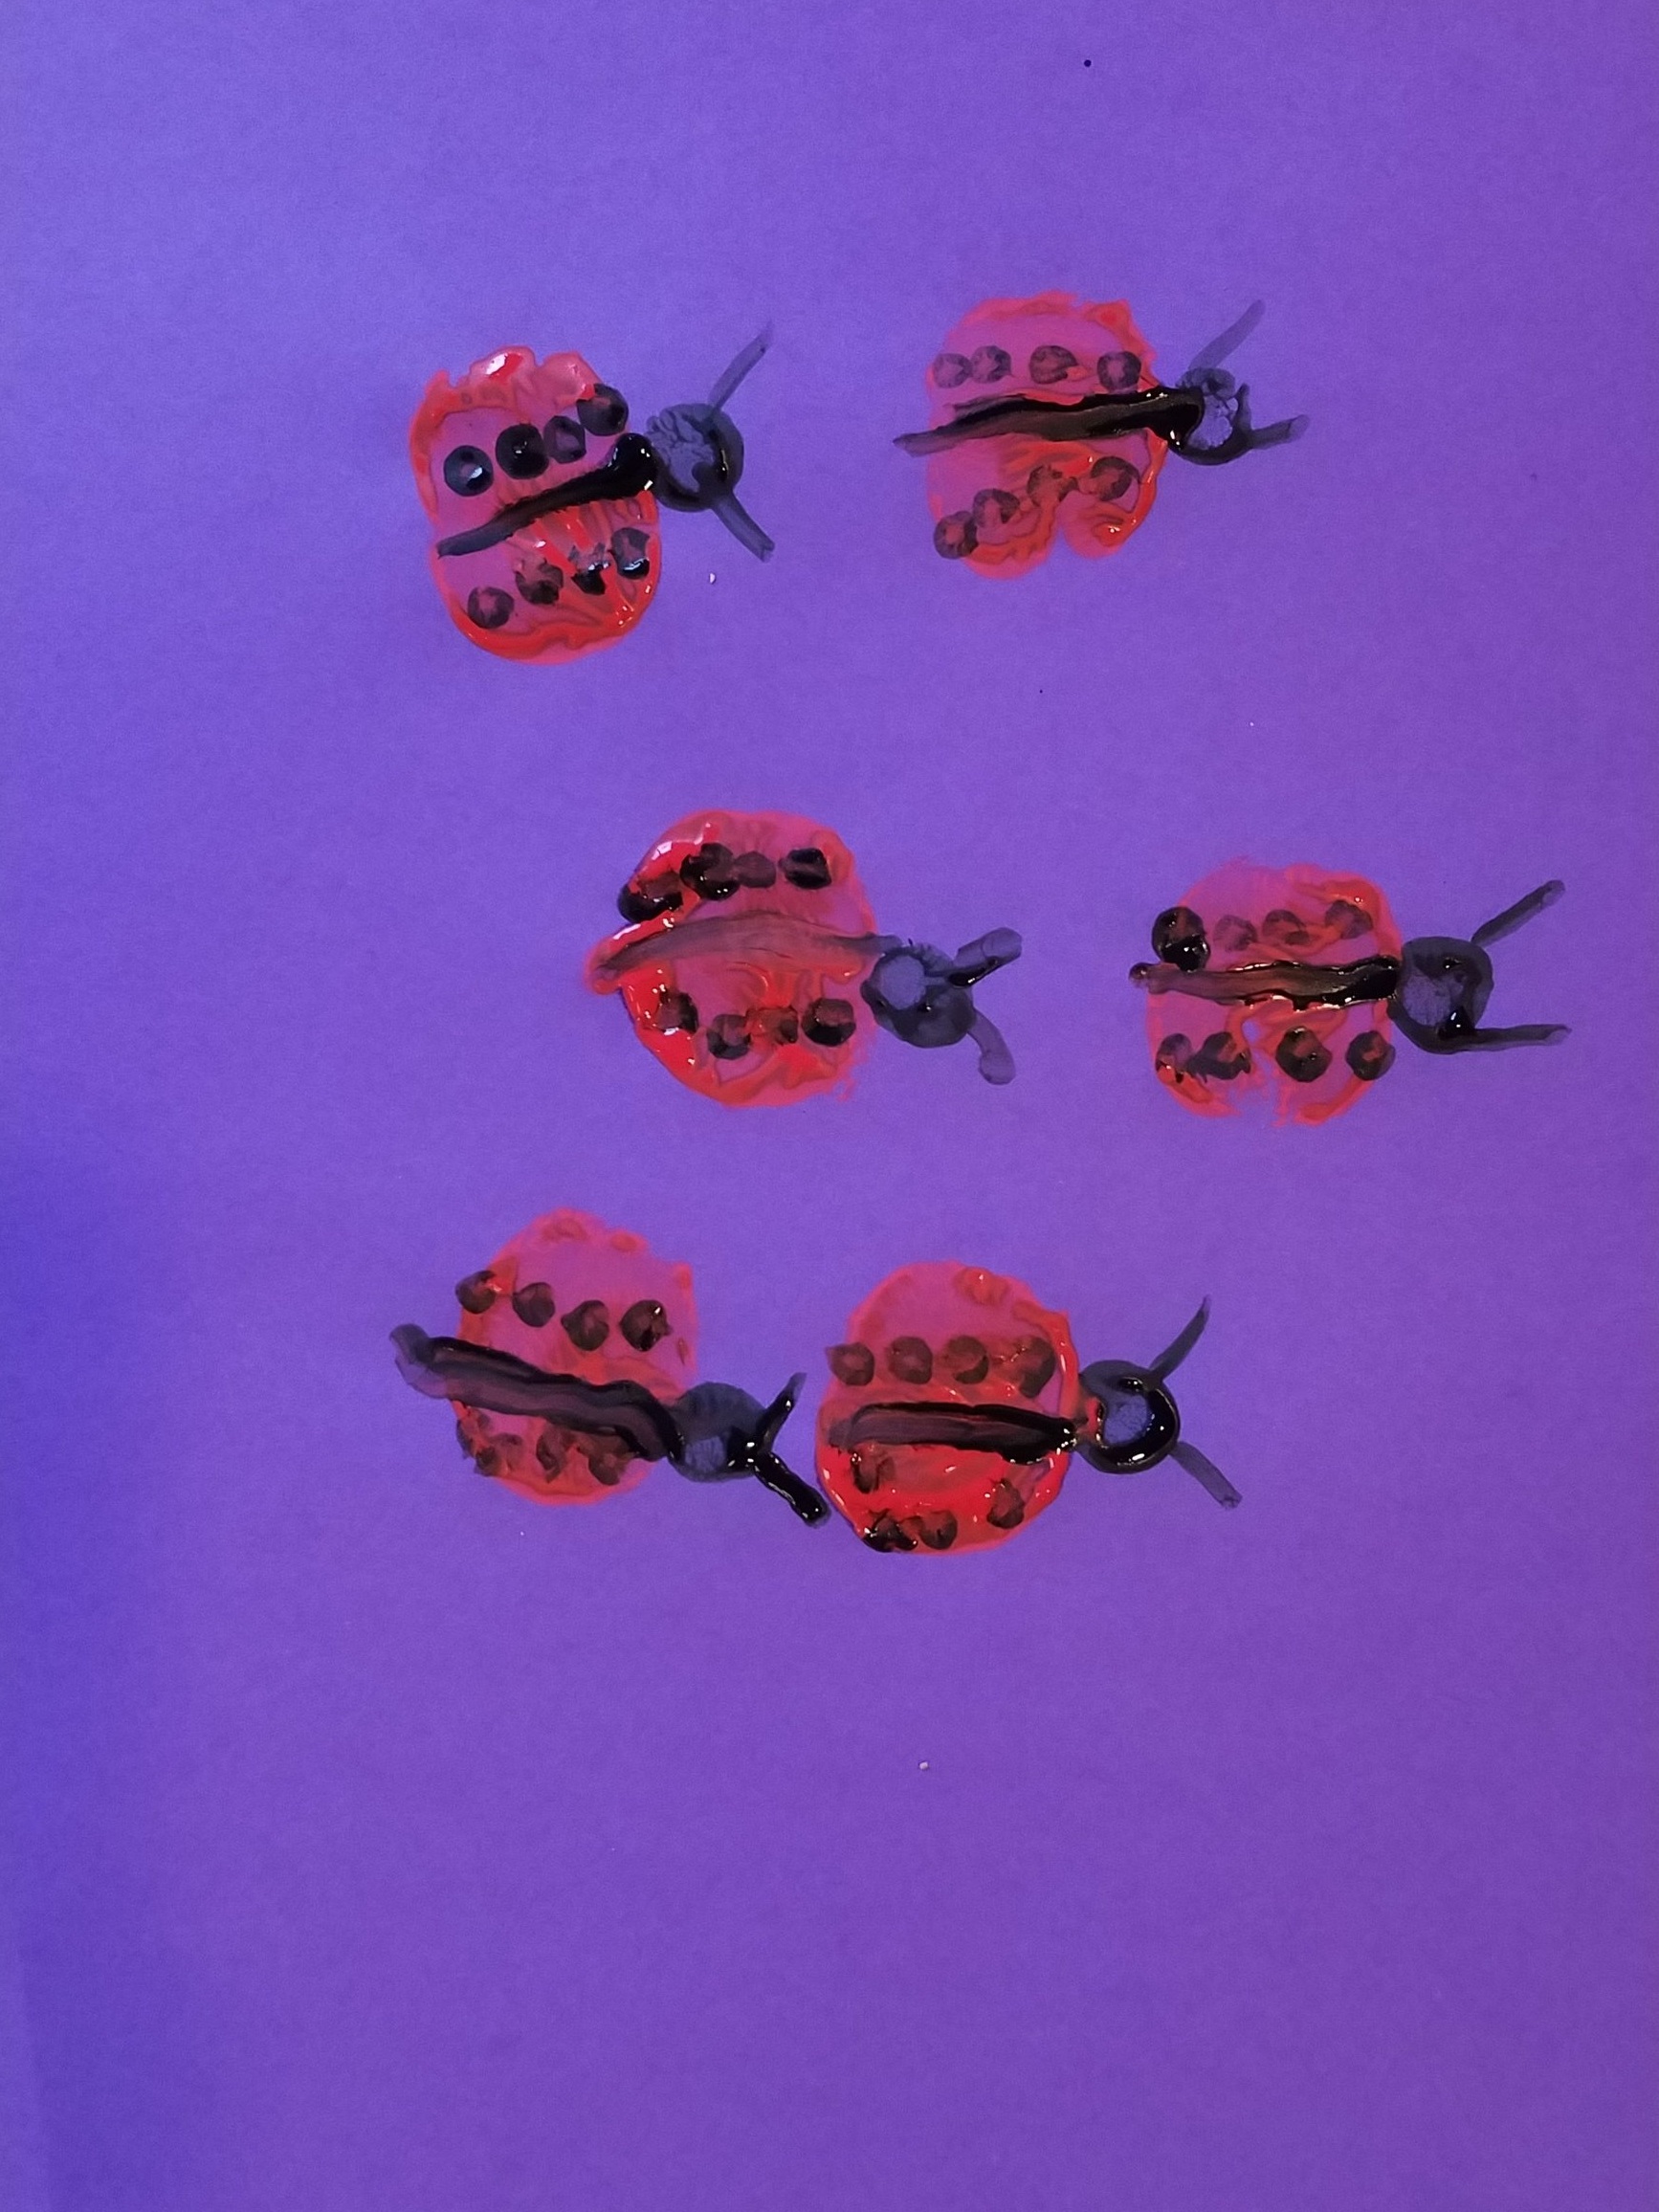
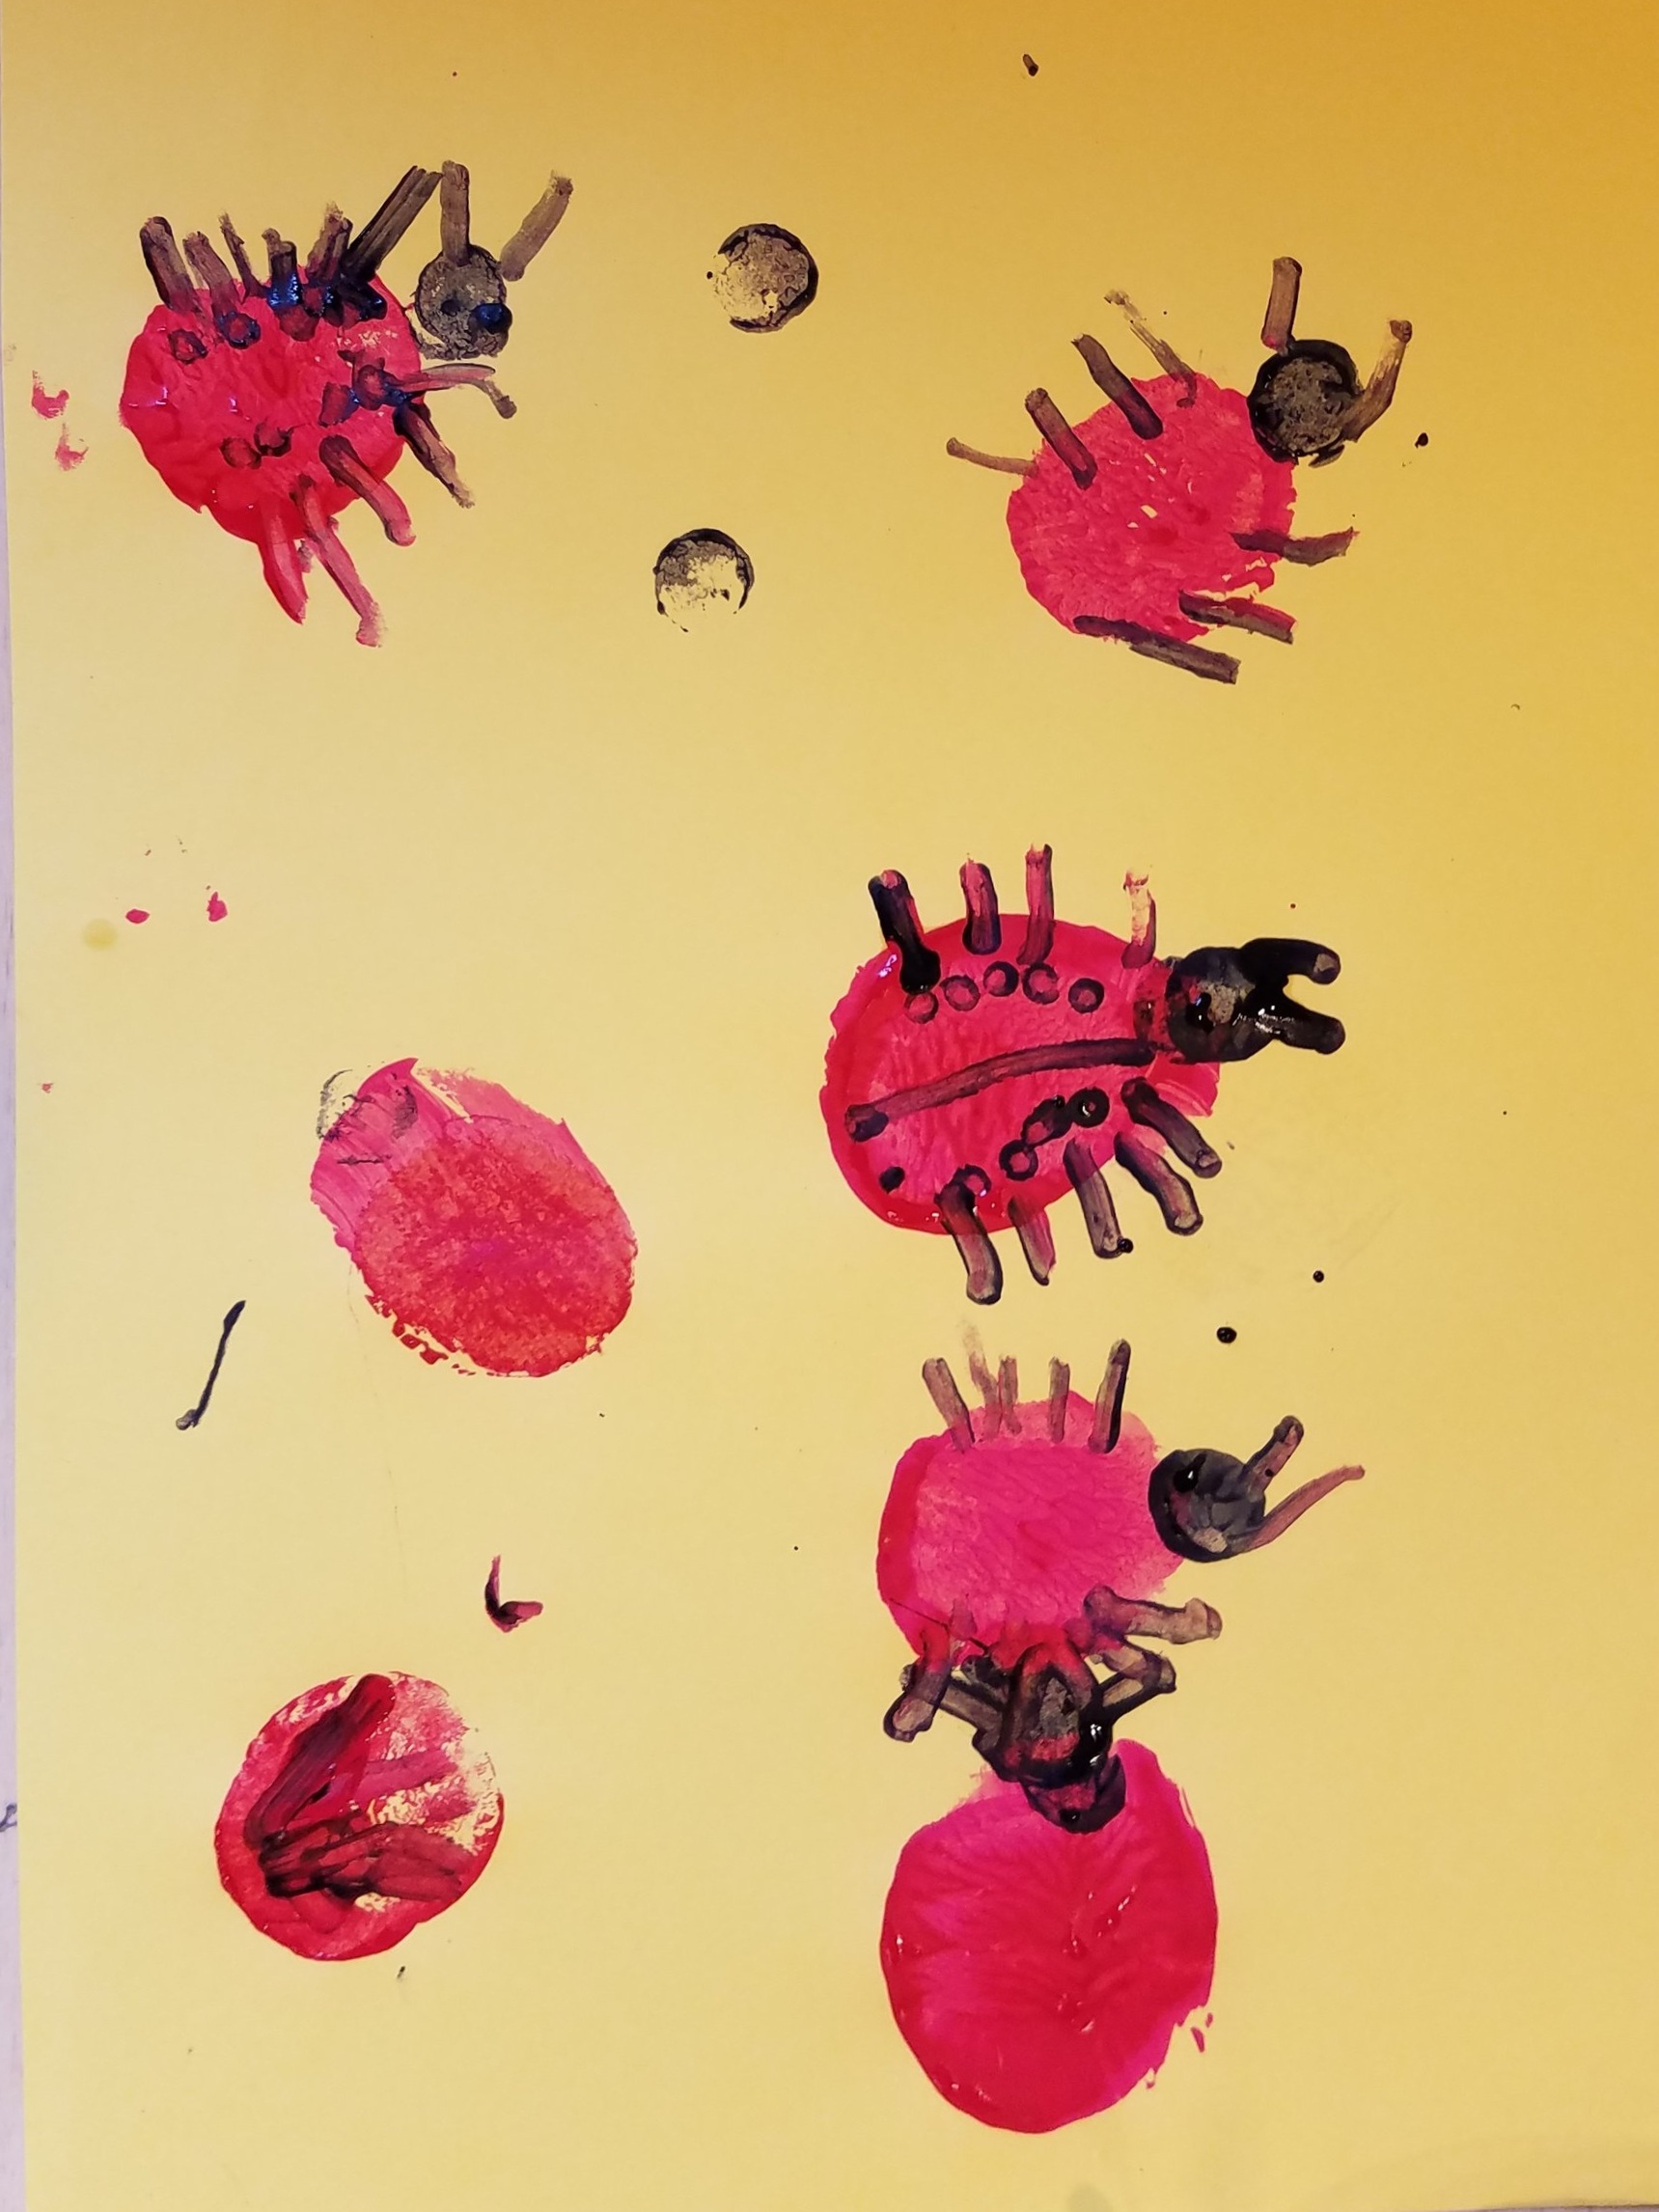
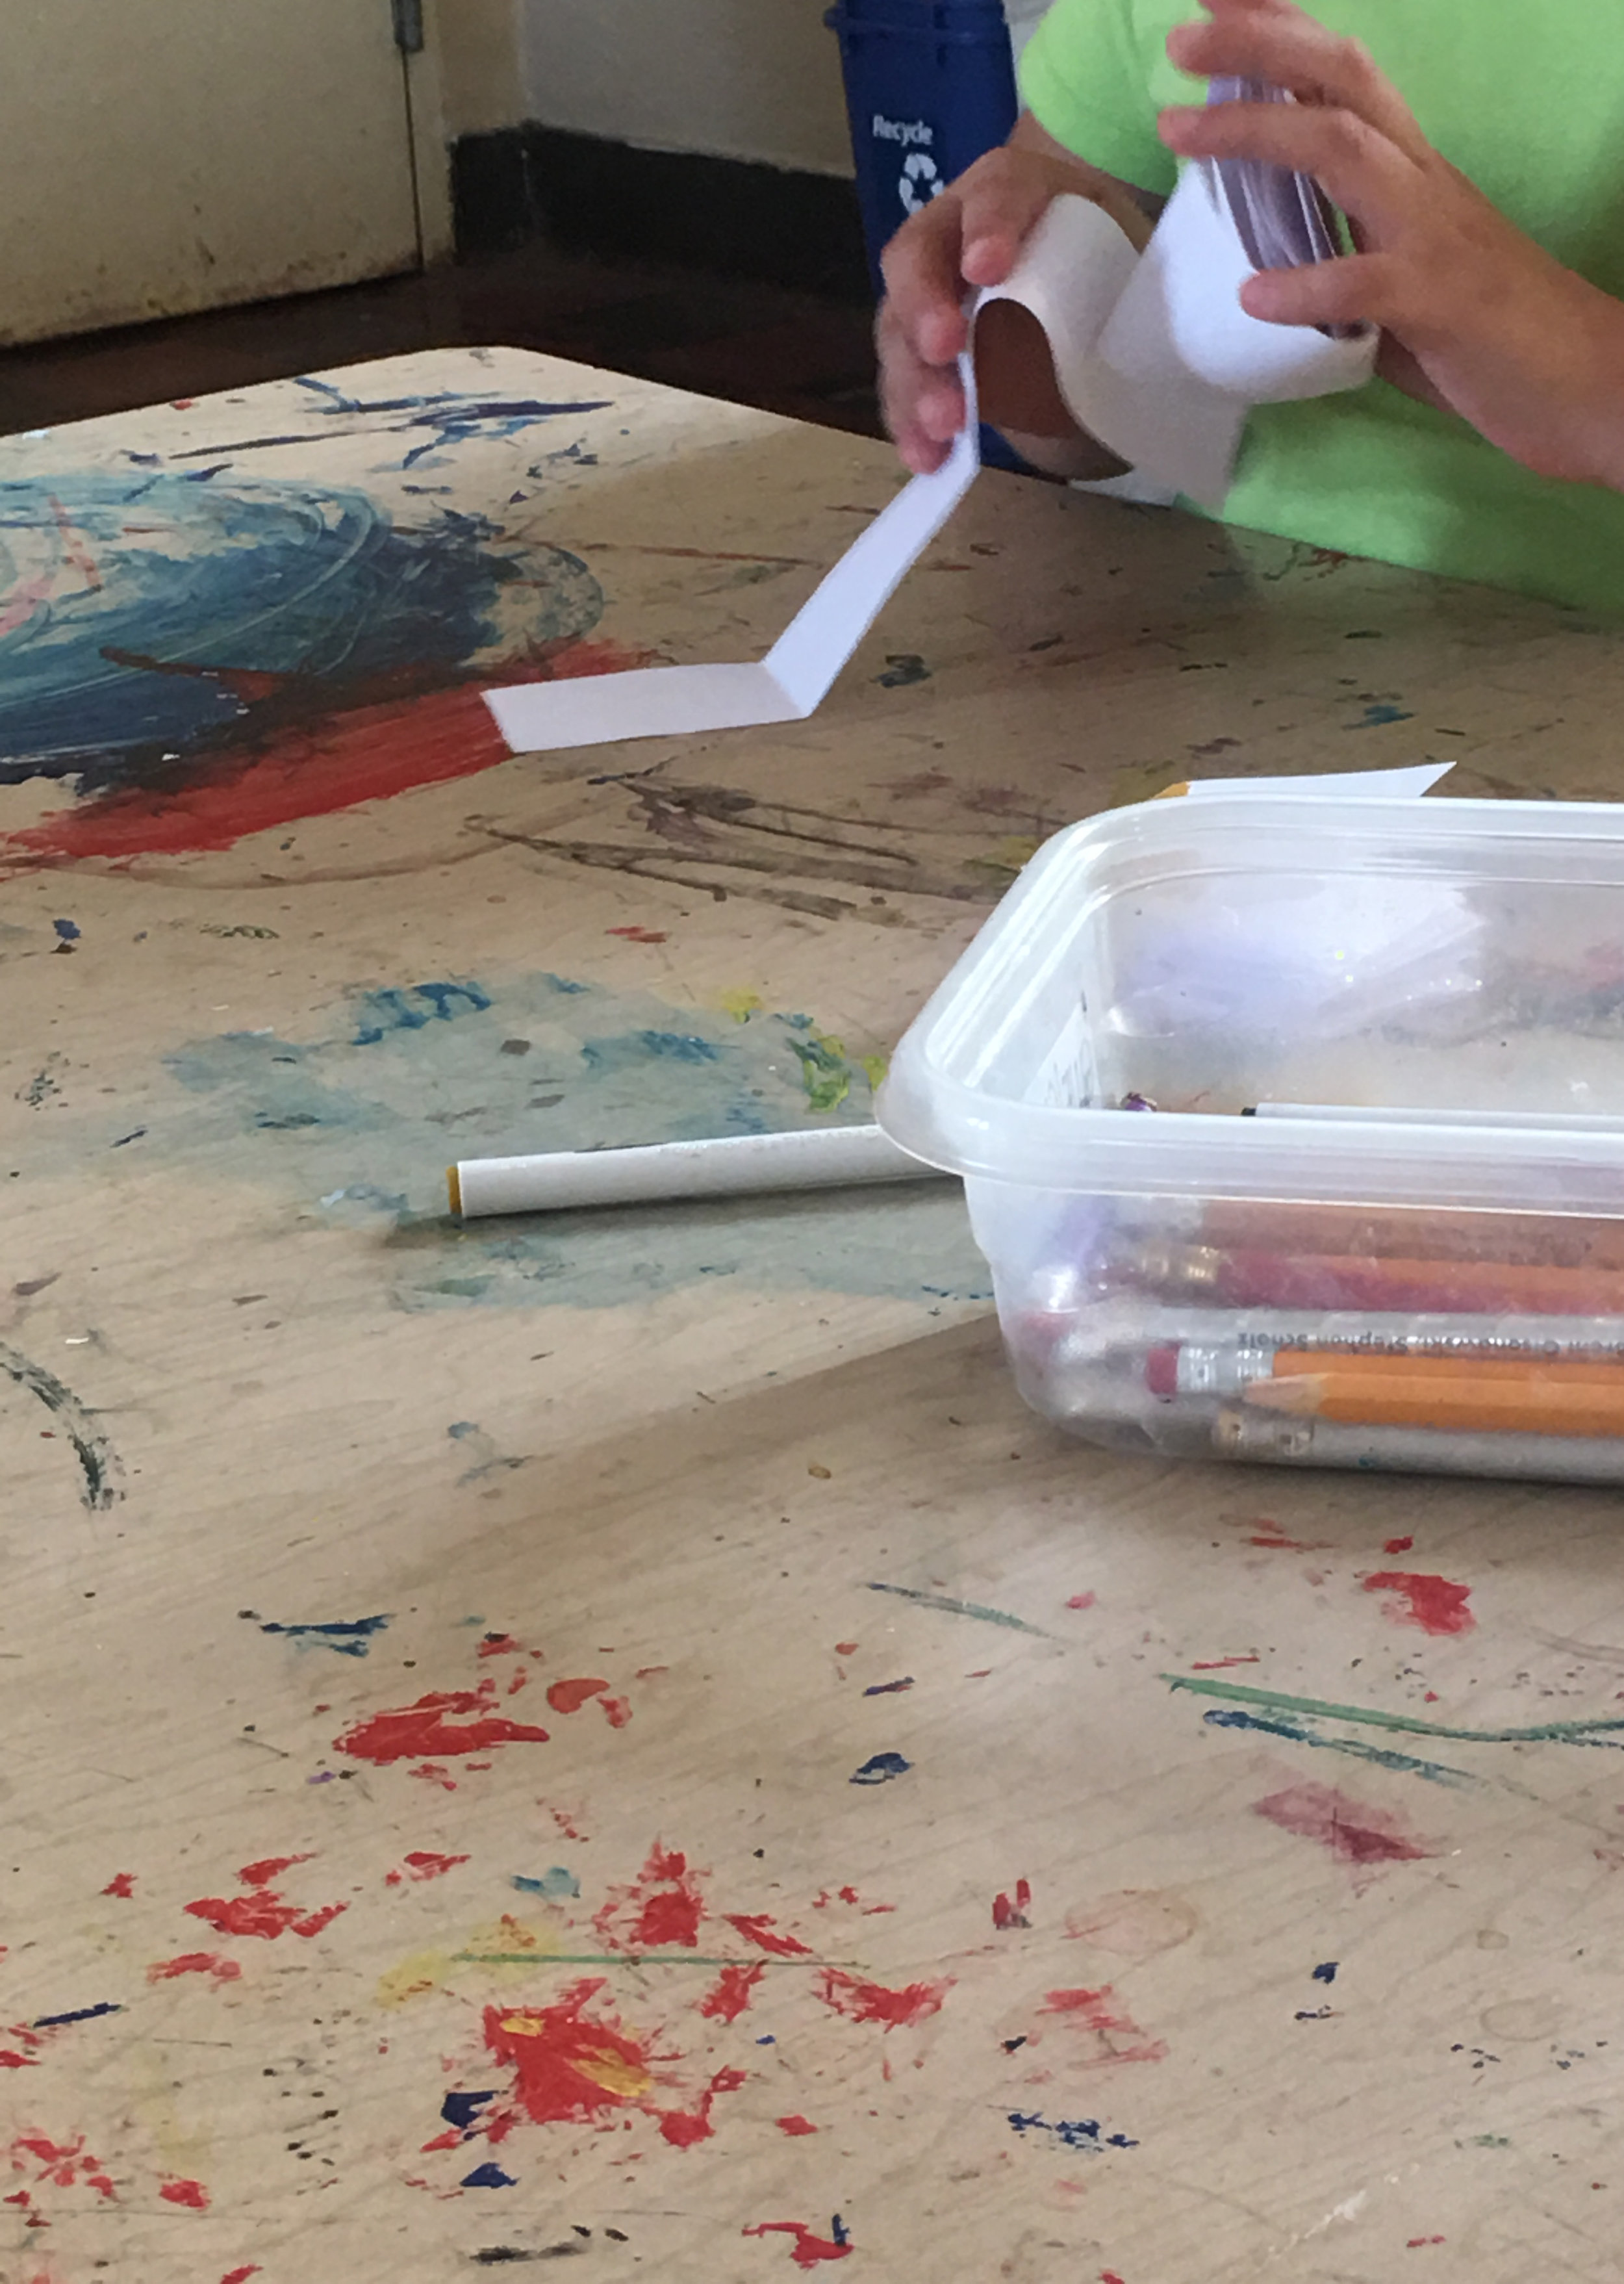
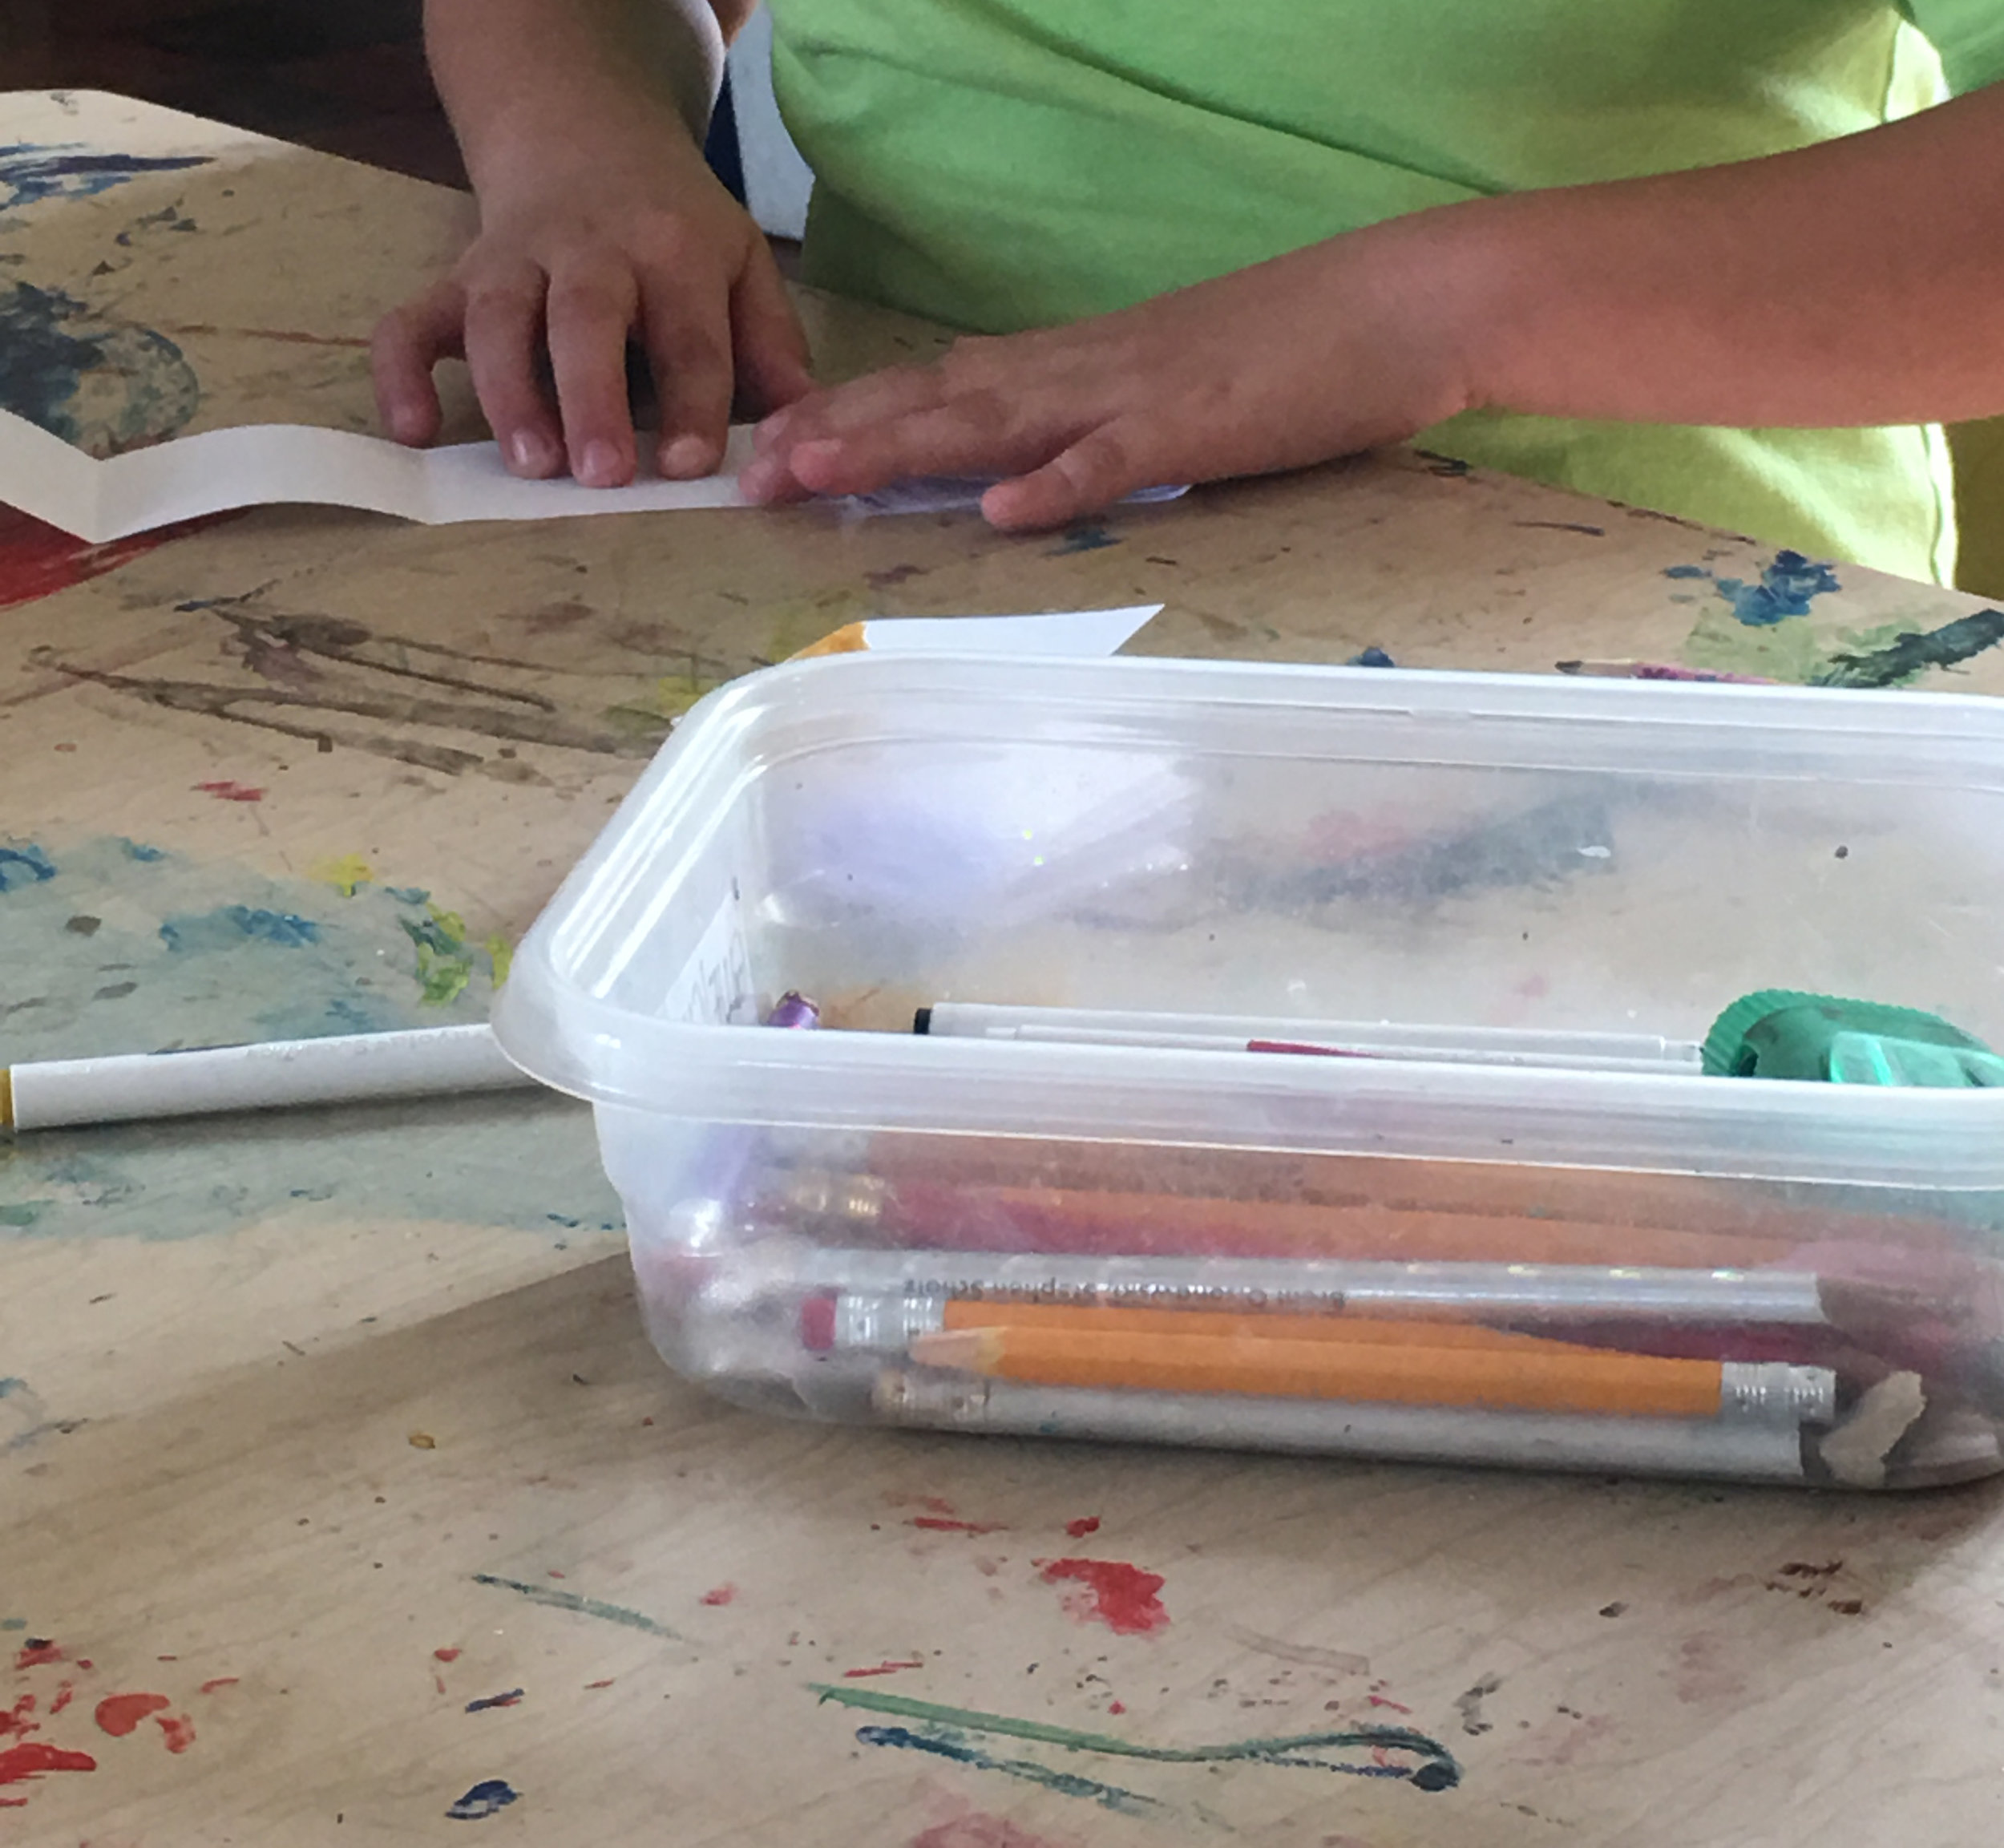
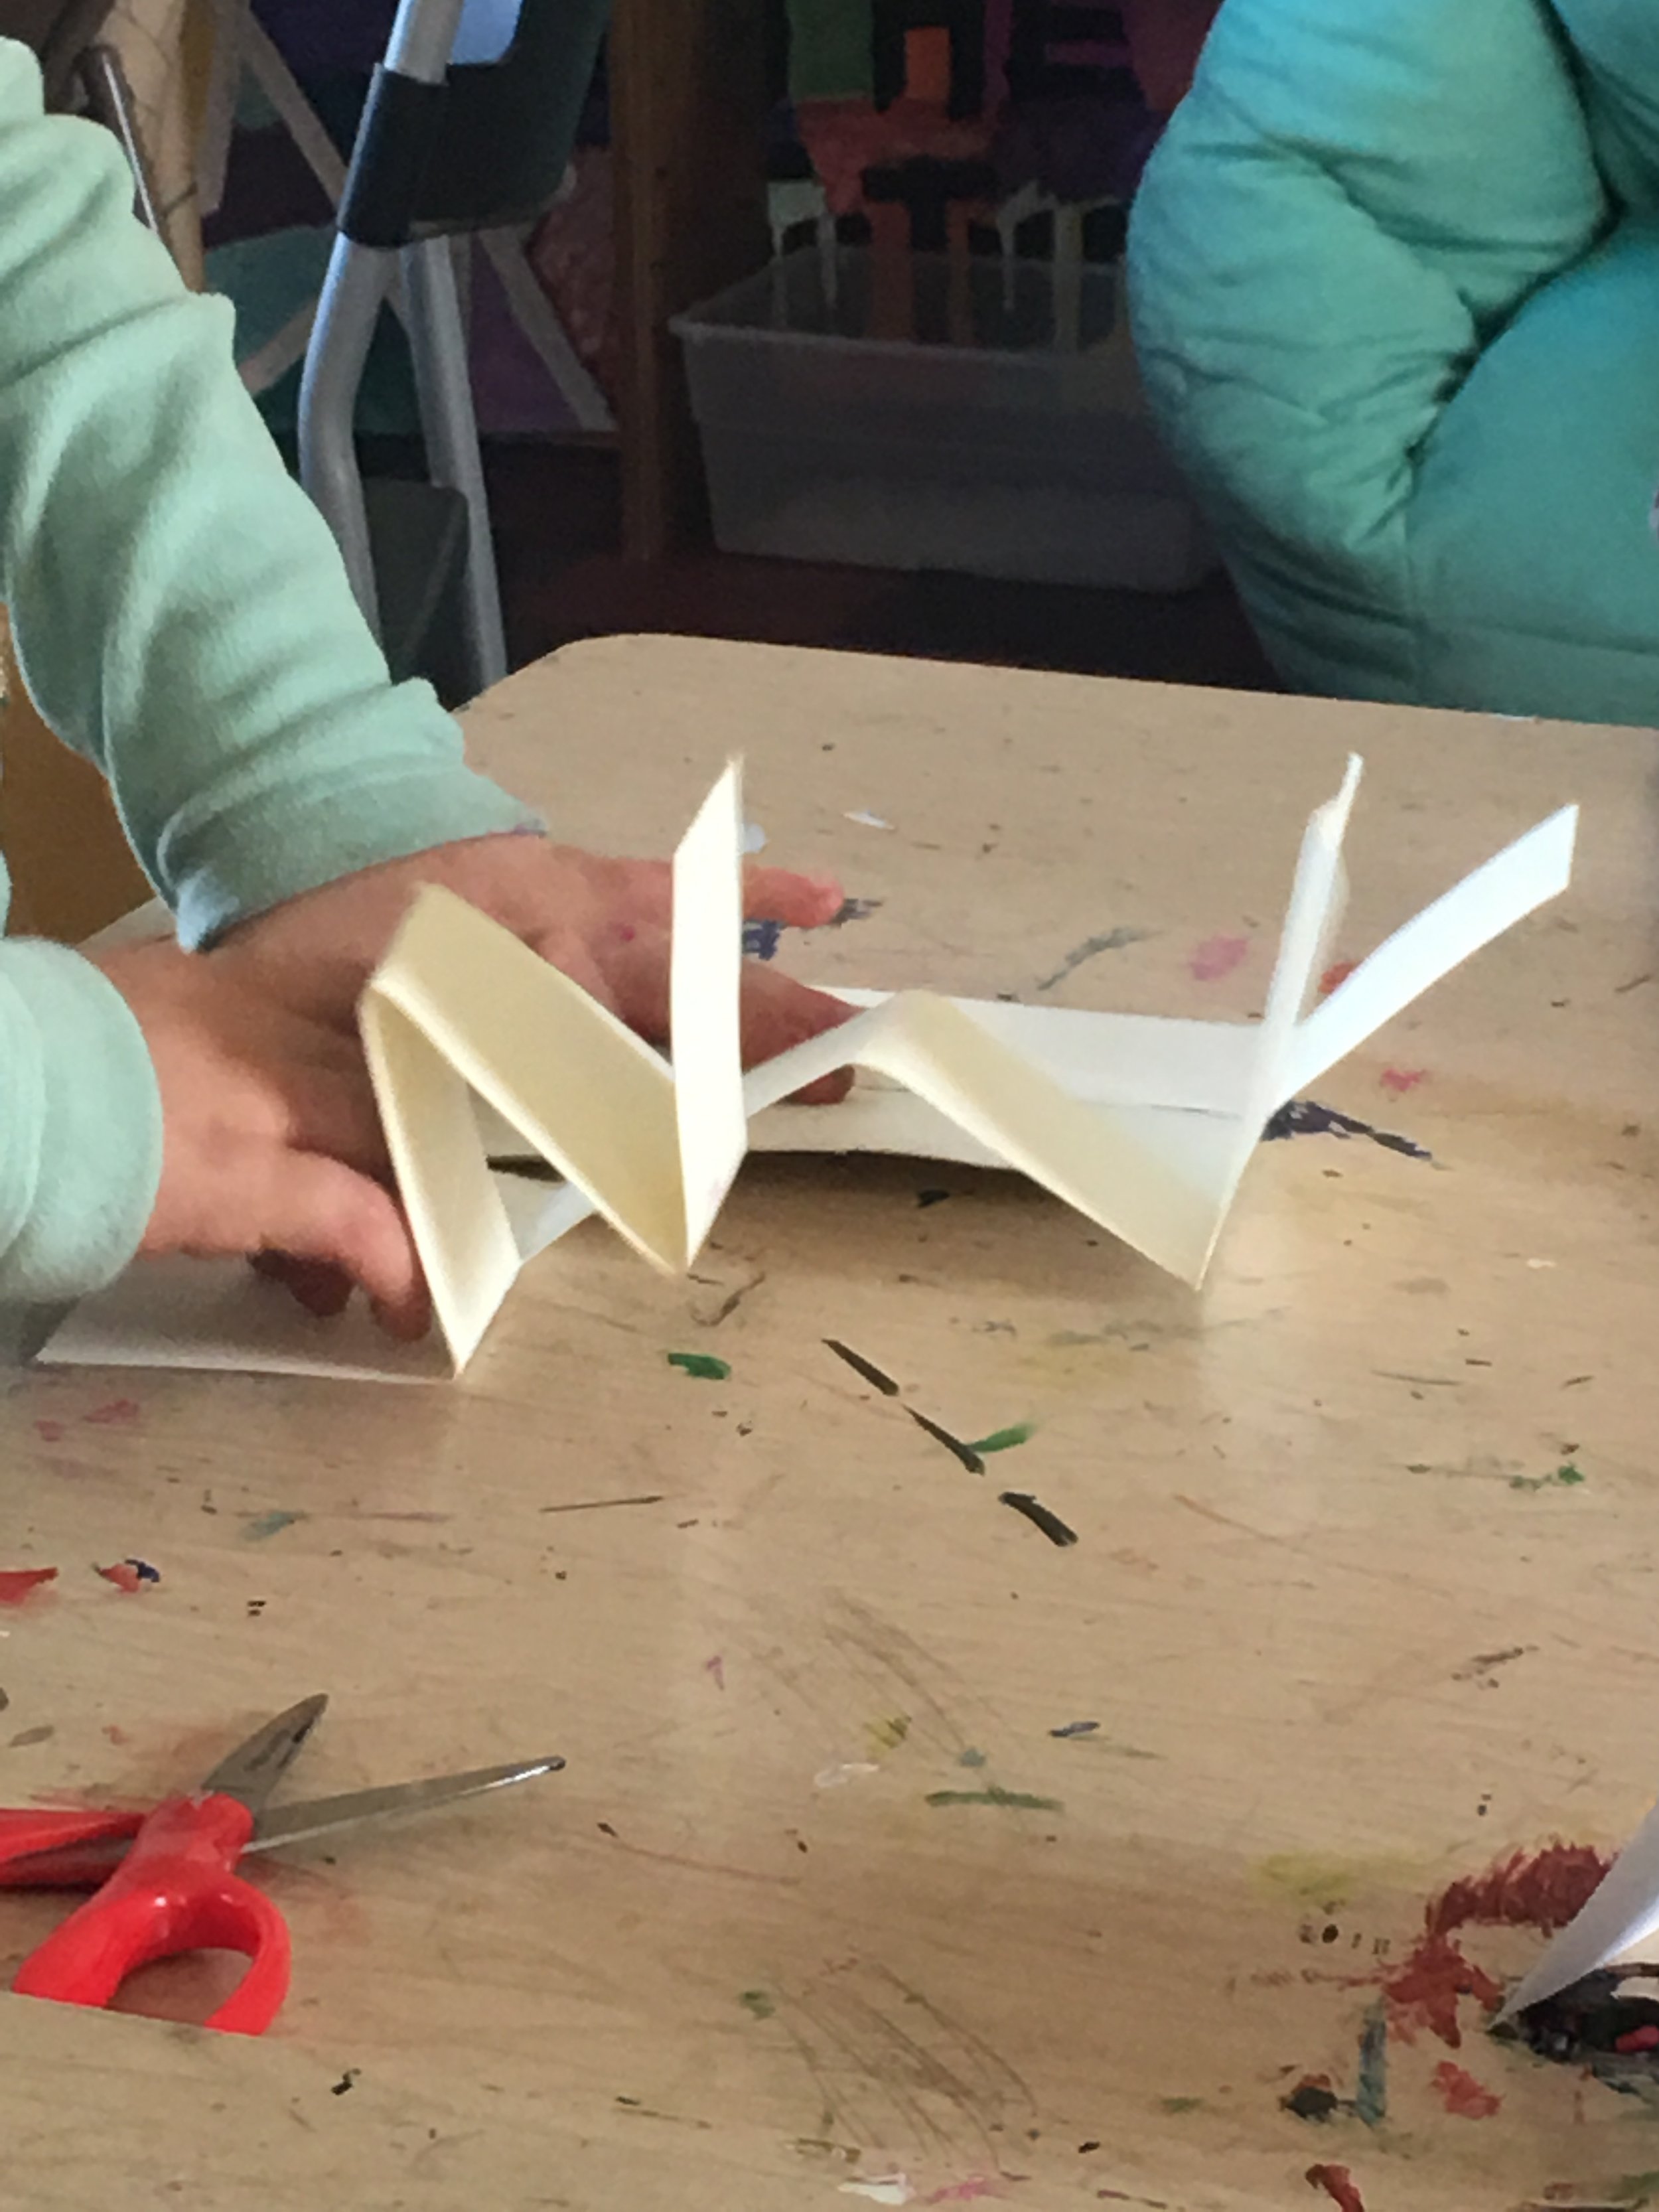
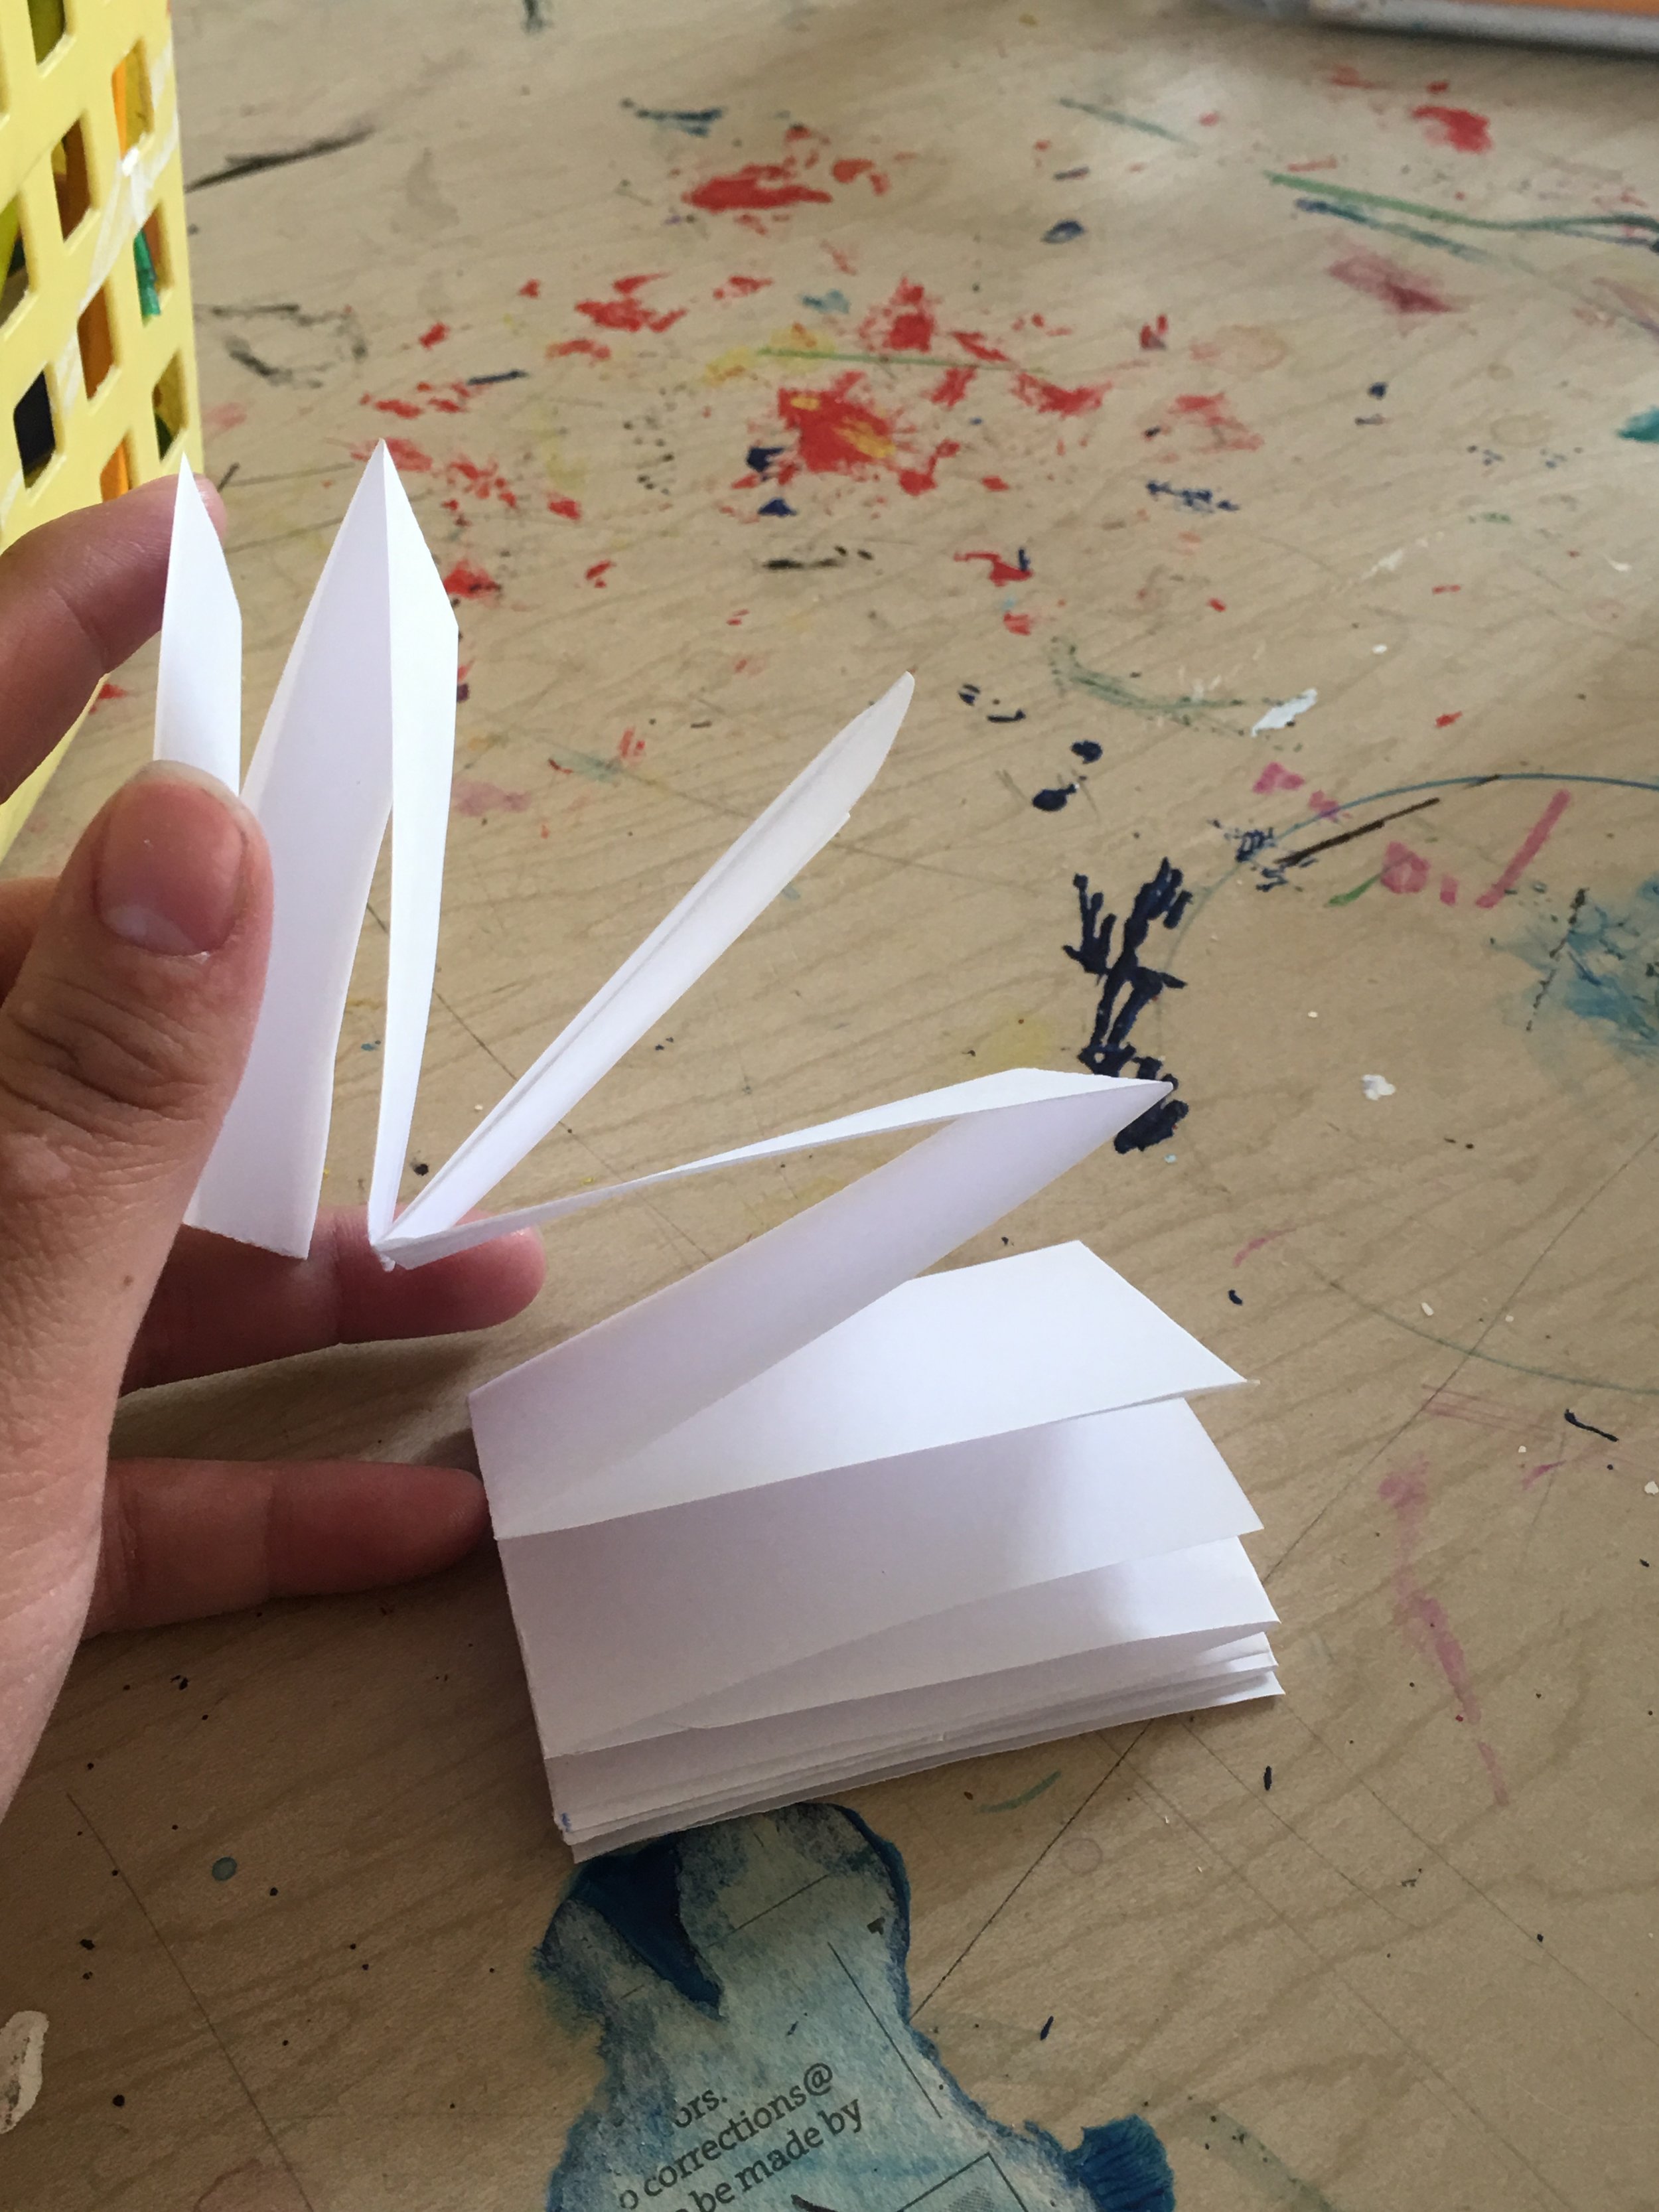
This project will consist of two parts. Part one will be forming the hood of the jellyfish with sculpting metal, tissue paper, and glue. Part 2 will be creating the tentacles using yarn, paper, and ribbon and then attaching the tentacles to the body.
“Big Ideas”/ Essential QUESTION(s)
What can I do to a material to change its visual properties?
Manipulation of materials.
Student Outcome Objectives
Students will:
1. Be able to translate 2d visuals into a 3d representation
2. Discover through experimentation
3. Visualize or Solve?
Prior Knowledge
No prior knowledge is needed.
Lesson Preparation Timeline
Teaching dates: 1/27/2022 and 2/3/2022
Still planning talking about possible installation dates
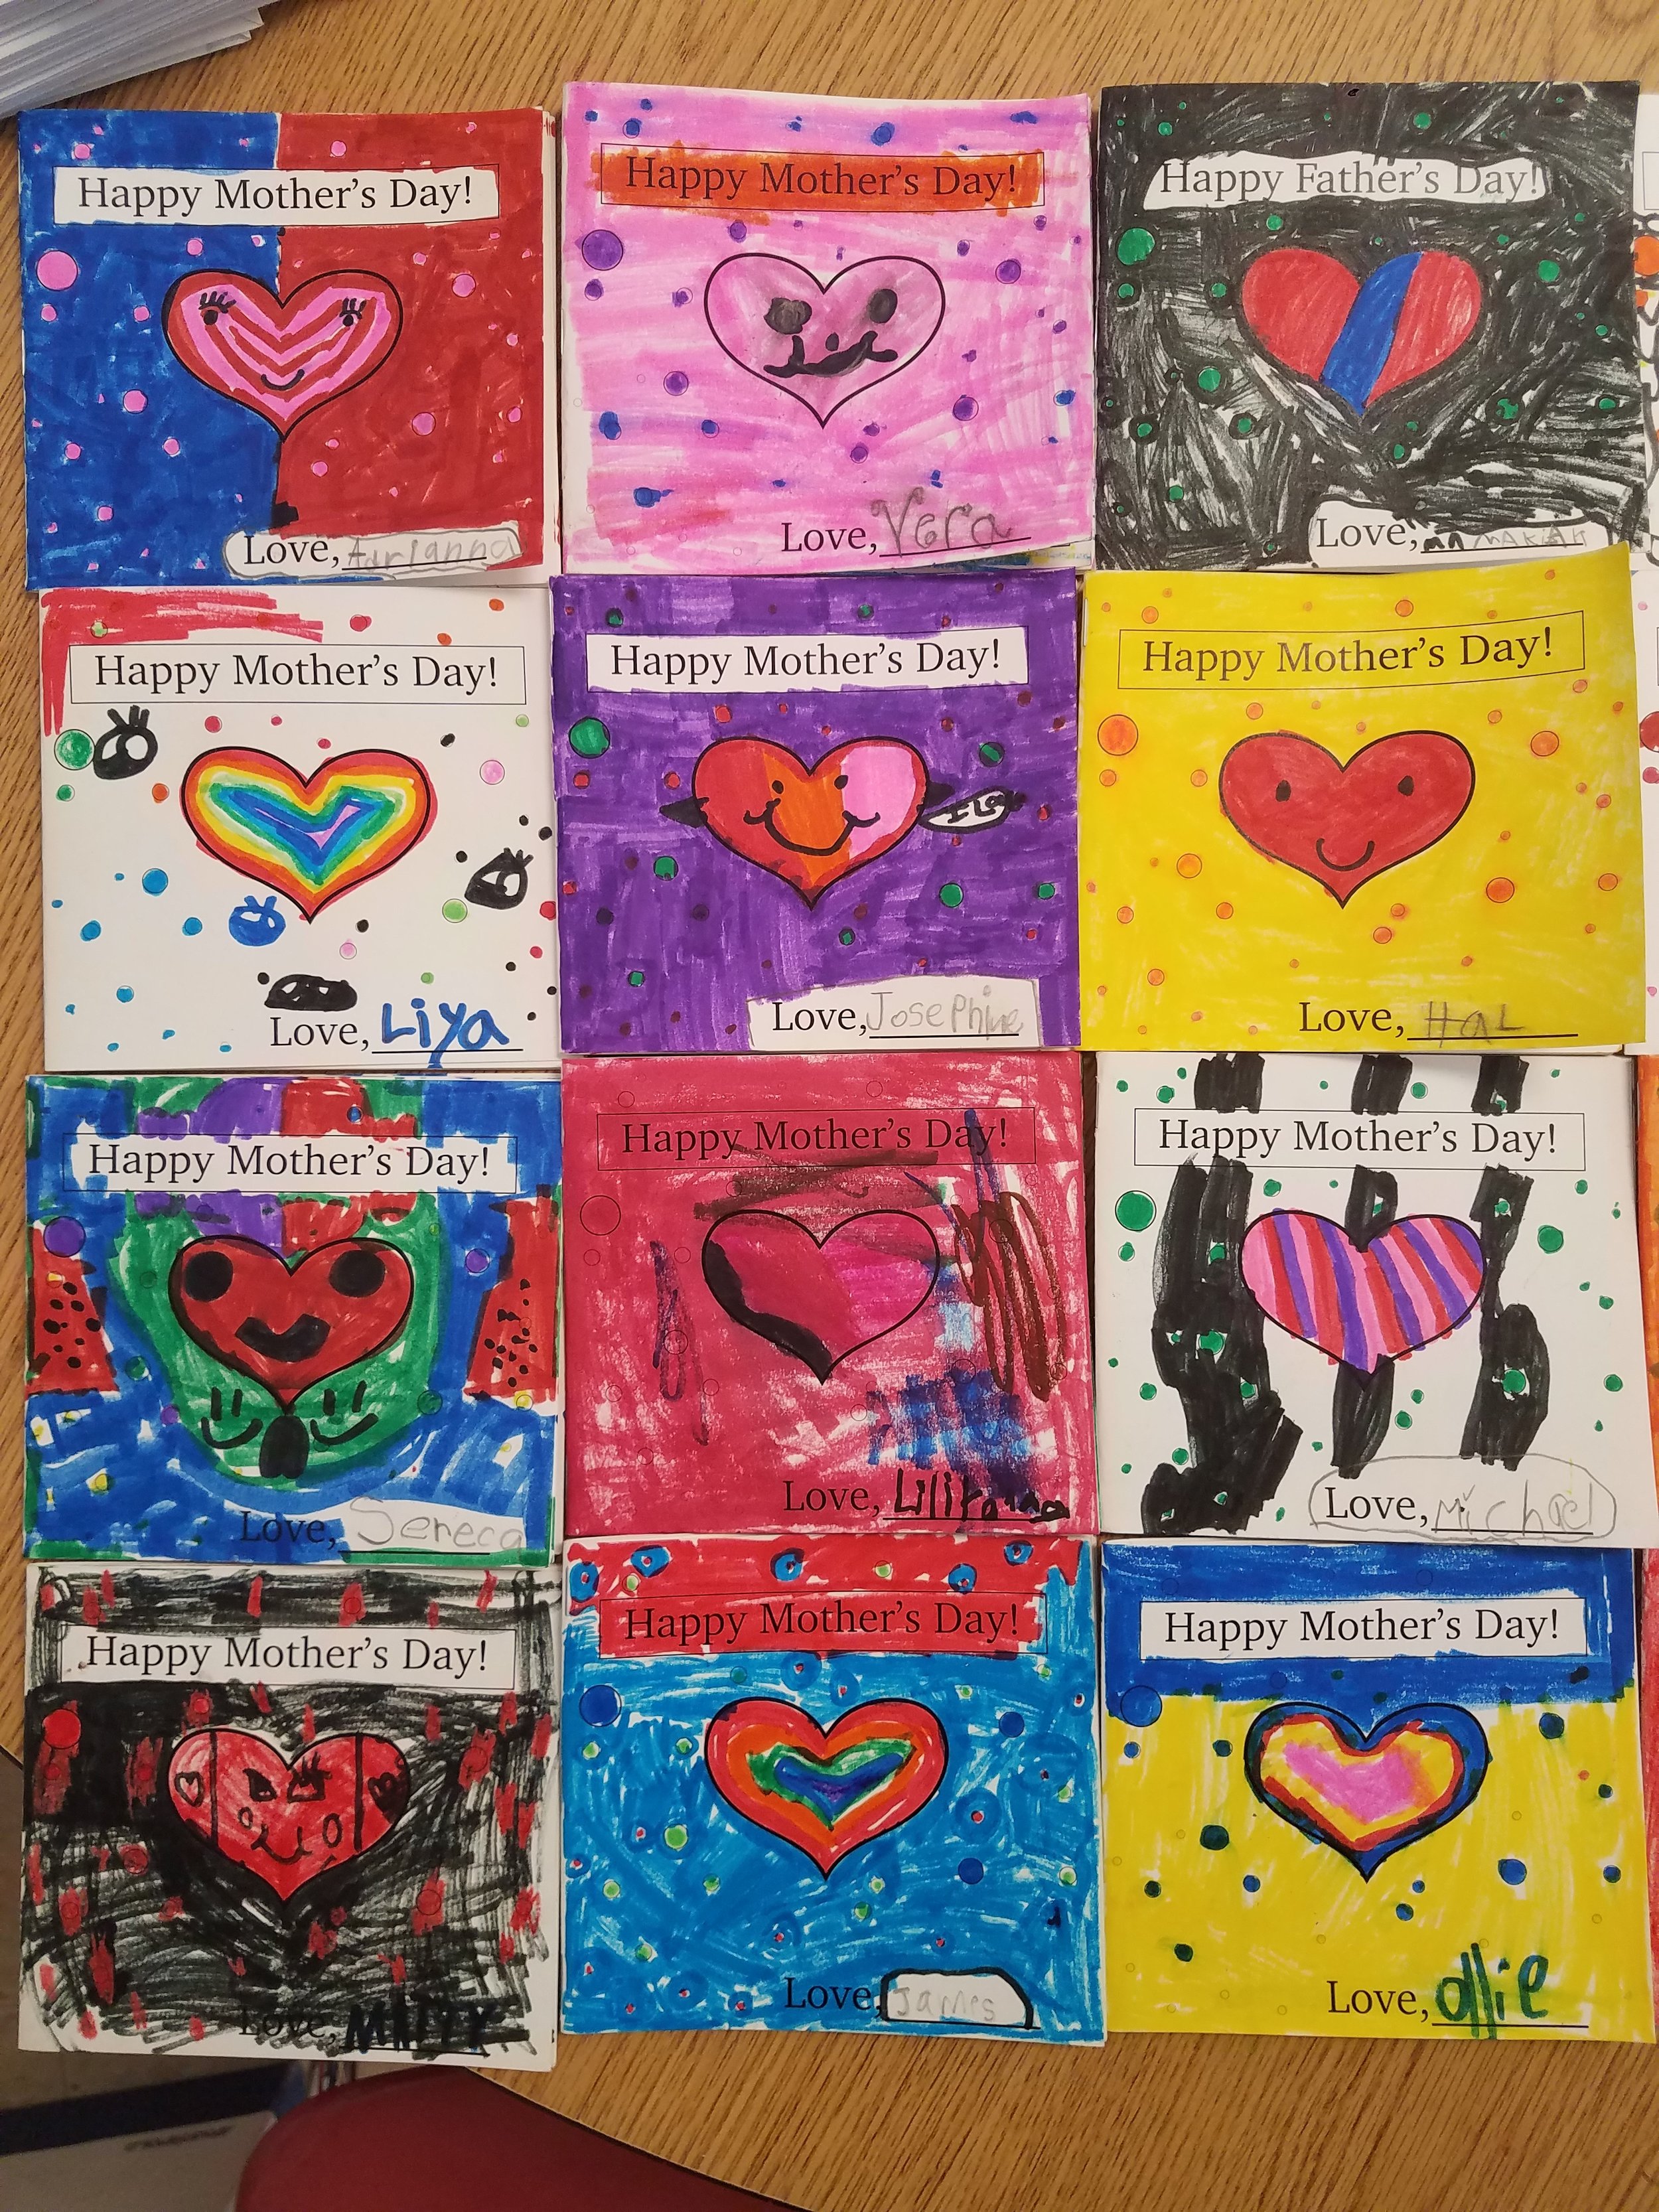
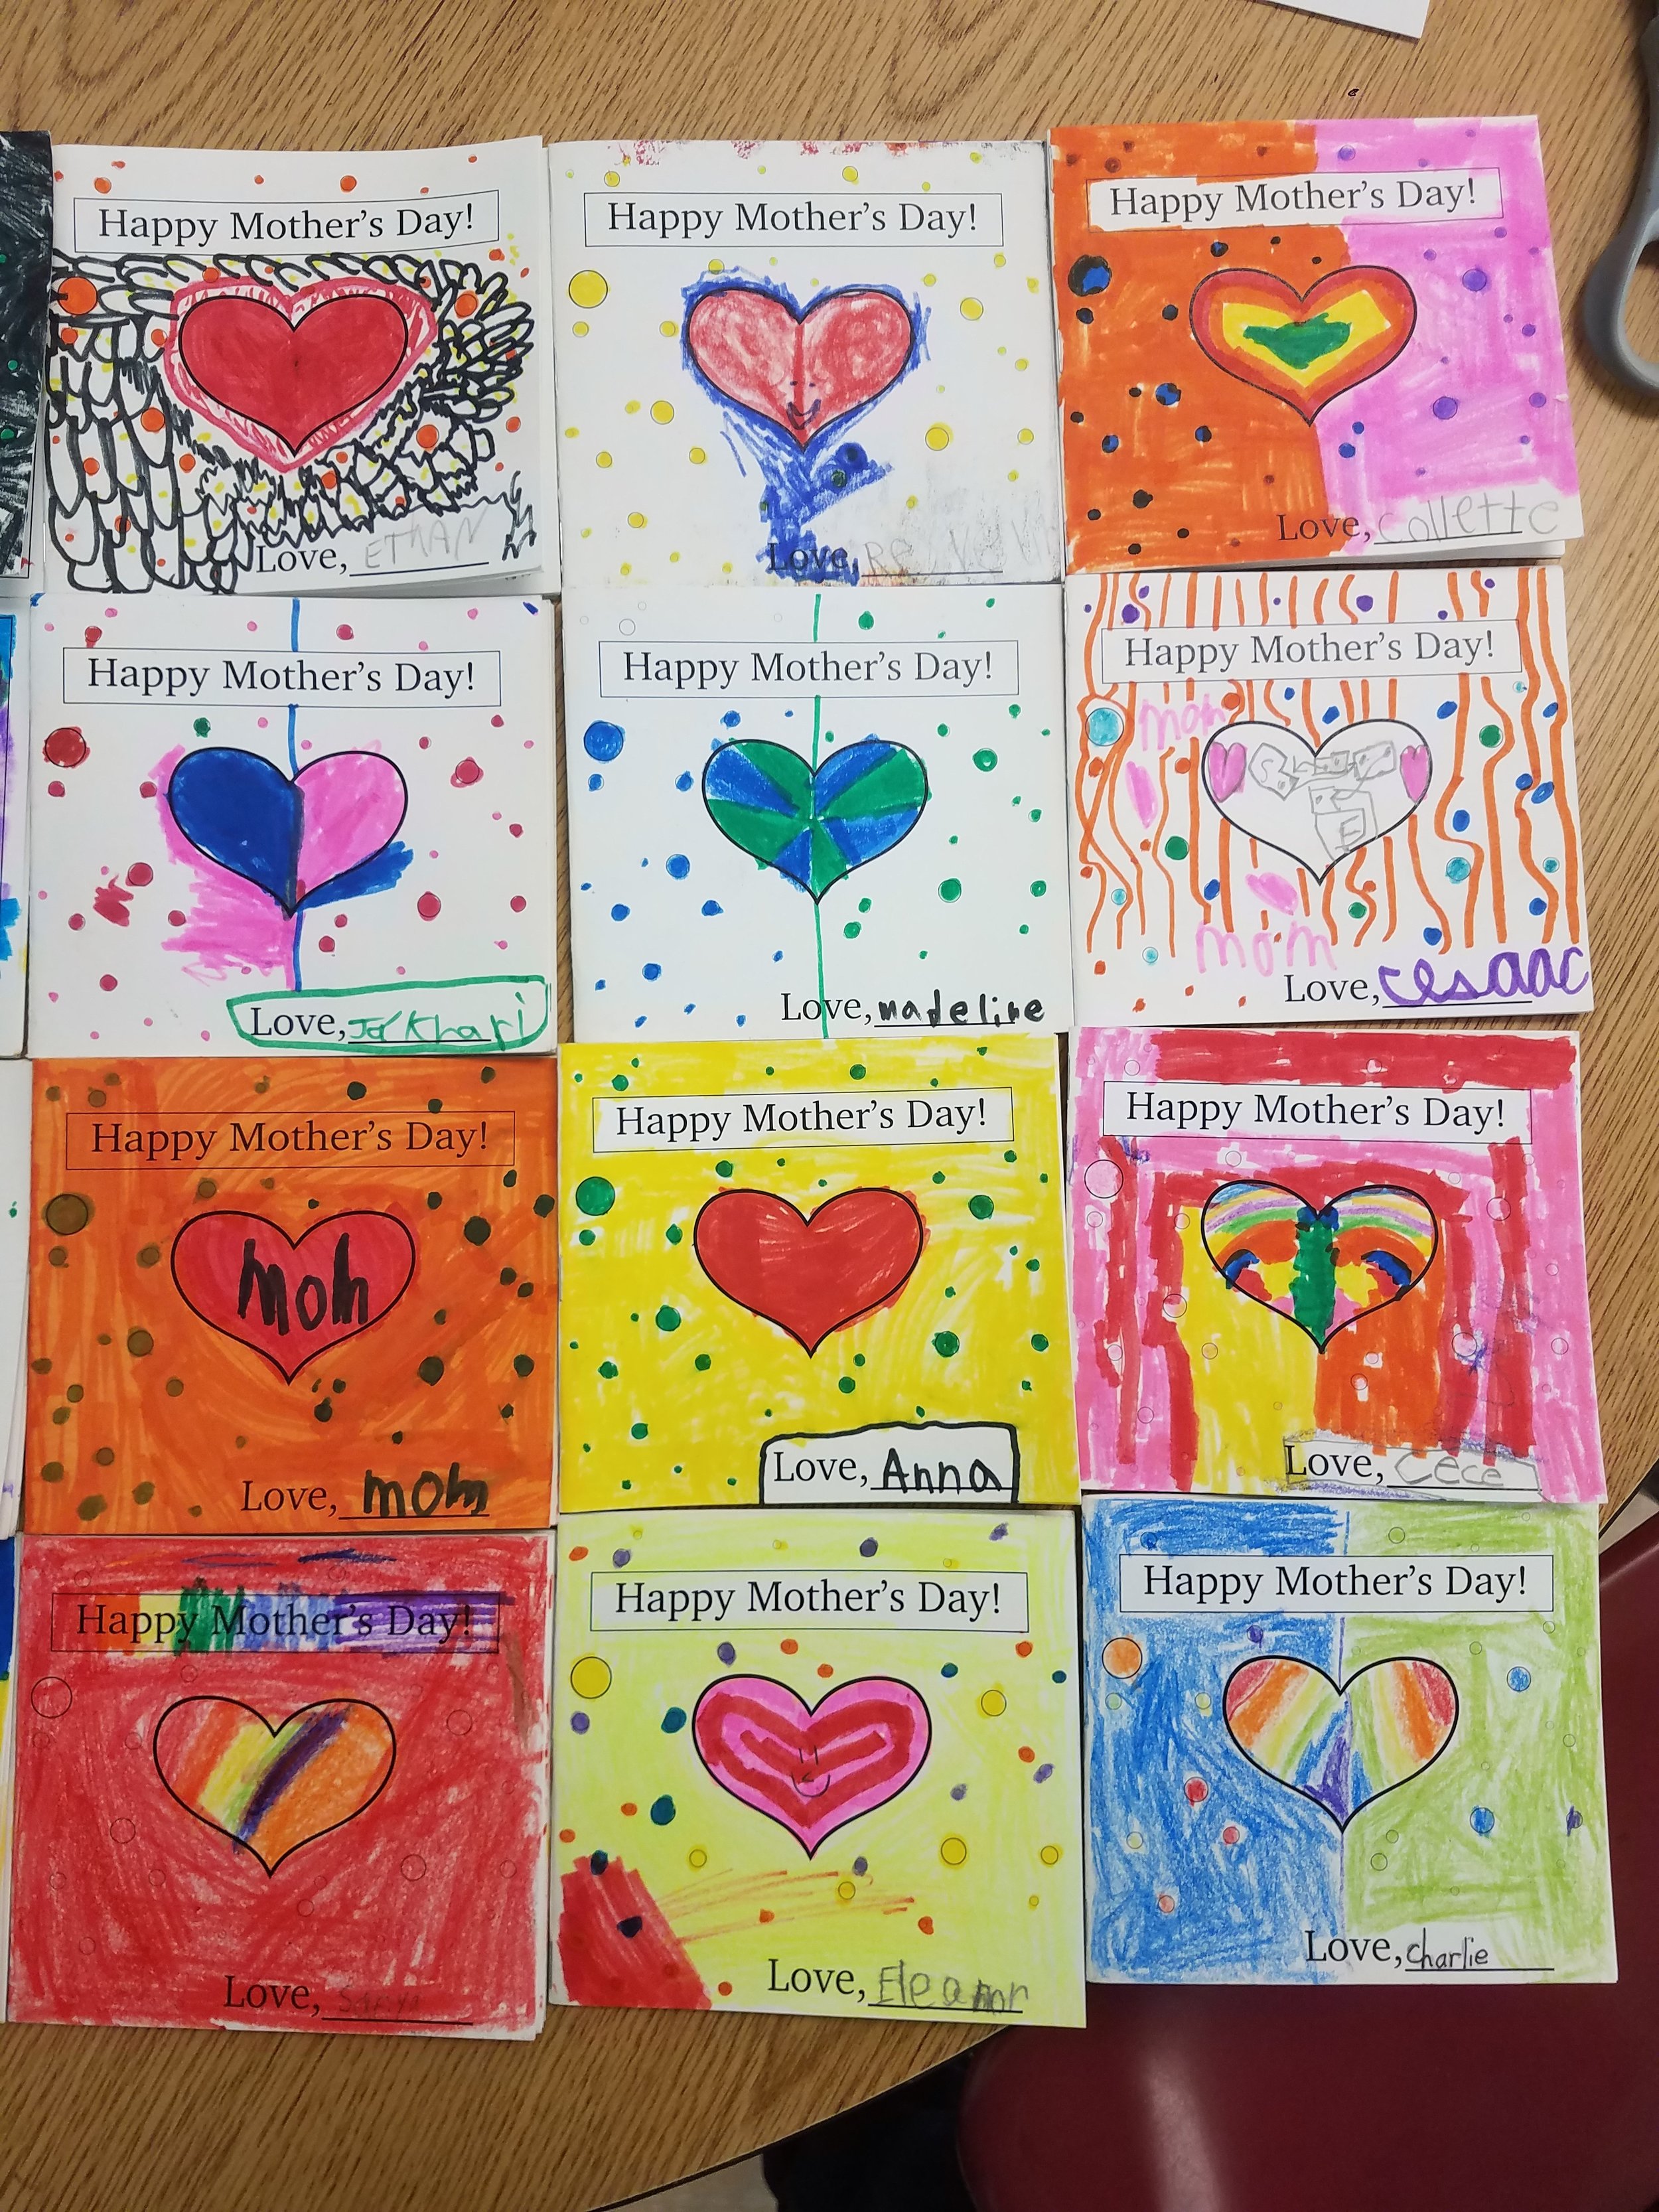
Examples of Artwork
I will bring in examples of what the possible project outcome could be (including one made by a friend of mine that I tested the project on)
Additional Resources
I am planing on showing a video of jellyfish swimming while they work, pictures of real jellyfish, and pictures of jellyfish sculptures. I also am using materials that I have recently been experimenting with on my own.
Assessment
After the class reflecting on what makes something that’s not moving look like it is or could?
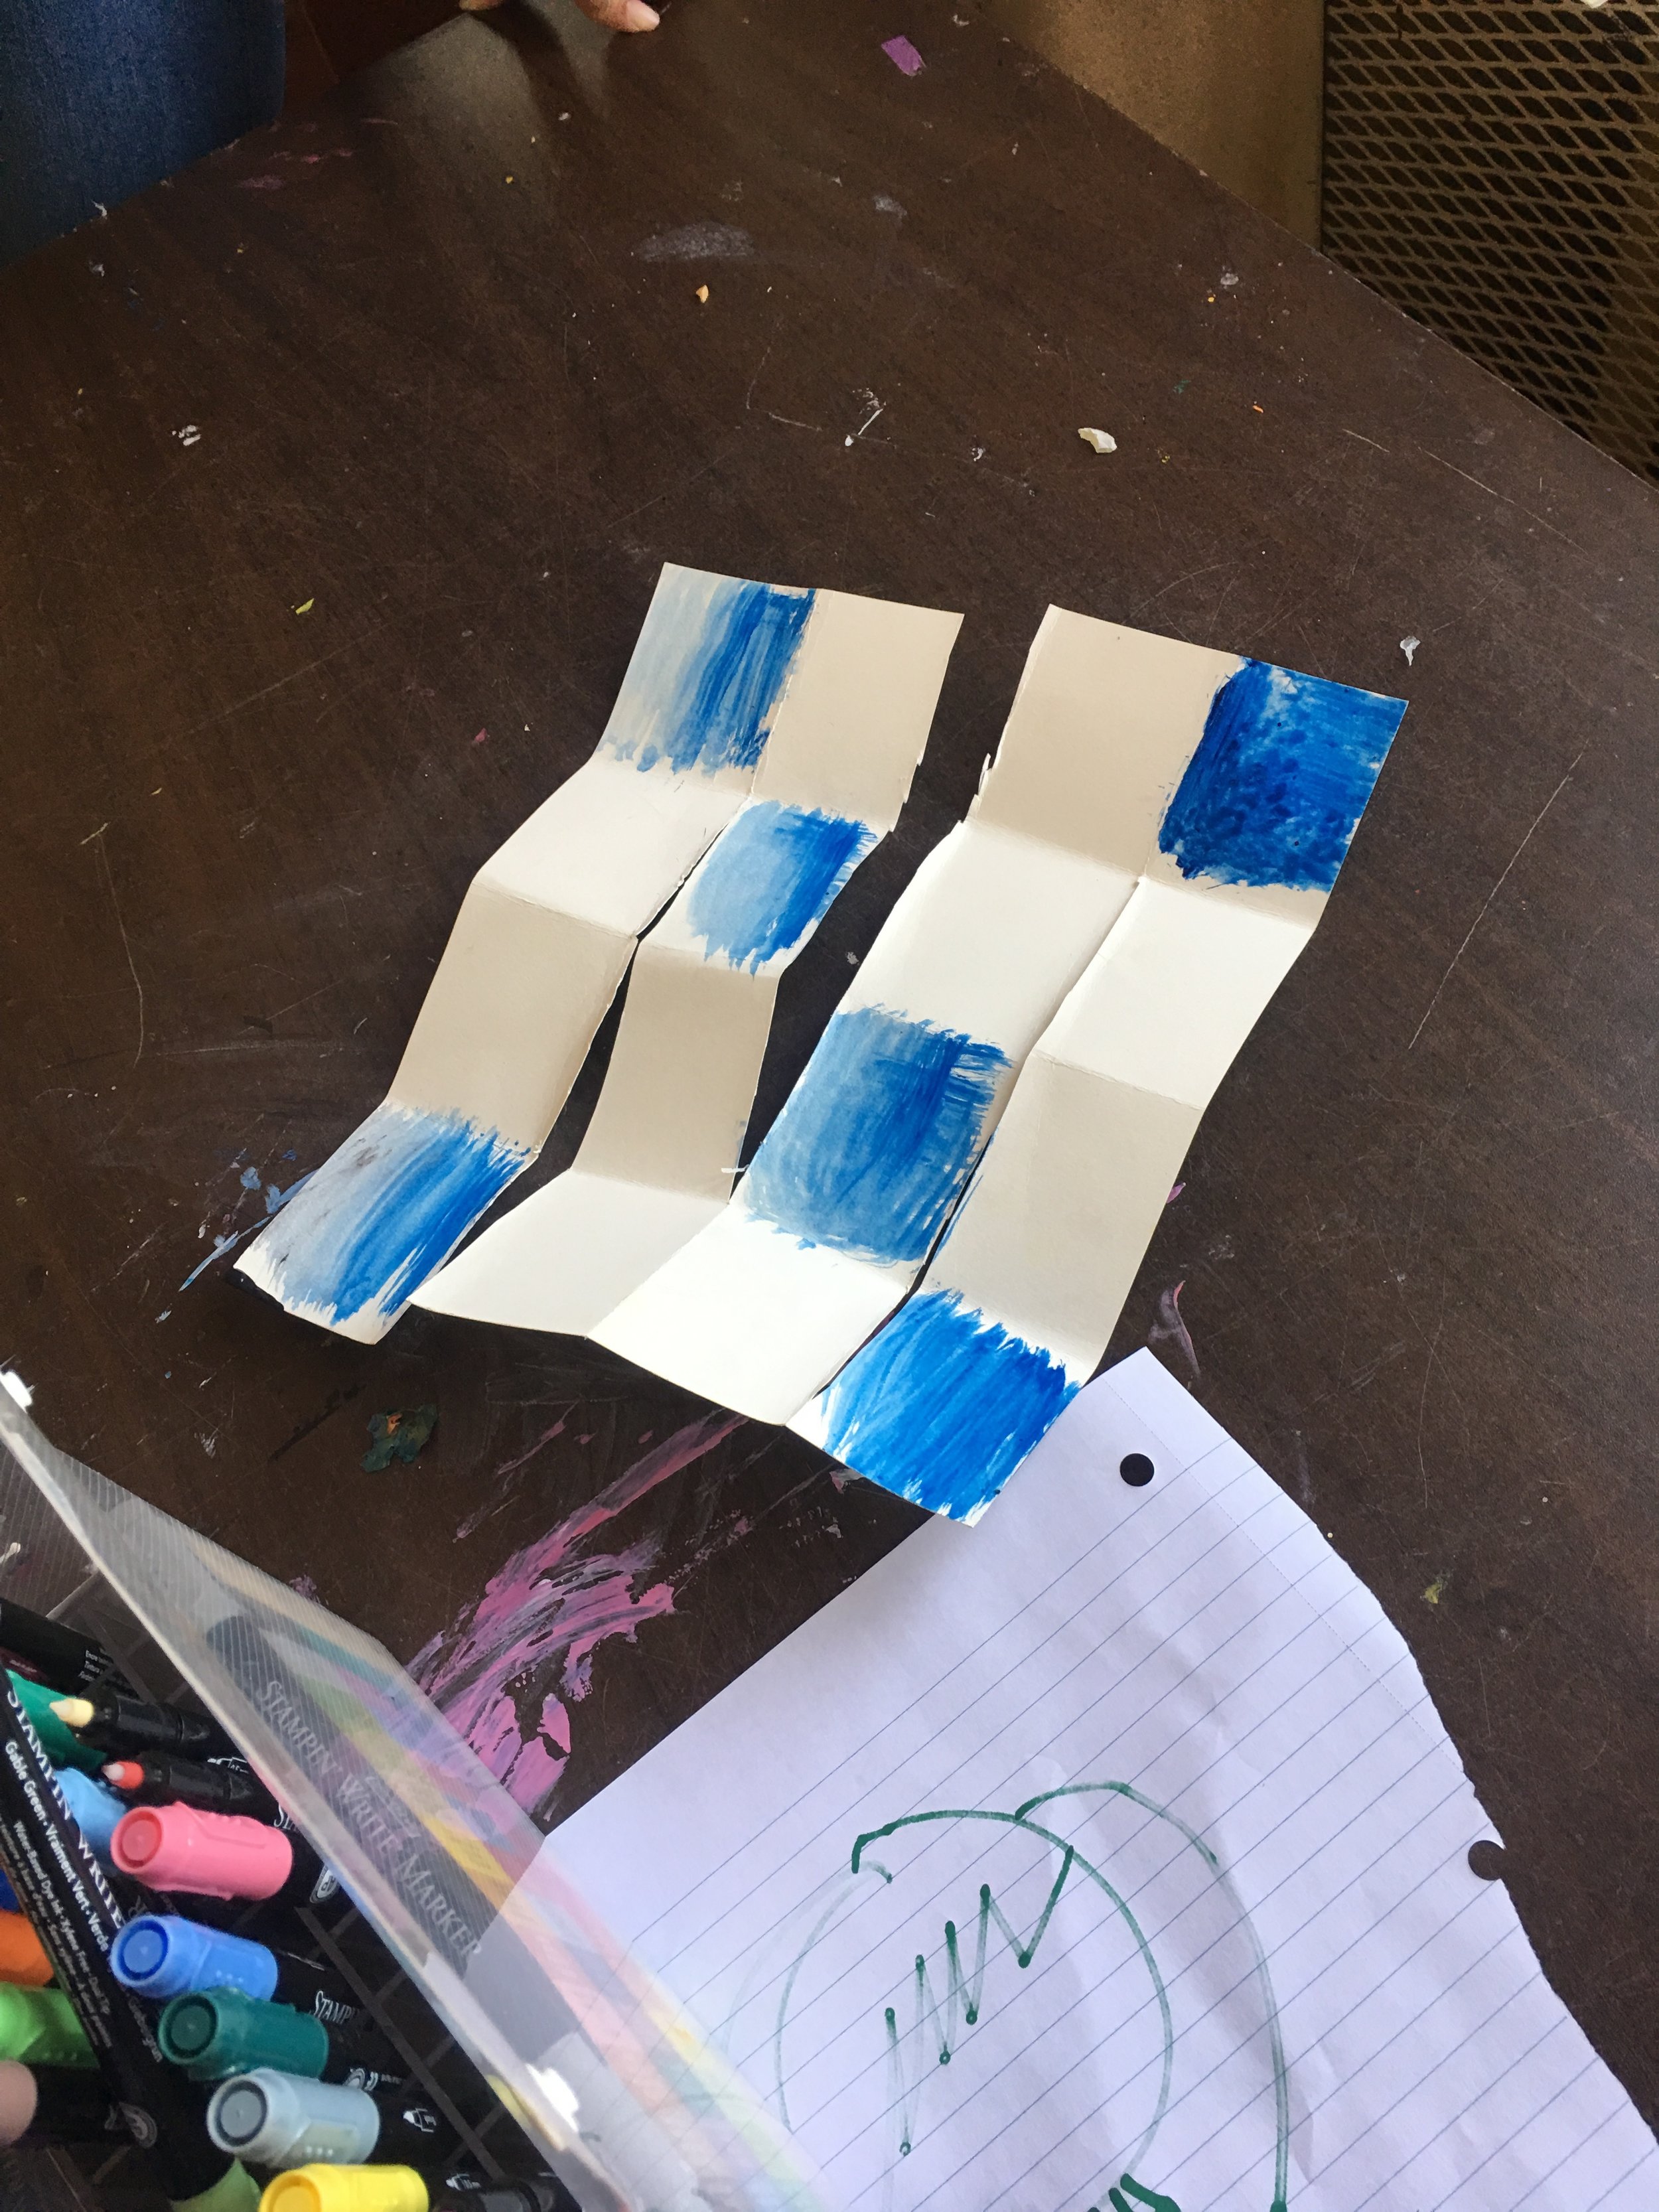
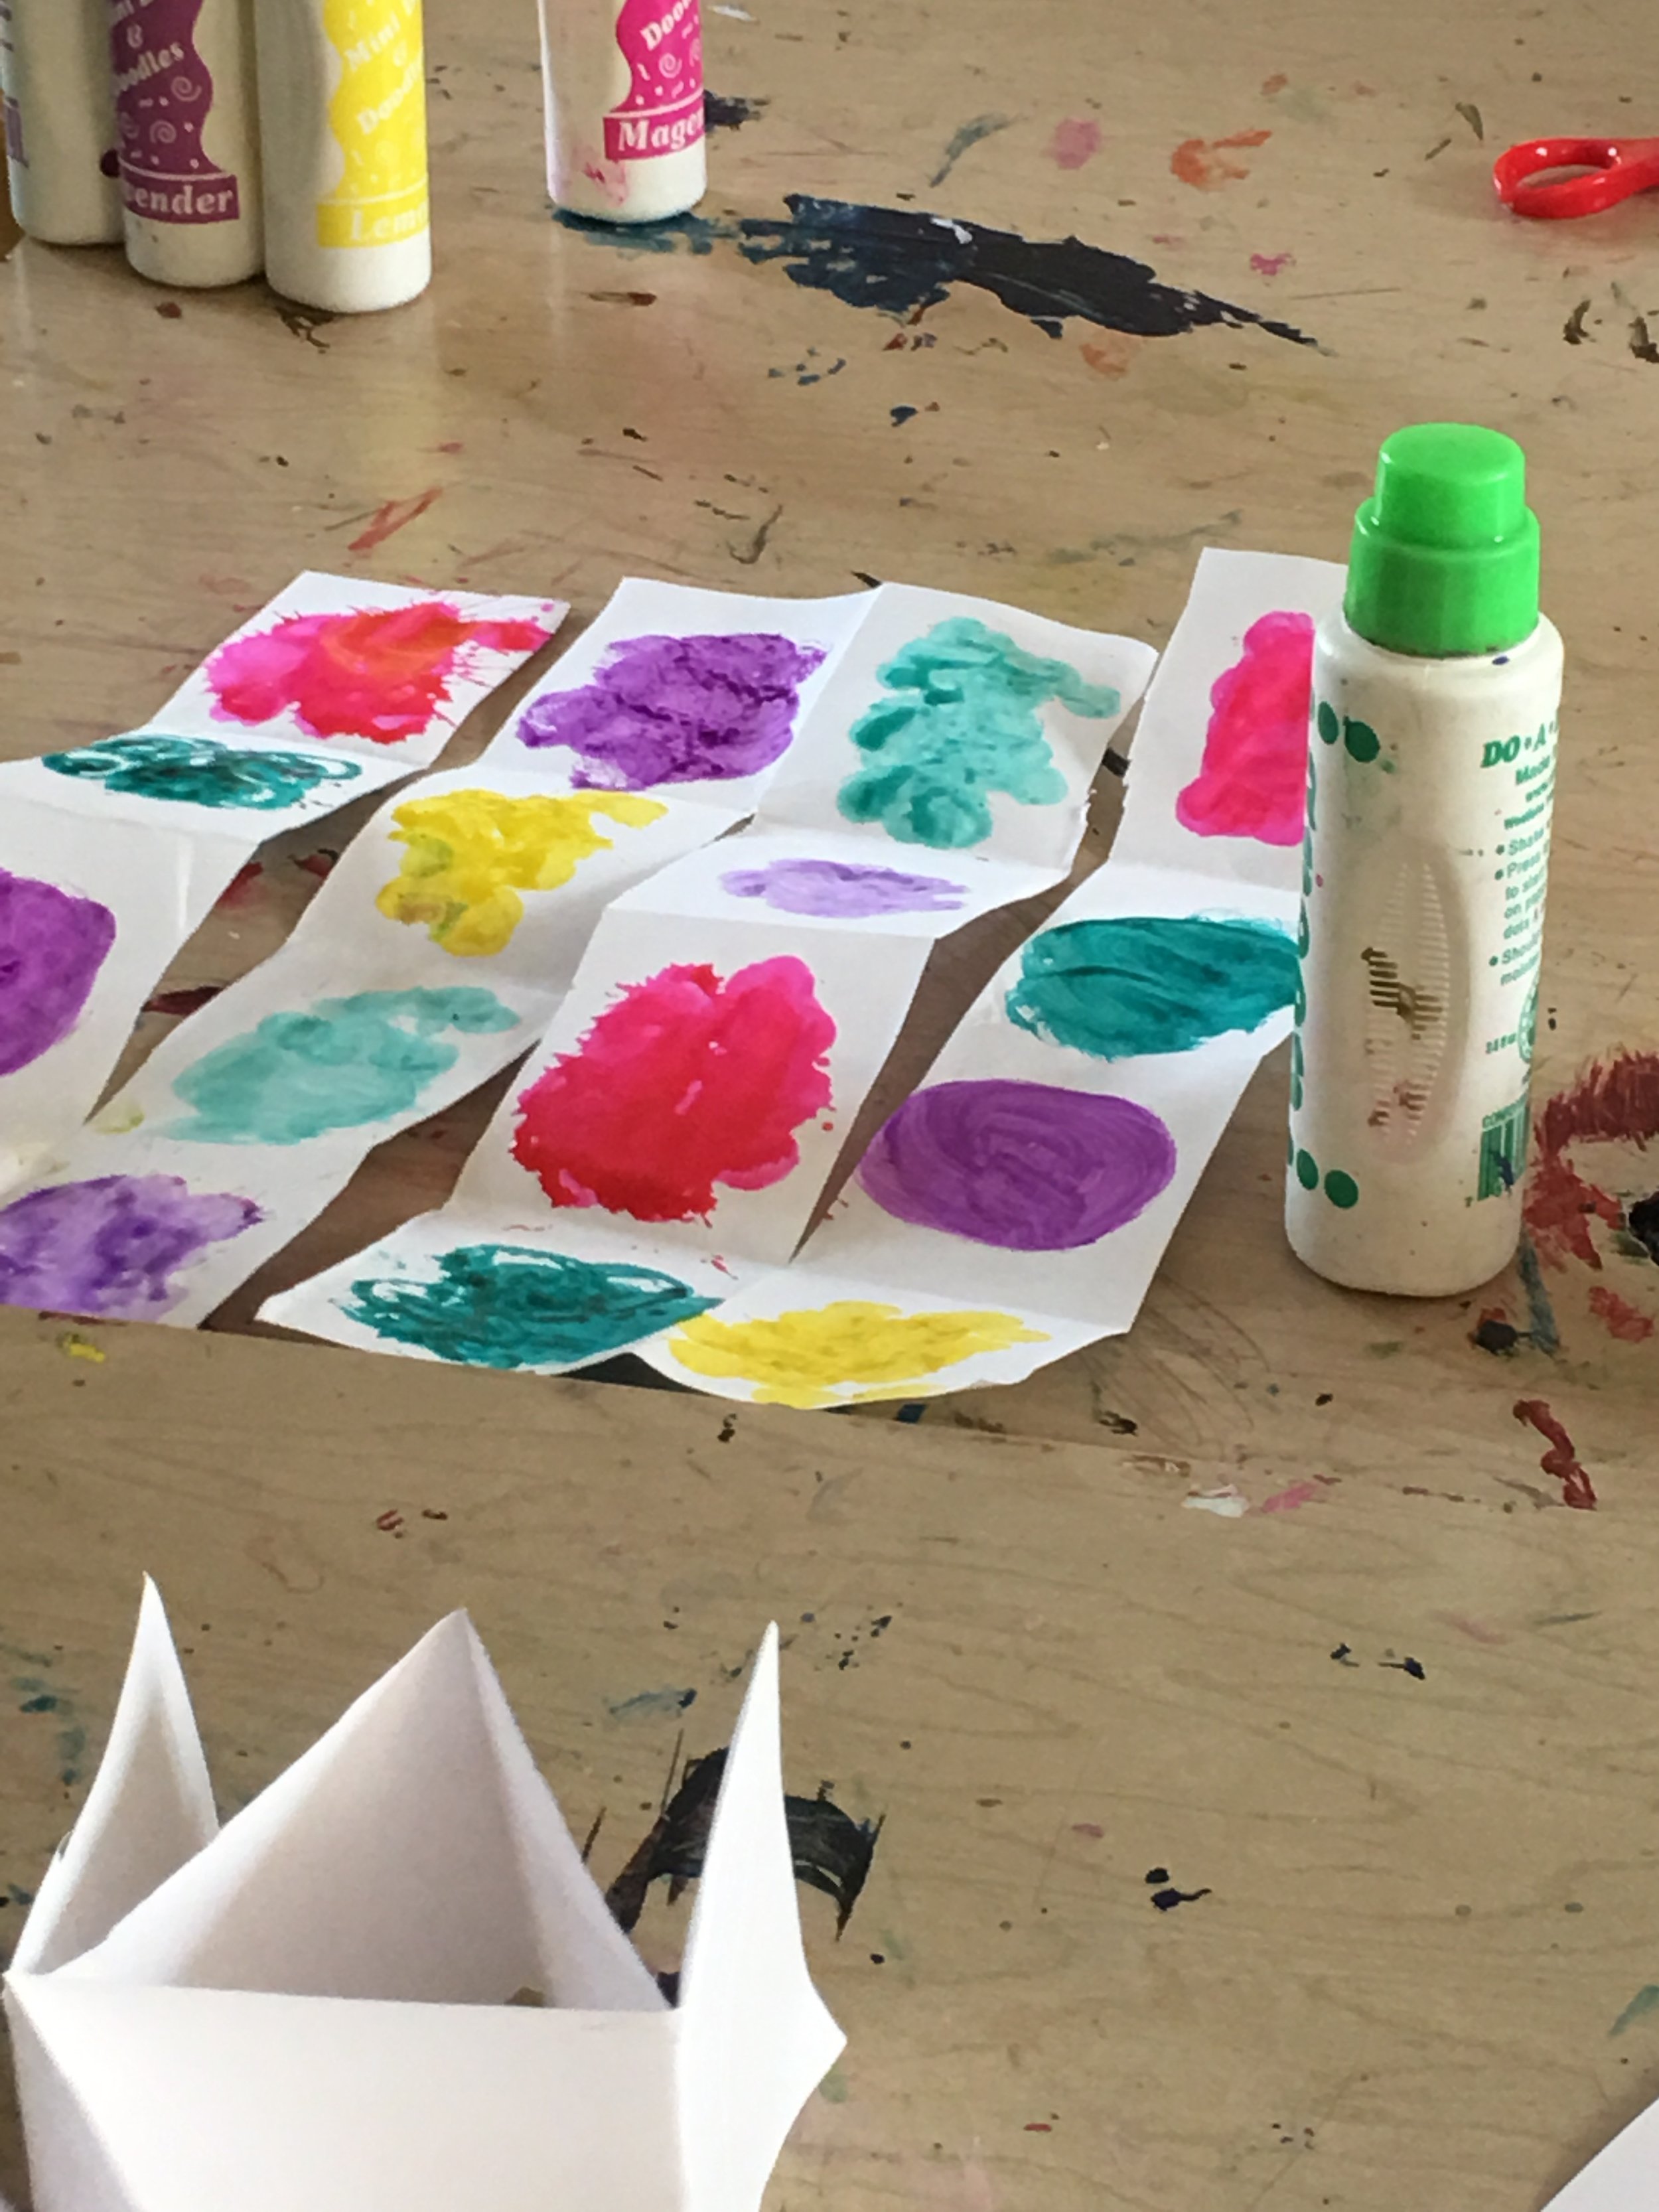
How did certain treatments (like adding water to paper or crumpling up paper) affect a material and how could that affect be useful in translating an idea or visual.
Materials
Material list:
Ring (deli lids with middle cut out)
Elmers Glue
Sculpting wire
Tissue Paper
Sparkles
Paint brushes
Plates for glue
Newspaper (for mess)
Blue tape with strings (name tags)
Cardboard box (carrying everything and potentially ones labeled for each class for drytime)
Water bottle (washing glue paintbrushes)
Paper towels (potential mess)
Yarn
Ribbon
Garbage bags (cut into strips)
Cardstock paper strips (gluing tentacles to this)
Glue sticks (provided by kids..maybe have some extras?)
Kit 1:
Sculpting metal x2
Deli lid x1
Tissue paper squares x2
Glob of glue on paper plate
2” Paintbrush
Kit for Part 2:
Ribbon x2
2 pieces of yarn
Garbage bag strips x1
Tissue paper strips x1
1” Strip of cardstock paper
Learning Activities and Timing
Before class starts:
Lay out newspaper, plates with glue, and kits
Say hello and introduce myself: My name is Lydia and I am currently in school studying furniture design. I work with many different materials including things like: metal, wood, paper, glue, plaster etc and we are going to working with some of those materials today to make jellyfish sculptures.
(remind students to not touch anything yet)
Open up presentation and introduce the project: We are going to be making 3d jellyfish sculptures
Show some examples of 3d jellyfish sculptures
Talk about the basic Jellyfish parts (the ones we will be making in the sculpture)
Jellyfish parts:
- The hood (or bell) is what encloses the internal structure of the jellyfish
- Tentacles are covered with cells called “cnidocytes” that can stings and kill other animals
- Oral arms are also coated in a venomous cell (nematocysts). The oral arms are closer to the mouth and body of the jellyfish and and are used to draw food up to their mouths
6. Show photos of real jellyfish
-What do you notice in the photos? How would you describe them? Ask 2 students to share words. (Repeat for jellyfish sculptures)
Ask: “How would you describe the differences between the real and fake jellyfish?
1:20
7. Explain the project briefly (overview)
8. Tutorial 1:
- on bending wire and wrapping it
- applying glue and tissue paper (remind them that this is tricky and if you feel frustrated to take a deep breath and try again or ask for help)
1:25
10. Play video of jellyfish on big screen while the kids work
11. Walk around and help
1:35
12. Once ready for step 2 have everyone stop working and listen to Tutorial 2
-show to attach tentacles to cardstock
-show different techniques for manipulating material
1:40
13. Talk about materials they could find and use at home to add to their jellyfish
14. Final step attaching tentacles (If we run out of time students who don’t get to the step leave them and I will do it after class)
1:55
15. Reflect:
Share one choice you made for your 3D jellyfish. (did you crumple the tissue paper? Did cut things short or keep them long? Did you use all of your materials or only a few?)


