Springtime Growth Animation
School: Lake Country Montessori
Teaching Artist: Sydney Hollingshead
Grade Level(s): 1-3
Number of Students: 14
Visual Arts Content/Standards
Creating: Generate and conceptualize artistic ideas and work.
Organize and develop artistic ideas and work.
Overview of Project:
Students will discover a new form of art making by creating their own flipbook animations that tie in with Spring. Because spring is the season of growth, students can grow their own shapes to mimic this aspect. For a more advanced option, students can also try to grow their own flower or tree.
Essential Questions:
How will students be able to successfully convey a growing object?
Will acting out the process of animation help them understand the medium more?
Why is it important to keep track of each frame/drawing in animation?
Student Outcome Objectives:
Students will:
Combine multiple drawings to show an object growing in size.
Learn how to be mindful of every step during the process phase of artmaking.
Discover the importance of double-checking their work before moving on to the next step.
Prior Knowledge: Similar to the Spring season, it is important for students to have a growth mindset. At first, it may be frustrating for some students since it’s a new complex form of art to them. However, it is important to keep moving forward, especially because of the limited time.
Preparation Timeline:
1.) Gather the materials for the flipbook
2.) Create flipbooks for the students
3.) Practice the presentation until the teaching date (3/11/20)
Examples of Artwork:
Sydney Hollingshead, Bouncing Ball Transformation, 2019
Sydney Hollingshead, Growing Shape, 2020
Additional Resources:
Animation Presentation
Richard Williams, Animator’s Survival Kit
Assessment:
With this project, students are challenged to always be mindful about every frame and drawing in an animation. One misplaced frame can break the illusion of animation.
The patience of students are also challenged with this project as well. Animation is a long and tricky process, so some may feel frustrated by the extensive amount of time it takes to illustrate growth.
Students are also challenged to know when they are officially done with their animations. They should ask themselves if their flipbook is complete and successfully conveys a consistent story and movement.
Materials:
For each student
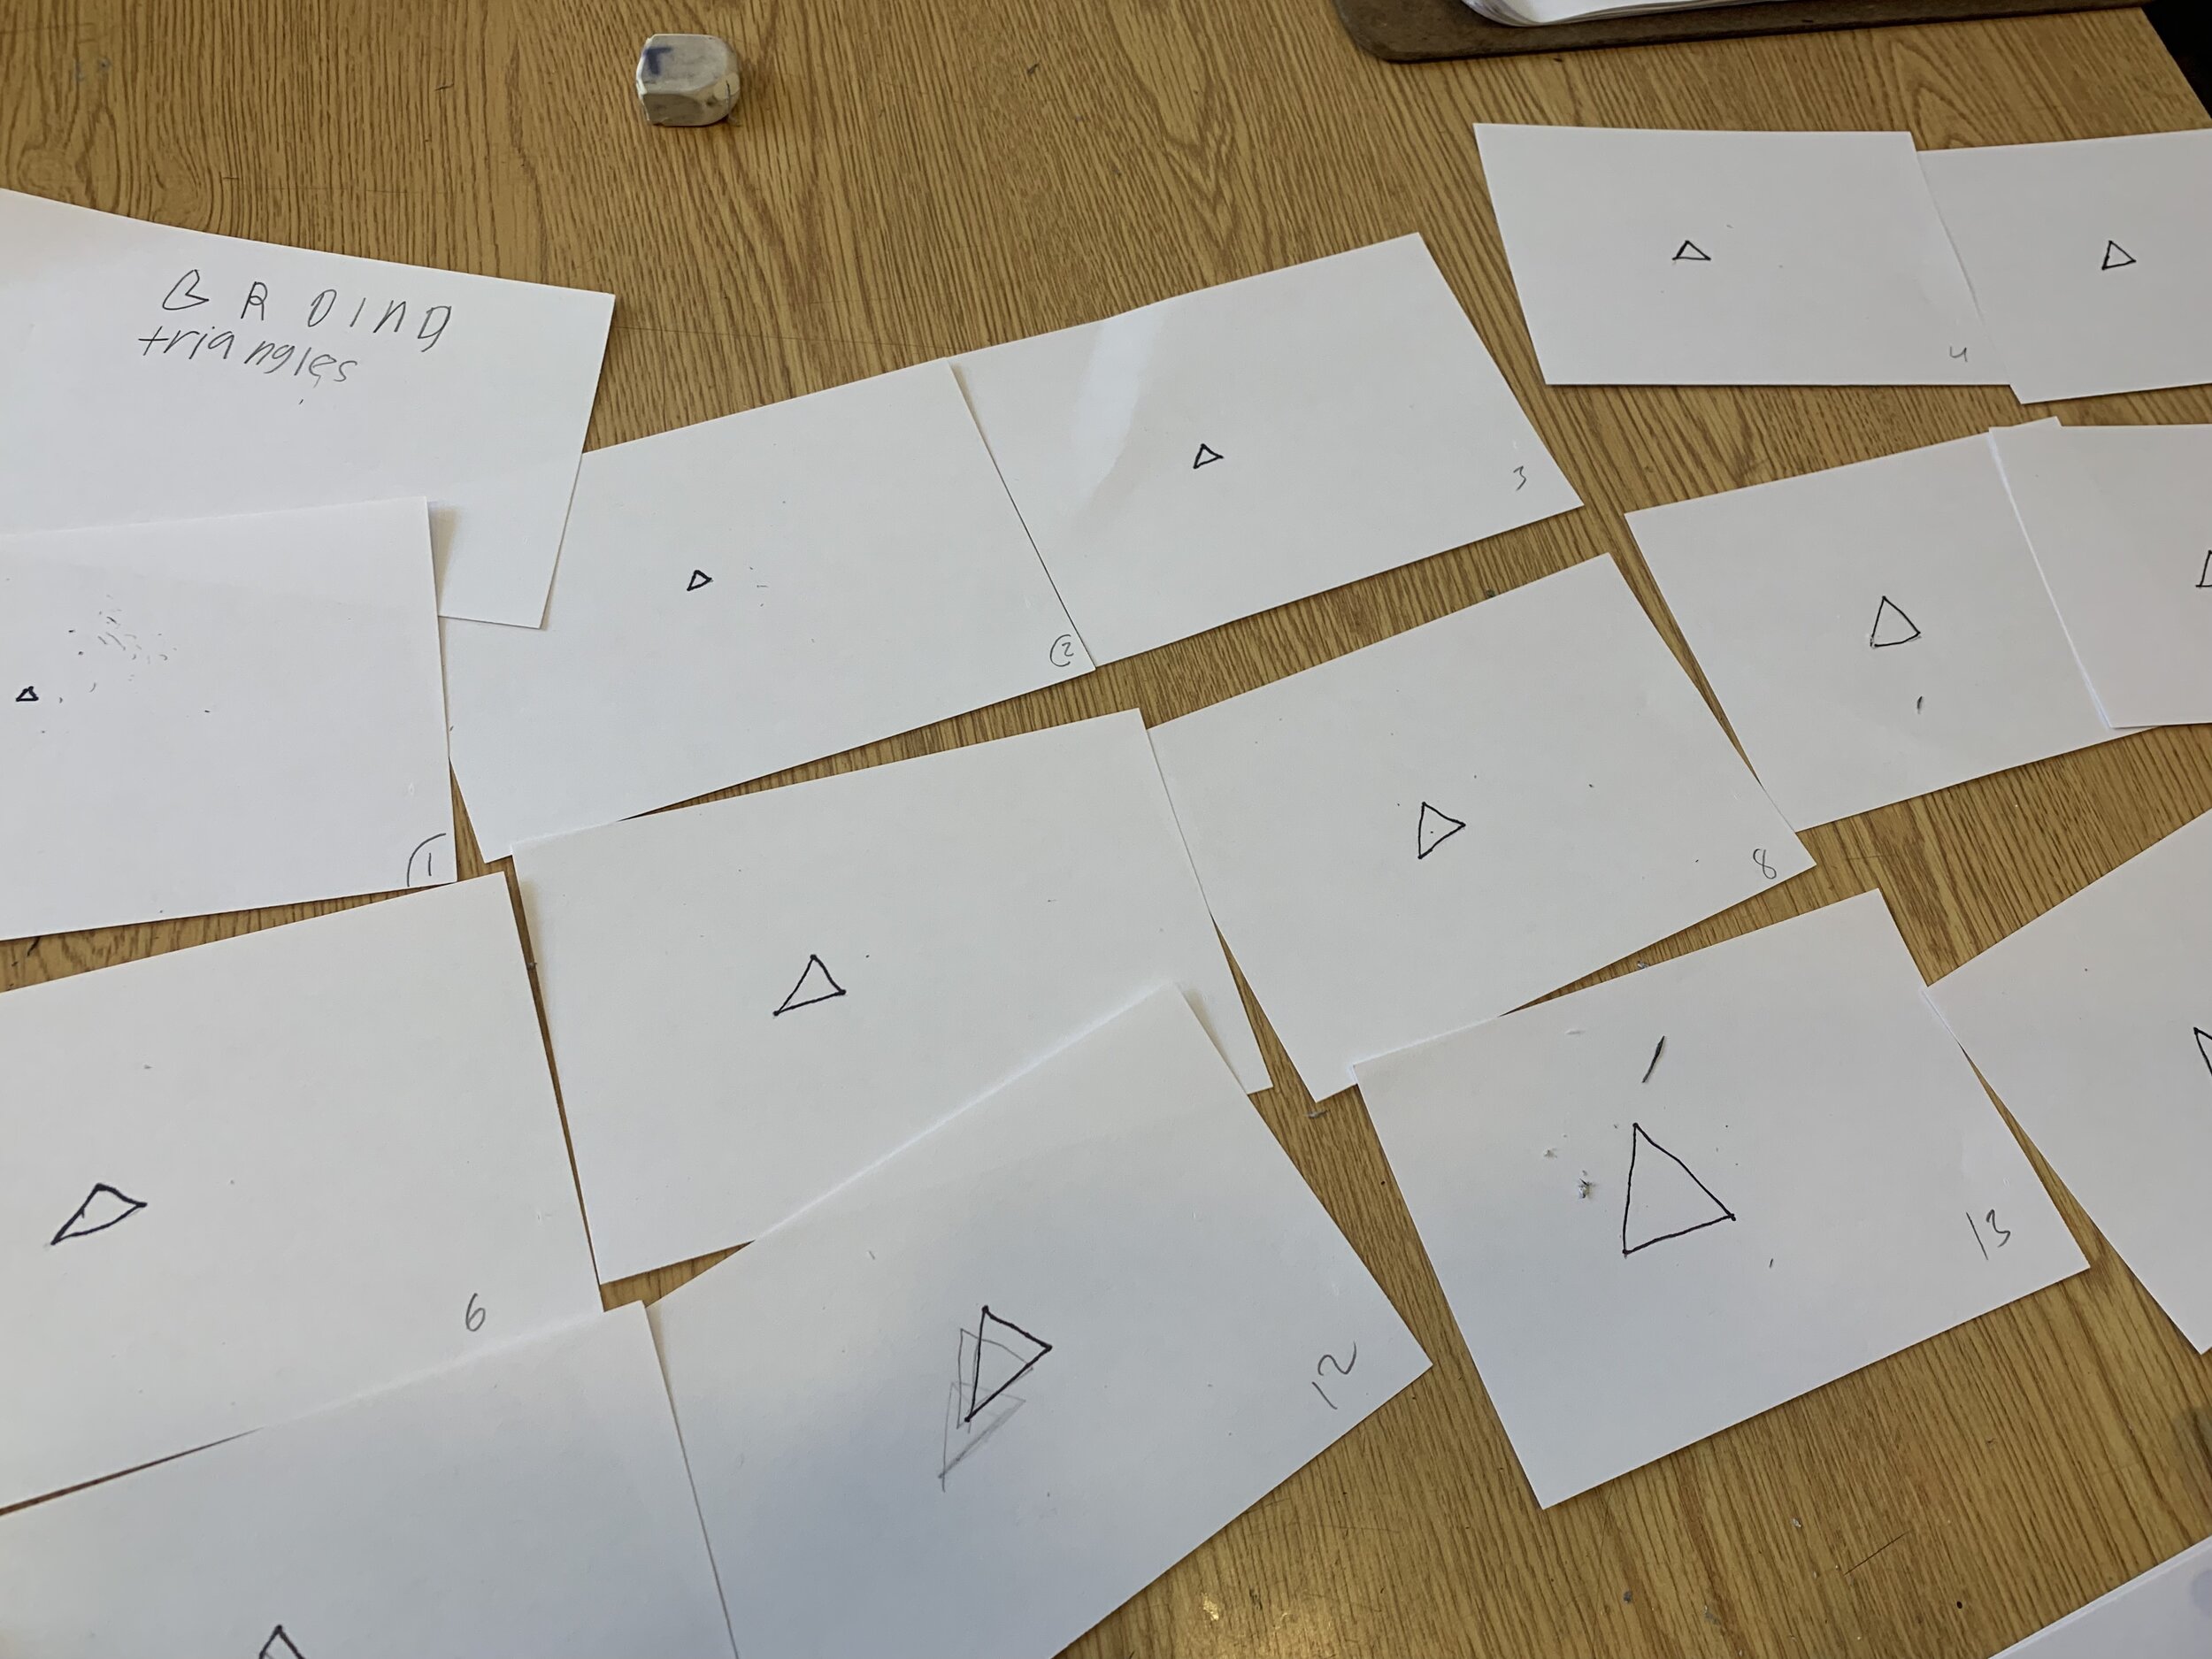
25, 4 x 6 inch Index Cards
1 Binder Clips (Medium)
Pencils
Erasers
Pencil sharpener
Colored pencils
Sharpies (thin)
Procedures: Timing= in minutes
1. Introduction to Animation (0:00-0:10): Show the animation presentation to the students. The presentation consists of the history of animation, as well as how drawings are turned into TV shows and movies.
Ask them where they have seen animation before. What’s their favorite cartoon or movie?
Ask students if they are familiar with the process of animation. Allow them to come up with their own definitions of animation.
Introduce the project that the students will be working on and how it ties into the presentation.
Present Own Example: To further cement the idea of what is being asked for in the project, some example animations, drawn by the teaching artist will show students how they should approach their own flipbooks.
2. Pass out Flipbooks (0:10-0:15): After the presentation, students will be given their own flipbooks (previously assembled before the lesson) to draw their animation.
It is important to remind students to write down the number of each frame in the lower right corner. This will make the assembling process much easier.
3. Begin Drawing (0:15-0:55): After deciding whether they want to animate a shape or greenery, students will begin drawing each frame.
Have students draw the first, middle, and last frames of their animations first. By doing this, students will have an easier time coming up with drawings for their in between frames.
Remind students to be aware of the size and shape of their drawings as they animate. Remind them to try to be consistent with the shape of their subject especially. Students can make sure that their drawings are consistent by flipping and re-flipping their books during the process of drawing their frames. They can also align their frames on their desks and see if their shapes are slightly growing in each drawing.
4. Inking/Coloring (Optional): After feeling satisfied with their flipbooks, students have the option to trace over their drawings with a sharpie and color them in with colored pencils.This is of course optional and shouldn’t be the main focus of the lesson.Also remind students to draw light at first, so it will be easier to fix mistakes.
5. Design a Cover (0:55-1:00):
Once they feel confident in all of their frames, students can design a cover for their flipbooks that includes a title, image and signature.
6. Assembling (1:00-1:05): After drawing all of their frames and cover, students will combine them with a couple of binding clips to form their completed flipbook.
Have students flip through them a couple of times. If they don’t like the results they will always have the options to go back and adjust some frames.
7. Share work with a partner or table (1:05- 1:15): With their completed flipbooks, students can share their flipbooks with each other. They can do this with either a partner or with their own table group if they have one.
While sharing, bring up assessment questions for students to think about. These questions can include:
What did they notice that they really liked about their partner’s book?
What makes their flipbook successful?
Teacher Reflection:
What problems do you anticipate with this lesson?
Students might feel frustrated by the long process of drawing and redrawing frames.
They might also be annoyed by always checking that all of their frames are consistent and tell a clear story.
How does this project fit into overall curriculum planning for the subject areas and the arts?
Shows students the process of making an art medium that they are already very familiar with.
Exposes students to a new form of artmaking that they may have never thought about trying.
How will your students’ work be shared with the community?
Students will be able to show their flipbooks to others or their families. By showing others what they've created, students may feel a sense of pride and may want to create another project similar to this one in the future.
How will you receive feedback on your teaching methodology and quality of student work?
Ask if they have learned anything, and if so what? What did they like and dislike about working with a variety of different materials or techniques.
Through conversation with lead teacher after the project is complete
Through a self and video reflection
Through assessment by my instructor of the video of the lesson