Planning Backwards Model*
Teaching Artist Practicum
Name of Project: Collage: Thinking in Layers
Grade Level or Age of Participant: Adults (Various Ages)
School, Teacher and Classroom: AVIVO, Jes Reyes, ArtWorks Studio
MCAD Teaching Artist: Madison Bruner
Number of Students: 20
Visual Arts Content
- Brief History of collage
- Mix-medium materials
- Demo of various collage processes
- Study of composition and color
- Study in layers and glazes
- Conceptual reflection
Overview of Project
The two-part project will introduce a variety of collage methods including, image transfers, cut and paste applications, reductive image disruptions, and transparent glazing. The first part of the workshop will include a brief description of the history of collage that covers a range of collage aesthetics and concepts. The first session will also include a demo of collage planning, deciding color and composition as well as starting an image transfer. Students will experiment with different surfaces and printed images. The second part of the workshop will include a brief re-cap of what was demonstrated and discussed the previous day. (There may be new participants on the second day). During part two we will unveil image transfers (I will have some pre-made for joiners) and work on reductive techniques, cut and pasting, and transparent glazing. Overall the lesson will be open to each member. They will decide what content and ideas they want to address.
“Big Ideas”/ Essential QUESTION(s)
-How can appropriated images evoke meaning?
-How has collage been used in historical art movements?
-What themes do you find important to reflect upon using found images?
-Can contradicting images make any statements in your work?
-Which art-making methods are relevant to you in a social or personal context?
-Does a mix-media oriented process serve your conceptual exploration?
Student Outcome Objectives
Students will:
Brainstorm with a group about collage
Learn historical impacts of collage
Use a variety of collage methods and techniques
Engage in layers of images and mediums
Juxtapose subject matter with found images and other materials
Create engaging compositions
Consider color combinations
Address a variety of themes and concepts
Prior Knowledge
No prior knowledge is really needed. If anything, it would be helpful if members considered central themes, motifs, concepts, and/or aesthetics used in their body of work. If they wish to use text in the image transfers, they will need to have it printed backwards before the workshop.
Lesson Preparation Timeline
Meet with coordinator to discuss the workshop
Send coordinator a summary and title of the workshop
Complete the lesson plan
Meet with Instructor and coordinator to discuss the lesson plan
Set the date and time for the workshop
Confirm materials
Complete posters for the event
Research the history of collage
Complete packet of examples including collage artists and history
Gather materials
Complete artwork examples using a variety of materials and surfaces
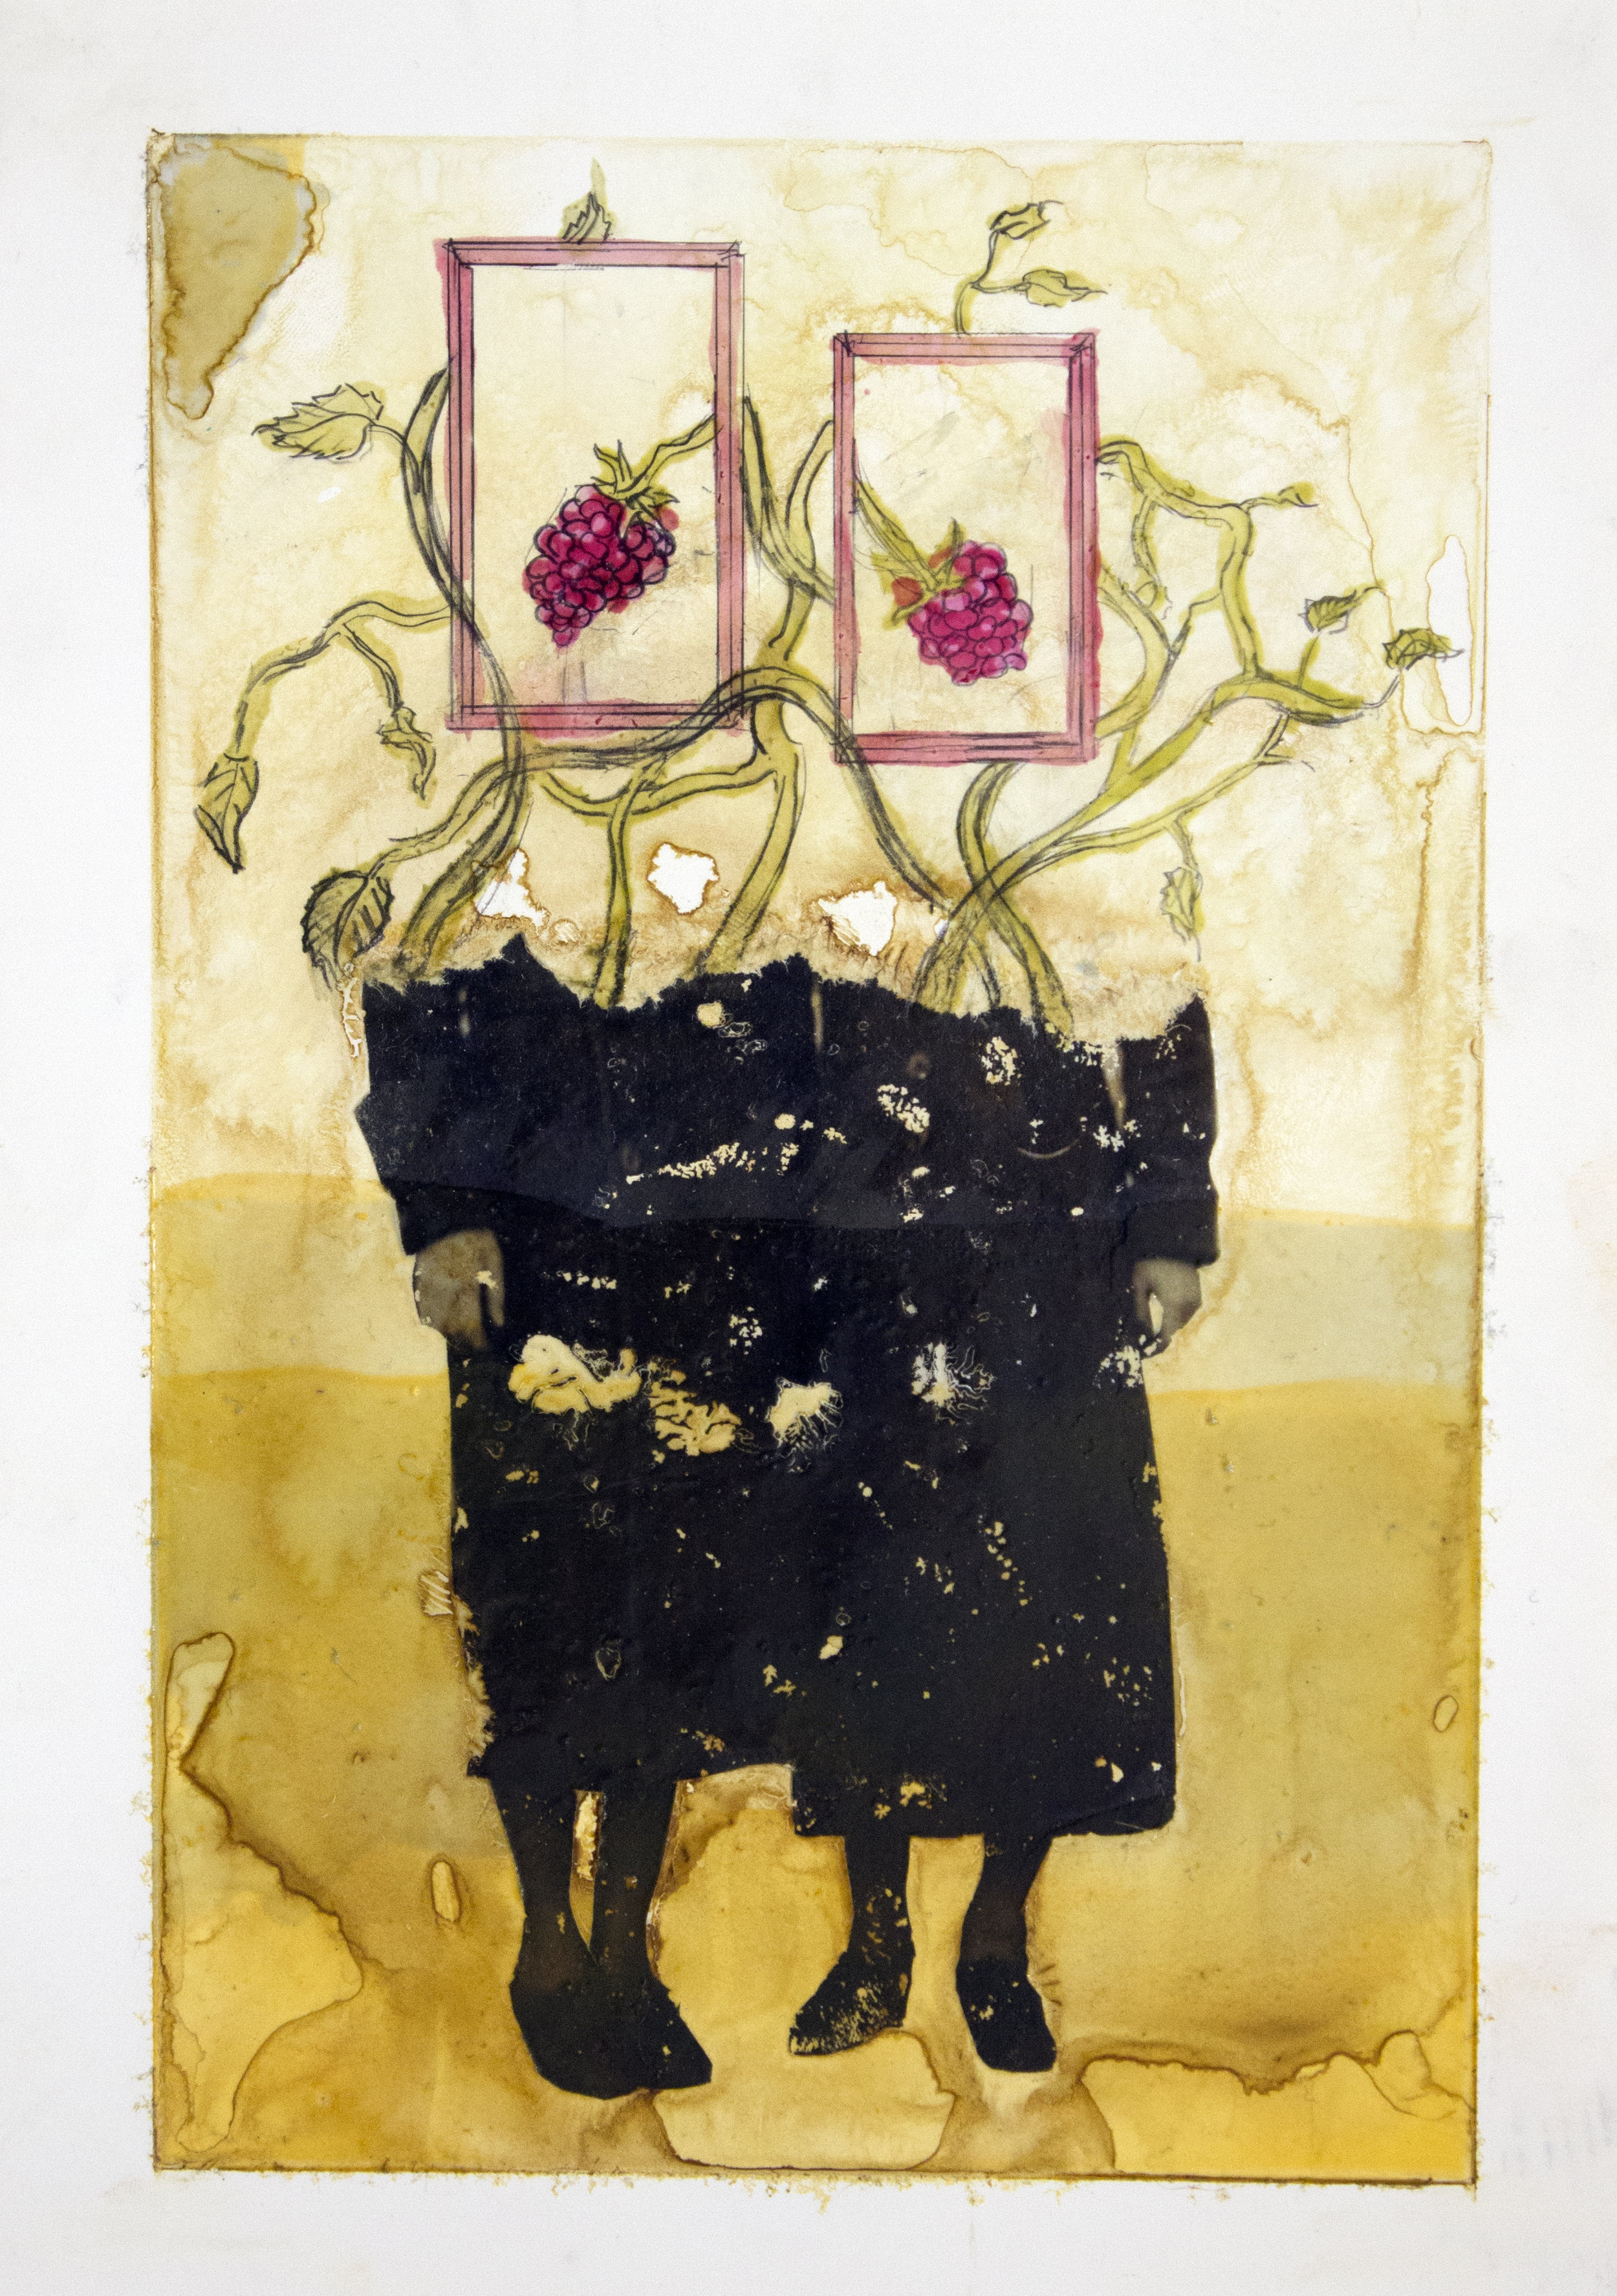
Examples of Artwork

Additional Resources
Collages and Reliefs 1910-1945 and Hiller-Heliographs by Annely Juda Fine Arts including essays by Andrei Nakov and Jane Beckett
How to Make Collages by John Lynch
Collage: Assembling Contemporary Art by Black Dog Publishing
Assessment
My main goal is to encourage members to try unfamiliar mediums and methods. I will reflect on the workshop based on my ability to motivate and encourage exploration of process, authenticity, and conceptual development. My hope is that members learn about collage making by working in several layers and steps.
Materials
-Matt-Medium- Big containers (at least 16 oz.)
-Plywood or other wooden panel (Something sturdy and durable)
-Un-stretched canvas
-Glue sticks
-Scissors
-Graphite, Charcoal, and other drawing materials
-Paintbrushes
-Inks
-Colored paper
-Handmade paper
-Collection of images (old and new)
-Ink Jet Printed Images
-History packet
Learning Activities and Timing
Part 1
1. Members and I will start with introductions, including a description of our art focus. (Which will be an optional addition). I will also introduce the workshop and its timeline. 5 minutes
2. As a group, members and myself will brainstorm about our own definitions of collage. What do they already know, what are they interested in finding out? What are their inspirations and interest, how do they envision collage as tool in conceptual development? A big question I’d like to discuss is what processes are comfortable and what risks are they willing to take in the workshop; what methods or mediums have they wanted to experiment with, but haven’t tried yet? 10 minutes
3. The members will receive a handout including a brief history of collage and examples of historical/contemporary works. I will go through this handout with them. The goal is to continue our conversation about collage, having gone over its historical relevance. 15 minutes
4. Members will watch a series of brief demos including, cut and paste, organizing a composition, and starting image transfers. 10 minutes
5. Members will have work time to start collages. They will be encouraged to try image transfers and set up an environment in a cut and paste format. The goal is that they start more than one piece to be continued in the next workshop or on their own time. 1 hour
6. At the end, we will look at each other’s work responding to strengths, messages, themes, methods/techniques, and overall questions. 10 minutes
7. Clean up 10 minute
Part 2
1. We will begin with introductions and a re-cap of the last workshop. Joining members will get a chance to hear the history portion of the workshop. I will conduct the same demos from the last session, inviting the former members to participate again. 15 Minutes
2. I will provide examples of collages that incorporate various materials and methods including matte medium glazing, drawing, and sanding. 5 Minutes
3. Members will watch a very brief demo on how to reveal an image transfer and will work on their own. I will have extras for anyone who missed the first session. 5 Minutes
4. Members will work on adding other elements to their collages. I will provide a variety of drawing materials including graphite, water-soluble crayons, inks, and charcoal. They can also work on glazing and reductive sanding. I will check in with members to hear their plans. 1 Hour and 10 Minutes
5. As a group, members will reflect on their collages. We will hold a discussion questioning which processes they enjoy or dislike, how useful are collage methods, and how they respond to working in layers. I would also like the group to respond to each other’s concepts and messages. 15 Minutes
6. Clean up. 10 Minutes
Teaching Artist Reflection
-My biggest concern is having enough time for demos and work time. I also want hope to speak with members individually. I’m nervous that members may not enjoy some techniques and wont want to continue in the workshop.
-This workshop was developed to engage members to interact with collage as a group. I’ve noticed that the ArtWorks studio already has a strong sense of community, which invites members to support one another. I am inspired to hold many discussions/reflections in the workshop that I hope will align with Avivo’s mission to be inclusive and supports growth in the arts.
-I will talk with Jes about if I can document work made by members. It would be ideal to have their work posted on our teaching artist website, but I will need consent from both Jes and the members themselves.
-Hopefully, Lynda will be able to attend at least one of the sessions. I will speak with Jes about my performance during the workshop. It would be helpful to hear my strengths and weaknesses. I also believe that the group reflections will inform how I could address this type of workshop in the future.
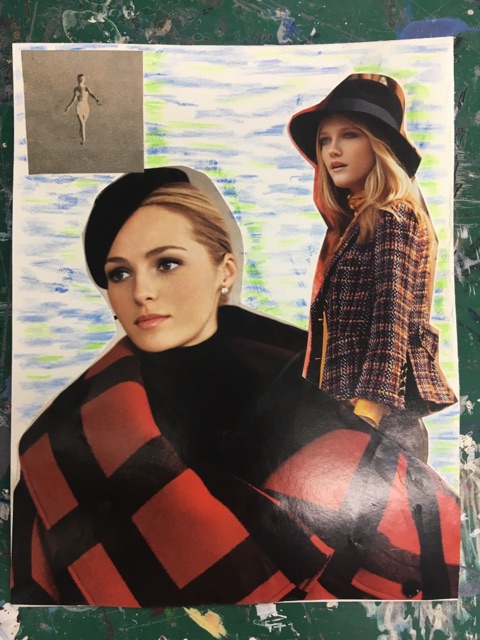
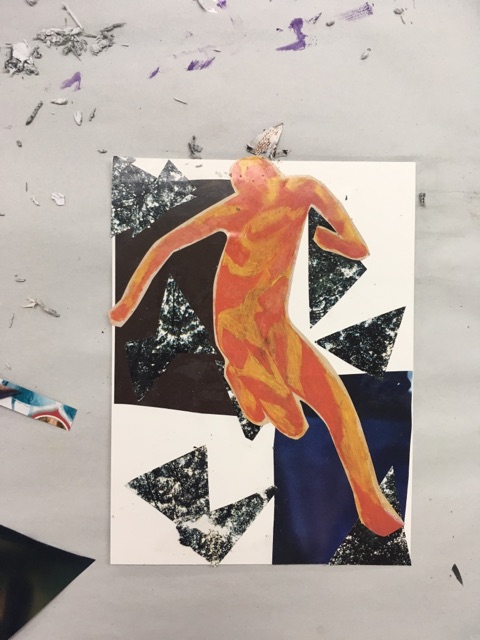
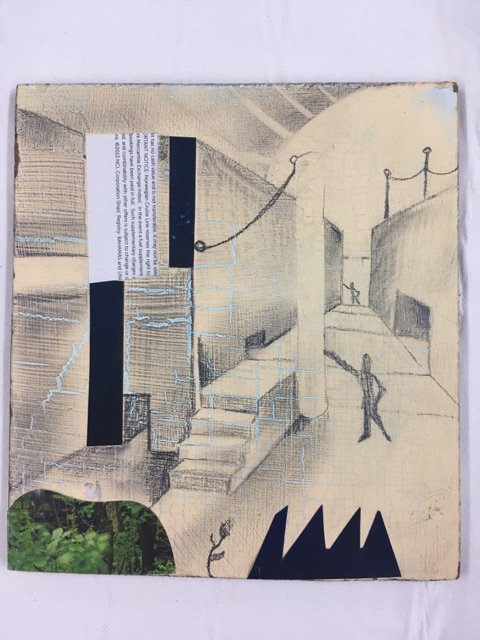
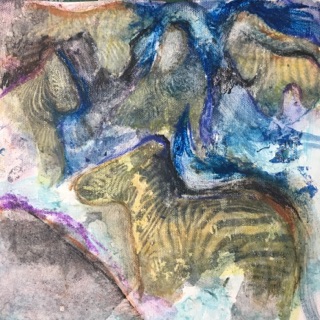
Student Work