Viewing entries in
Painting

Plant Portraiture

Plant Portraiture

Center School x MCAD Lesson Plan Nature Portraiture 

Grade: 7th - 11th Grade 

Standard

  • Code: 9.1.2.5.1

  • Strand: 1. Artistic Foundations

  • Anchor Standard: Integrate the characteristics of the tools, materials and techniques of a selected media in original artworks to support artistic purposes.


First Day - Drawing

Overview:

  • Students will be working from life - pulling from nature based content to learn observation and slowing down within creating. They will learn the basics of measuring from life as well as linear drawing techniques. 

Big Ideas:

  • How/what do you observe to make art?

  • Exercising eyes and creativity of recreating in art. 

  • Using line to show depth and weight as opposed to shadows 


Student Outcomes 

  • Students will learn how to use measuring tools such as the relationary measuring of one object to another and pencil to eye gauging

  • Learn how to expand upon merely the visual, with using artistic licenses by picking what adds and hurts the composition

  • Learn how to use line to recreate life 

  • Students will learn how to slow down within the process to better understand the subject and give confident line within creating 


Prior Knowledge

  • Assess at the very beginning what are some experiences they have had before with drawing - assess how much I should get into the basics - assume I will have to start from the beginning

  • Prior knowledge of simple drawing and watercolor would benefit students but is not necessary 
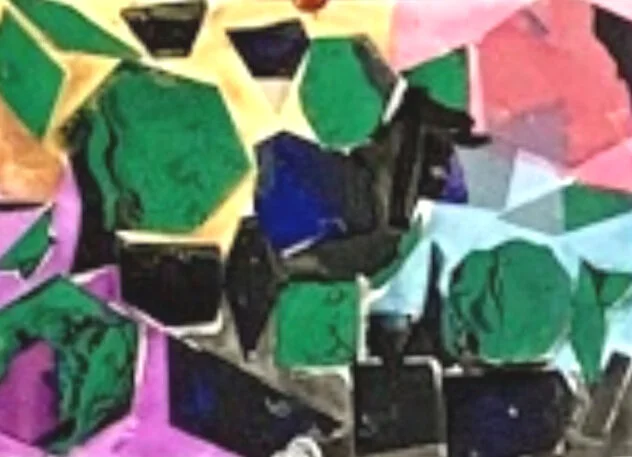
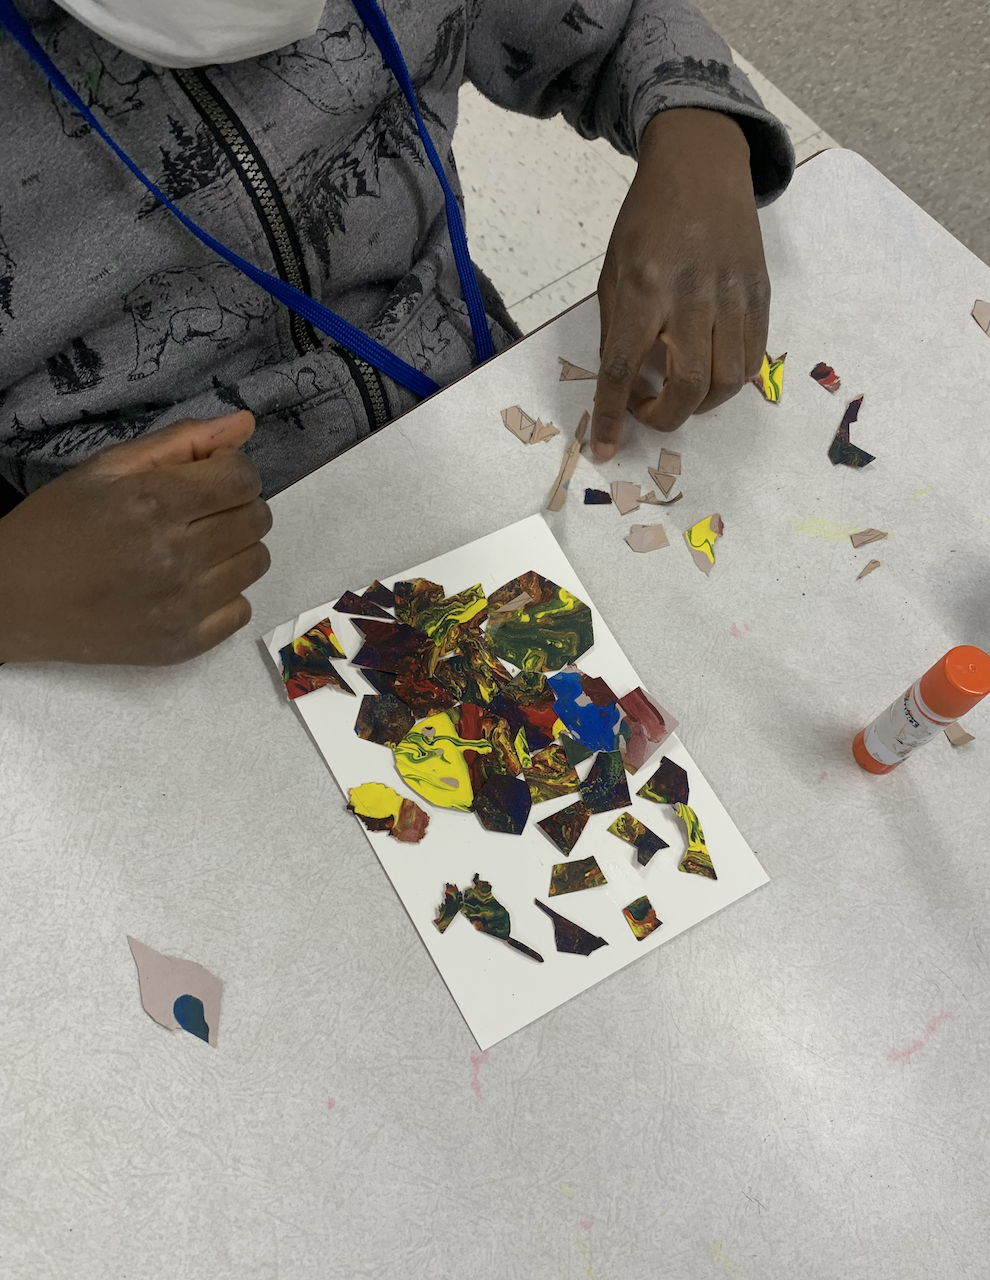
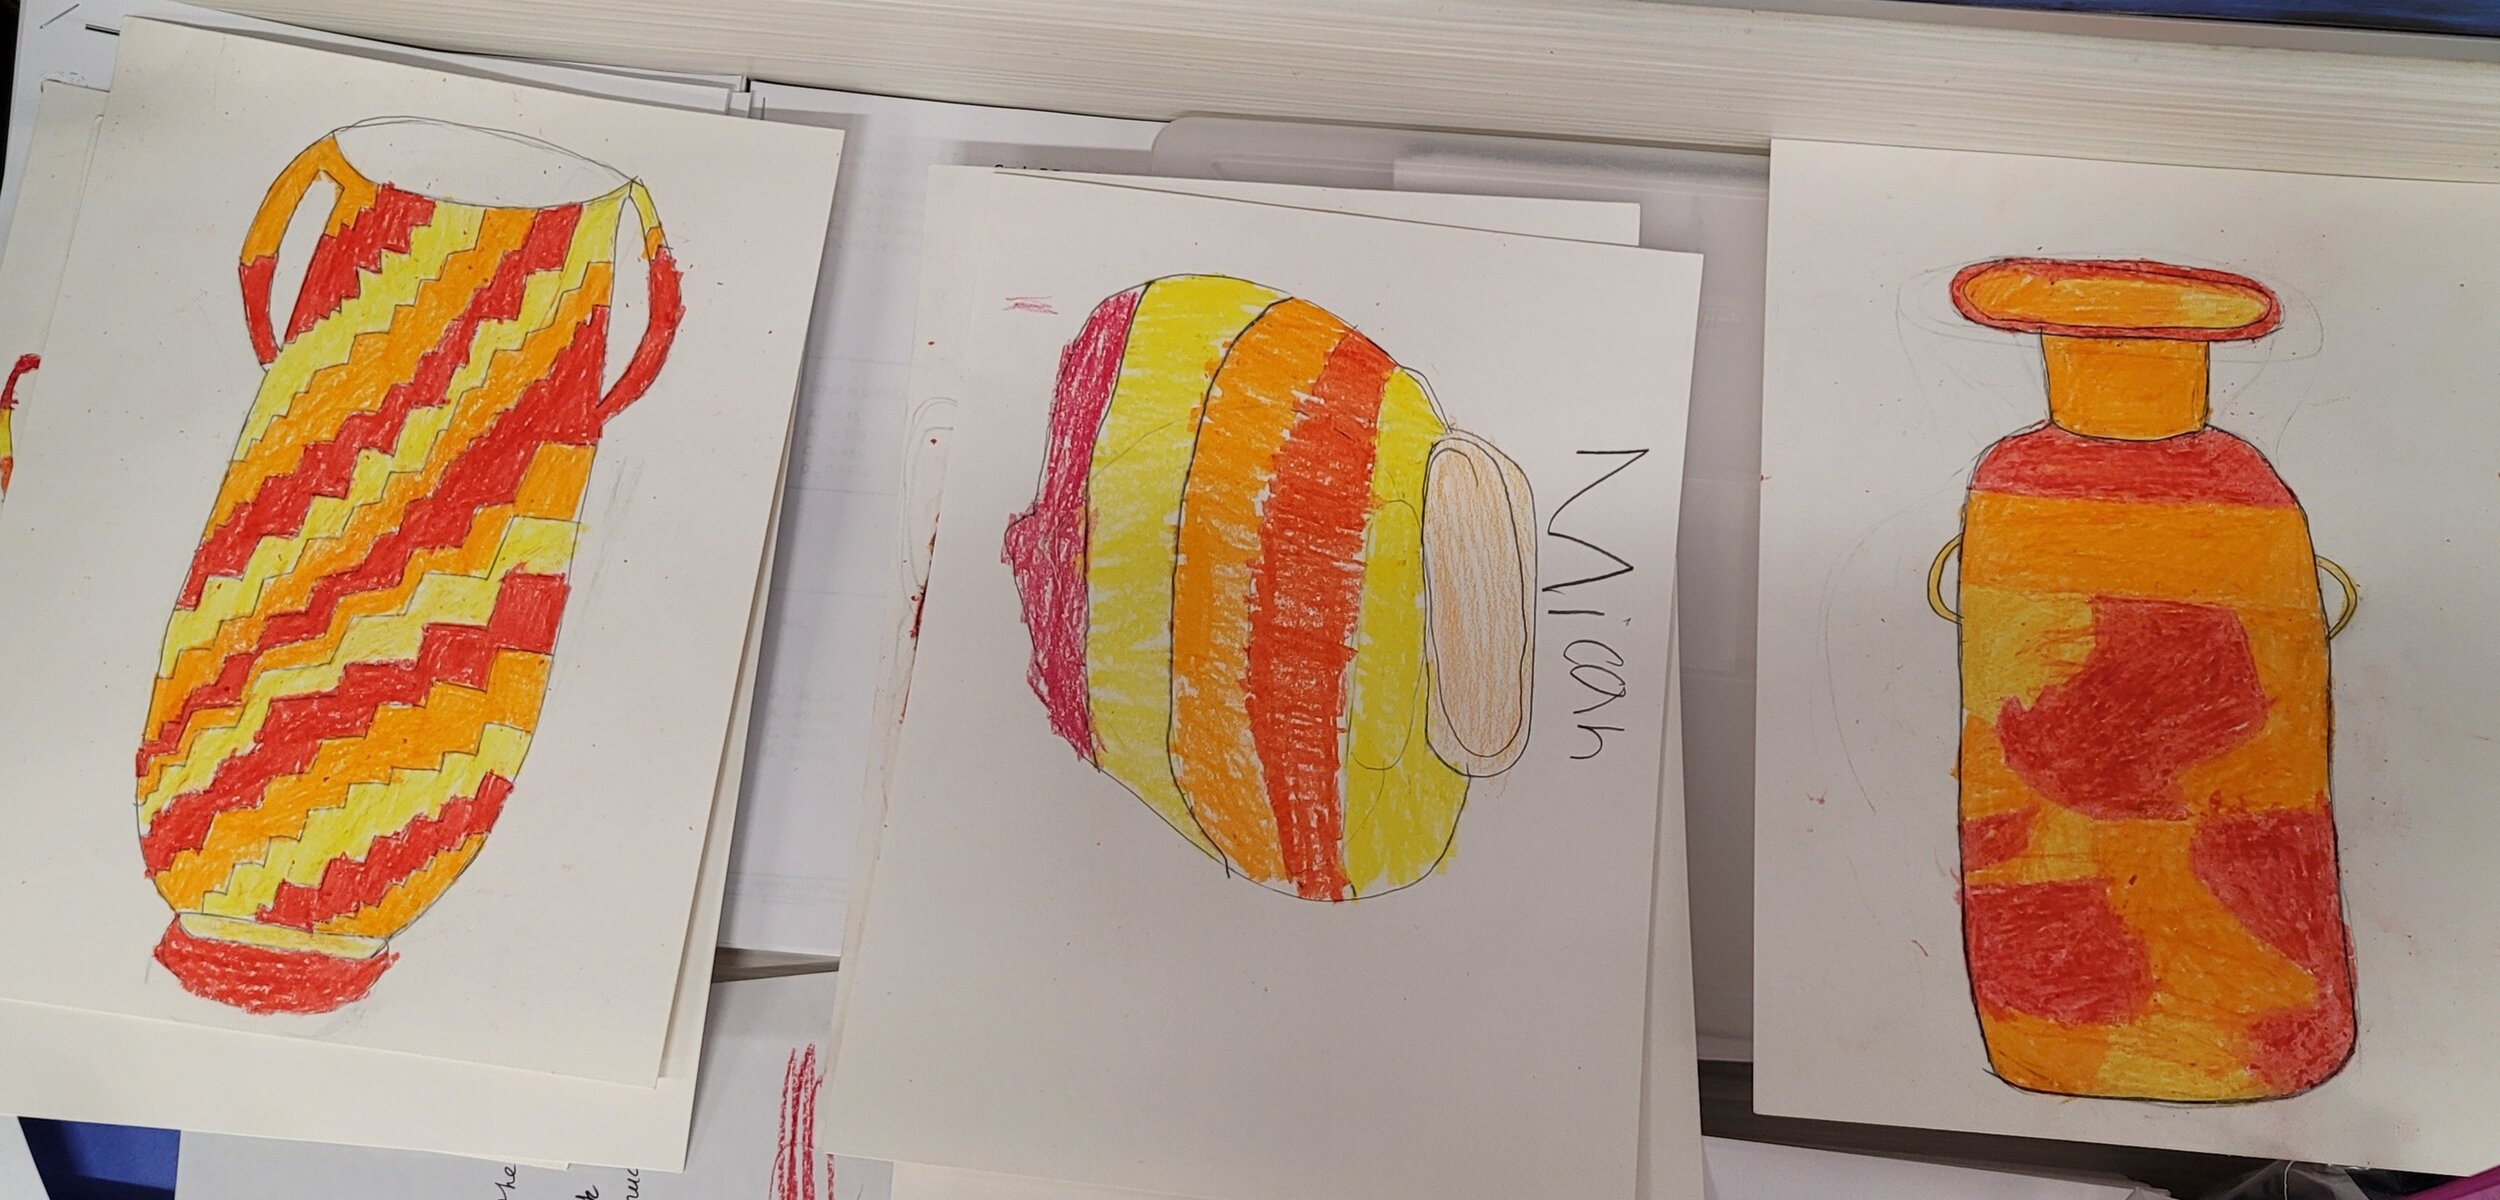
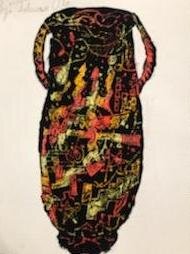
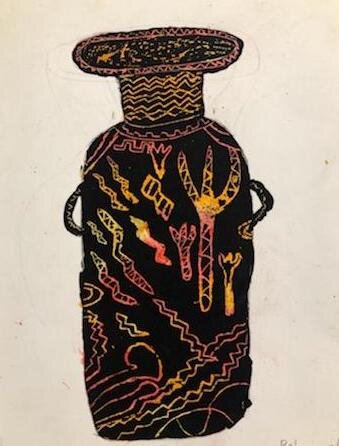
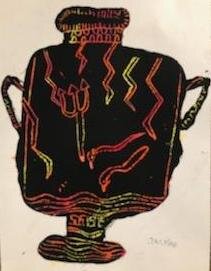
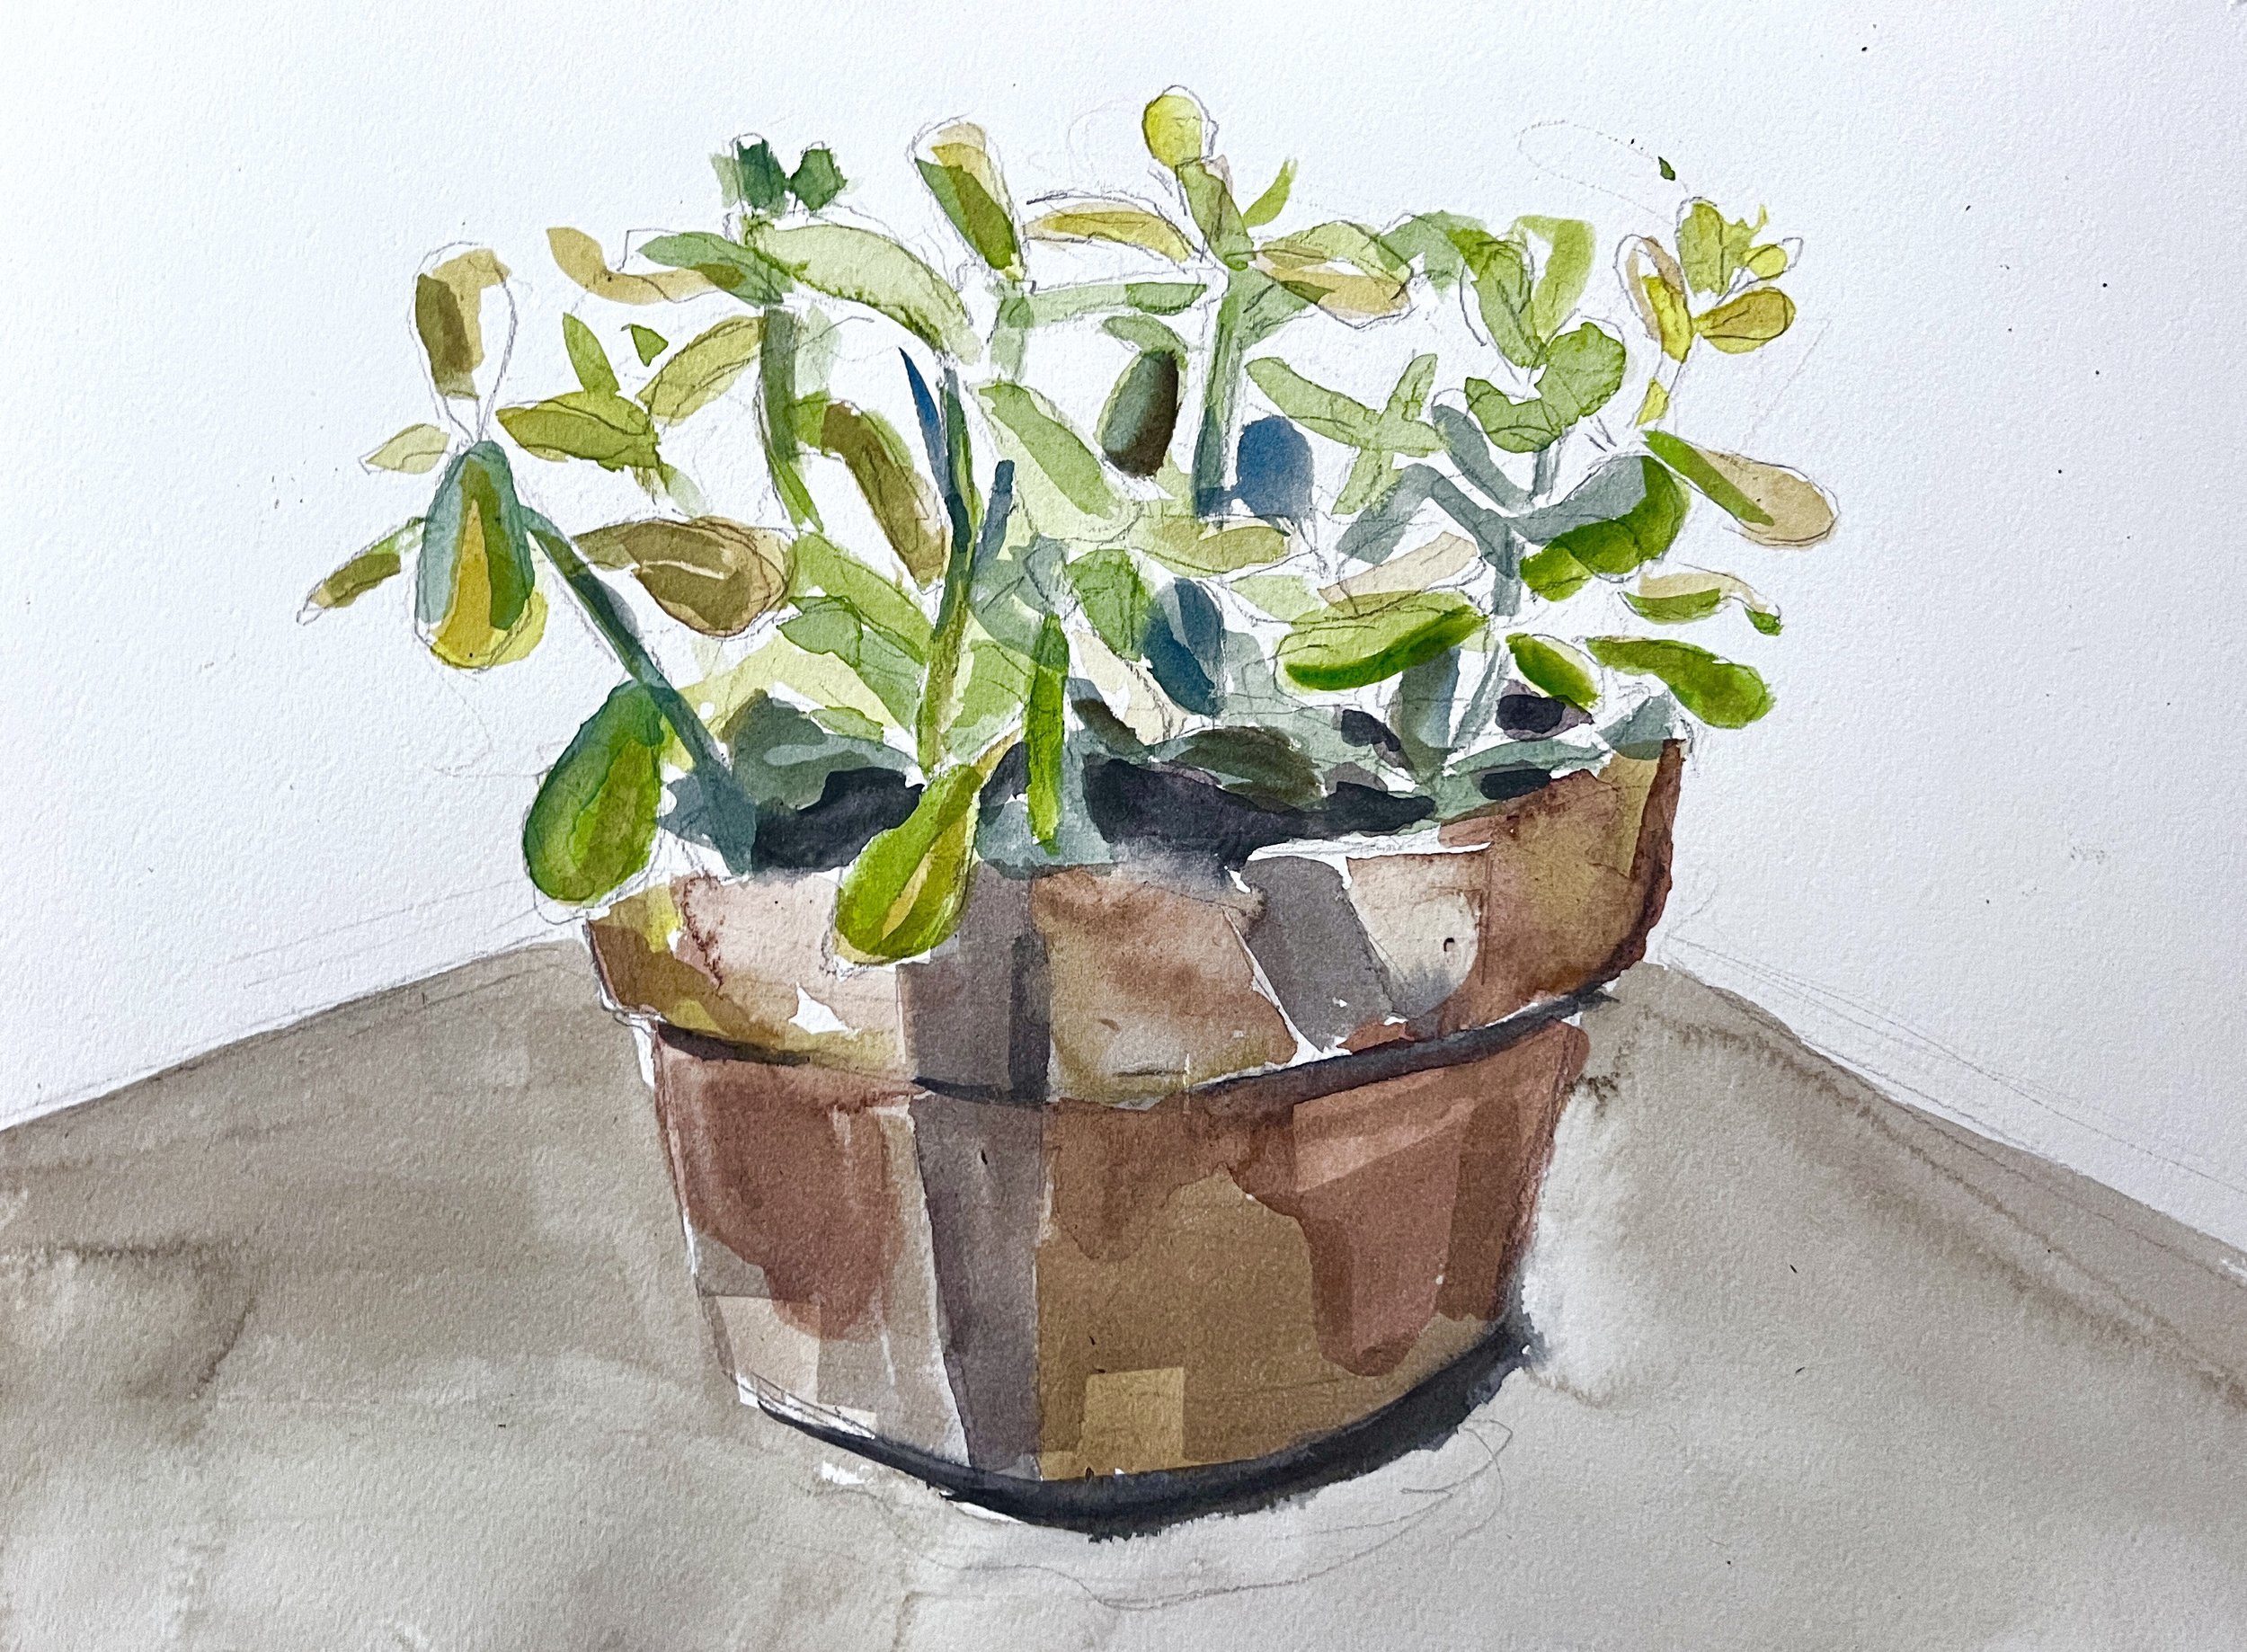
Examples of Artwork

         Assessment

Once everyone is finished, everyone will walk around and see everyones creations. 

After everyone is seated - I will ask them to talk in groups, right on the wall some questions for each of the students to answer - after that we will come together as a whole class and can talk about the process and what each group had to say. See if they are excited about painting over them the next day - 

Some questions to put on the board or have as sheets to give to each group 

  • Have each student spend at least 5 minutes talking about their drawing

    • Composition

    • Line

    • Content

    • The process with line and observation 

    • Frustrations and excitements

    • Future painting 

After they all answer we will come together as a whole class and see if anyone has any observations from the project being in the middle - 

Materials

  • Plants or flowers 

  • Pencils H - B

  • Erasers

  • Sharpeners 

  • Drawing paper - maybe just 9” x 12” 

  • Enough paper for practice sheets - sketch/warm up

Learning activities and timing

Class 

( 90 minutes overall)

  • Introduce Myself - (1 minute) 

    • My name, pronouns 

    • Mention MCAD, state a couple little facts about my own practice, mention that we will be diving into some nature portraits :)

  • Have everyone go around the room say their name, pronouns, favorite medium, and favorite snack food (7 minutes)

  • Introduce the activity (10 minute)

    • Show the example and point out our lovely models for the day - plants

    • Bring out the material and show the steps that we will be going through with a little demonstrations fully 7 minutes be sure to assure we will give the steps after the demonstration 

      • Start with looking, describing what composition I want to create (define) 

      • using your fingers to create a rectangle - pick composition

      • First go in with a gesture of the portrait H pencil - plants have life lets be sure to give it that life. Be able to see the full piece right away  

      • Show how to measure with the pencil 

        • Arm stretched out - finger to the point of measure in front - one eye closed - then bring it to paper mark 

      • Start putting and revising - show how the gell eraser works 

      • Revise gesture with measurements and lines  using one point and measuring out

        • Introduce line weight, density, light to dark, weight at the bottom of the portrait 

      • This is where style and decisions of the arts comes into play

  • Then I will have them go to their chairs and start the process!! (45 minutes overall)

  • Review the steps - give a project  sheet for reminders 

    • Start with looking for 2 minutes, using your fingers to create a rectangle - pick composition

    • Move the seat to their liking aren't bound by any prior decisions 

    • First go in with a gesture (3 minutes) of the portrait H pencil - show in the air how quick it should be and to not be scared!! It should look like a scribble, instantly seeing the piece :)plants have life let's be sure to give it that life. Be able to see the full piece right away should be quick  

    • Measure and revise (20 minutes)

    • Start to add decisions that clean up the drawing (10 minutes) 

    • Make some decisions that aren't necessarily front of you (10 minutes) that make the drawing have more of the essence 

    • Wrap up any loose ends for the painting the next day

  • Reflection (20 minute) 

    • Have everyone walk around the classroom 2 minutes

    • Get into groups and have each individual get 5 minutes to discuss their work to their group  

    • What did they learn? What will they take away and what will they leave? 

    • After the groups are finished we will come together as a whole class and have each group say something about their projects !

  • (5 minute) of cleanup 

  • Ask students to as a group put away all the material place it back in compartments

    • Material

    • Write name on back of drawings

  • While they clean up I will gather all the art work for the next days painting  

    • Have a portfolio prepared

Second Day - Painting

Overview:

Students will be working from life - pulling from nature based content to learn observation and slowing down within creating. They will learn the basics of color, mixing, brushes etc 

Big Ideas:

  • How/what do you observe to make art?

  • Exercising eyes and creativity of recreating in art. 

  • Using color to express the content 

Student Outcomes 

  • Students will learn how to use Water color swatching 

  • Learn how to know when to stop with watercolor  

  • Learn how add paint on top of a previous drawing  

  • Students will learn how to slow down within the process of creating 

Prior Knowledge

  • Prior knowledge of watercolor would benefit students but is not necessary 
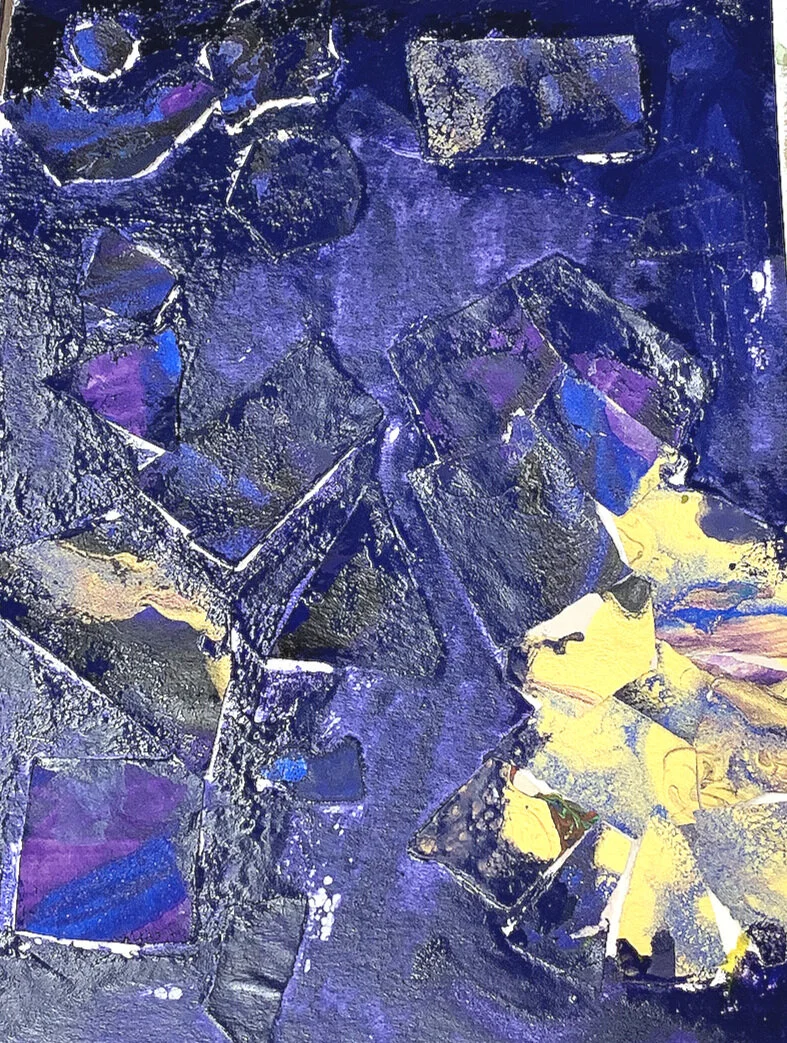
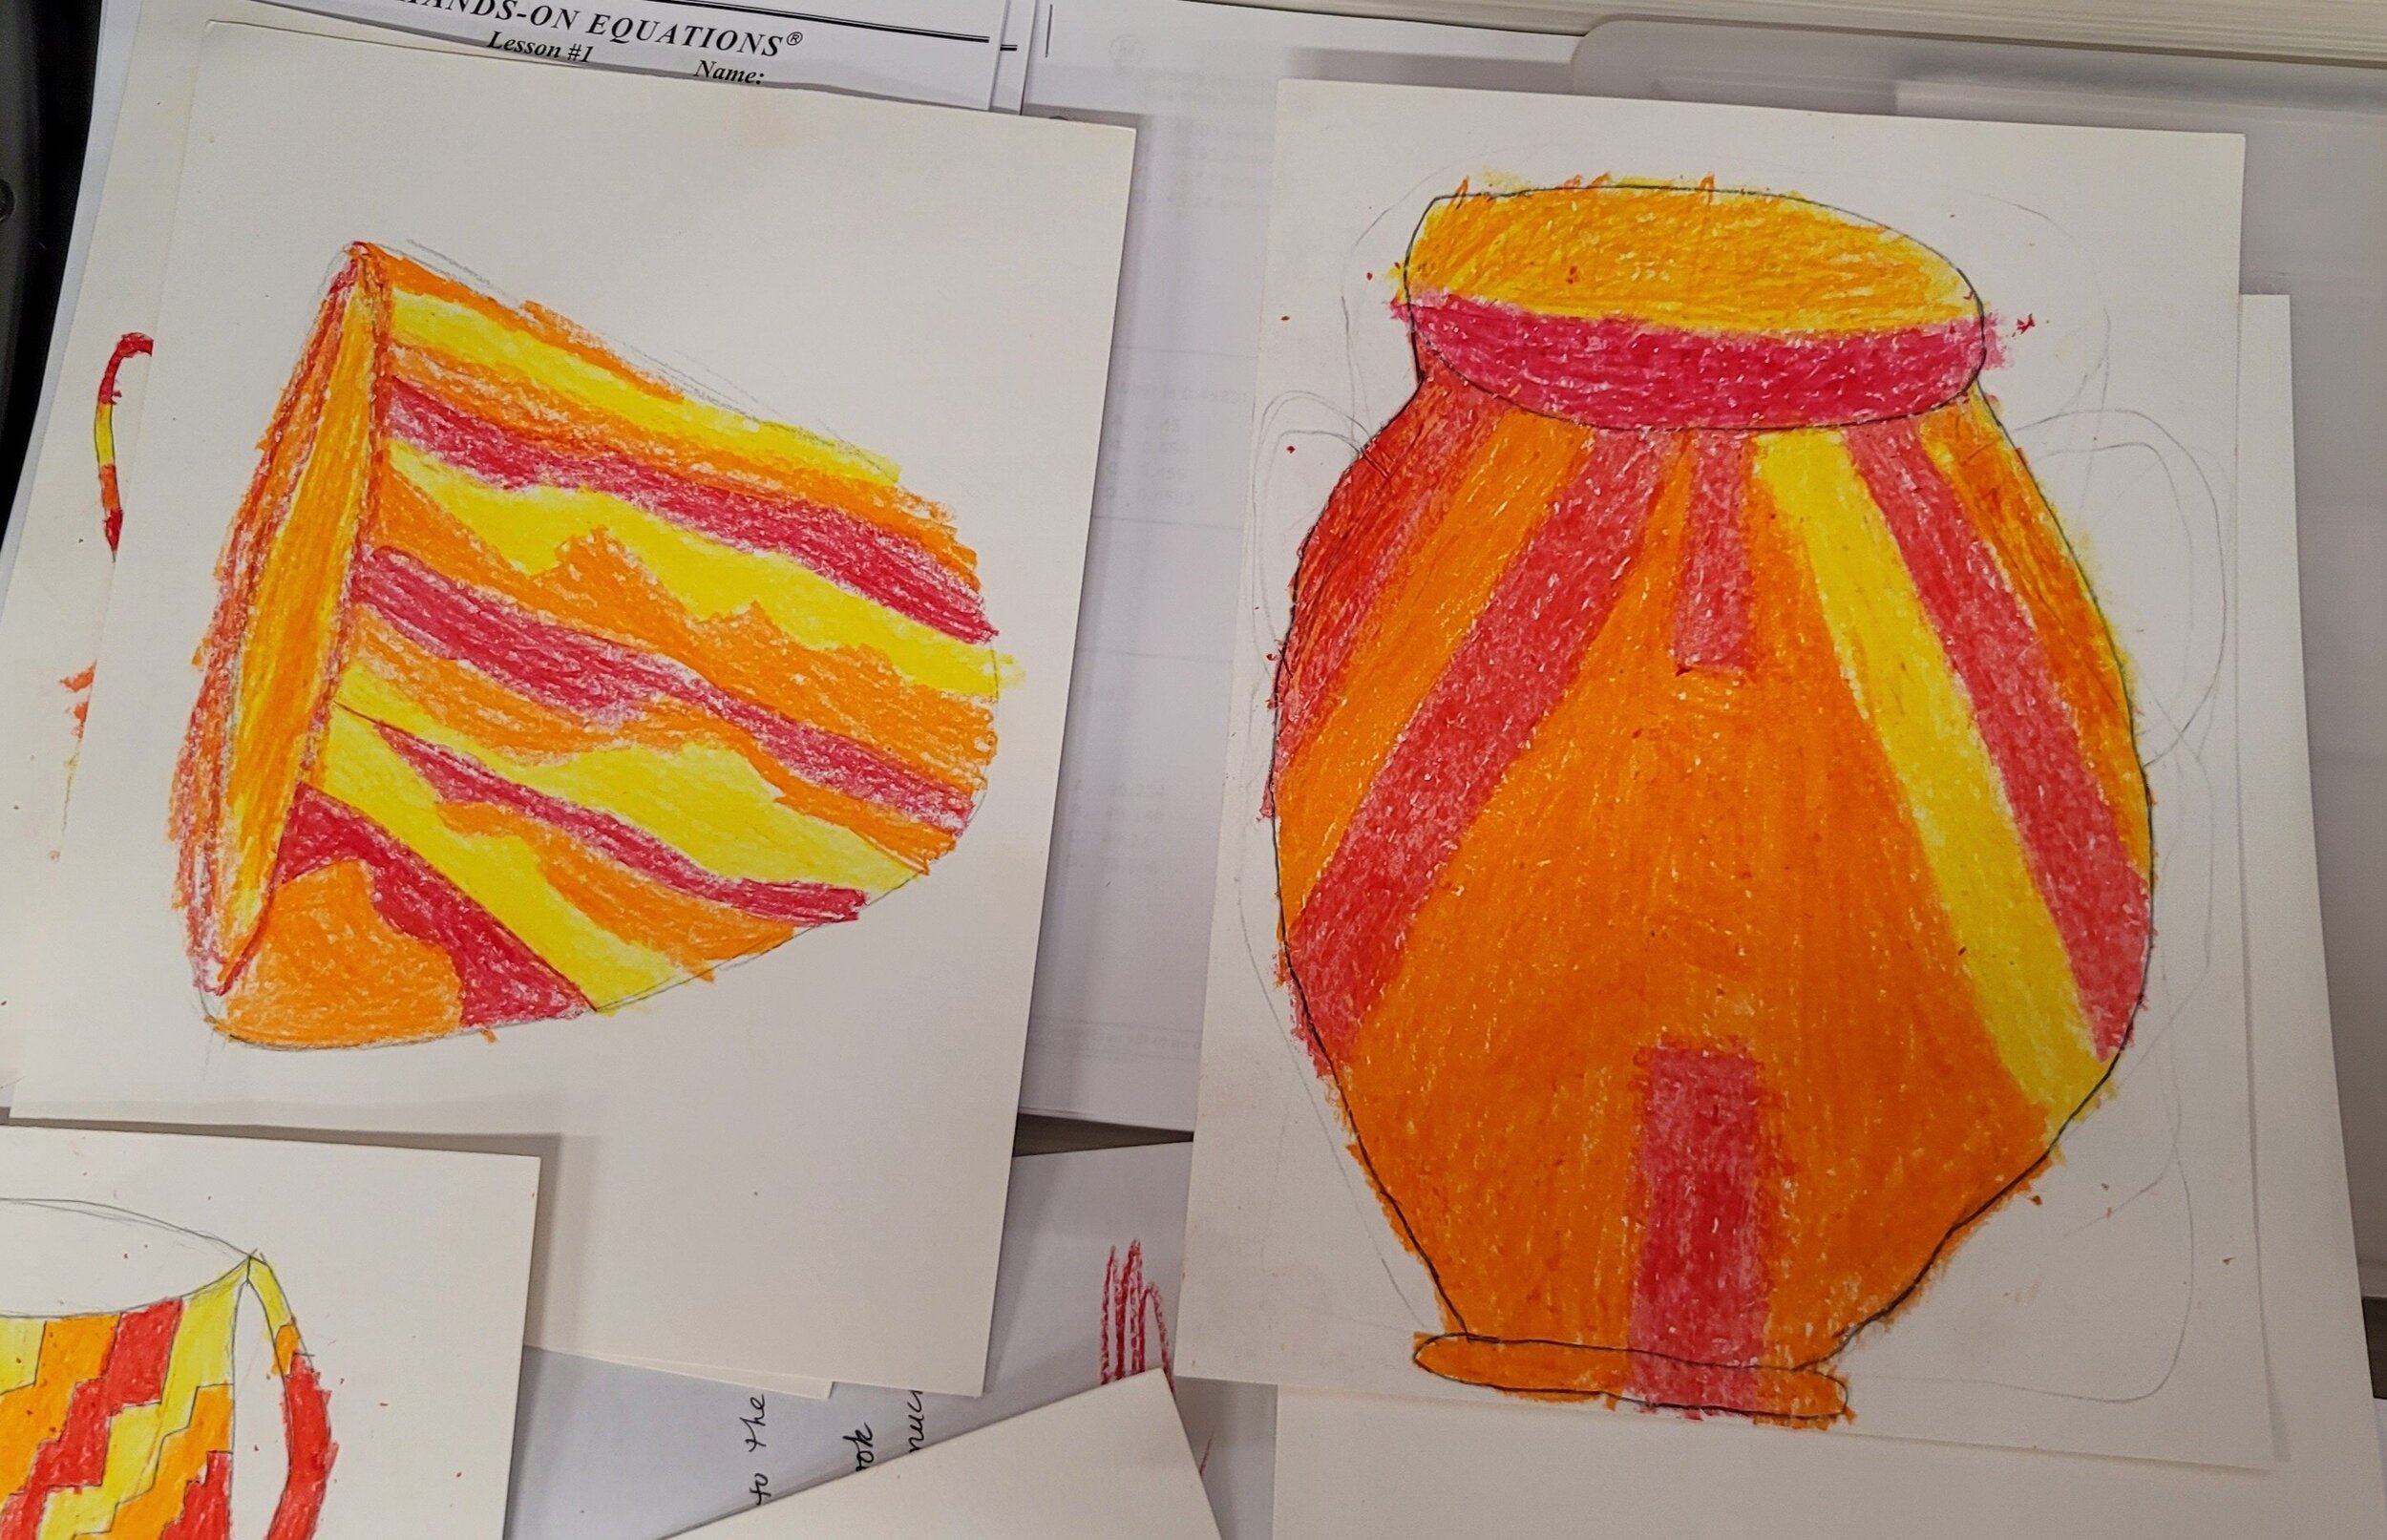
Examples of Artwork

Assessment

Once everyone is finished, everyone will walk around and see everyones creations. 

Ask if anyone has any observations from the past two days

Materials

  • Plants or flowers 

  • Watercolor palettes paper plates

  • brushes

  • Newsprint  

  • Previous drawing and paper for new people 

Learning activities and timing

Class 

( 30 minutes to 45 minutes overall)

  • Introduce myself to the new students 

  • Have everyone go around the room and say name and pronouns and favorite part of the tour (5 minutes)

  • Introduce the activity (3 minute)

    • Show the water color example and point to the already prepared set up of all the previously drawn works 

    • Show the steps with a quick demonstration that we will be going through (5 minutes) 

      •  Start with looking again this time you are focusing on color shifts and value

      • Lets Start with some gestural swatches of color - light to dark so you don't overwork 

      • Make sure to warn-  not to wet or harsh with the brush - show example

      • While demonstrating describe some things to observe and attempt to achieve in the drawing

        • Darker in shadows - lighter closer to the source of light this will show depth 

        • Overlaying the color with another 

        • Dry brush versus wet on wet 

        • Try putting water down before you add color that will control where the wet on wet will go 

        • You can achieve line with paint as well!! 

        • WIth water color you can’t add light on top of dark, so work from light to dark

      • Really emphasize not going over and over the color, just do one stroke of color done-

      • Then I will have them go to their chairs and start the process!! (18 minutes overall)

    • First go in with lightest highlights first - try not to stray from original drawing think of it as a coloring book  

    • Then local color

    • Leave shadow 

    • Advise to leave some color open to the paper

  • Reflection ( 5 minute) 

    • Have everyone walk around the classroom 2 minutes

    • Ask some questions about the project for student observations

      • How did you guys try to replicate your plants with this medium? 

      • What was your favoirte part of this process? 

      • What would you do differently next time?

      • Would you do this again? 

  • (5 minute) of cleanup 

  • Ask students to as a group put away all the material place it back in compartments

    • Dump water in the sink 

    • Leave brushes to clean at the sink for after

Collaborative Collage

Collaborative Collage

Name of Project: Collaboration Project

Grade Level or Age of Participant: Adult Artists of All Abilities

School, Teacher and Classroom: MSS MN (Fresh Eye Arts), Analeise Jarvi-Beamer

MCAD Teaching Artist: Casey Grengs

Number of Students: Planned for 9, 3 were present that day.

Visual Arts Content or Standards: Movement, Line, Shape, Color, Mark Making

Overview of Project:

Artists will create individual 2D pieces that will be adhered to a larger sheet of paper. The students can choose to follow the prompt of creating a piece that is inspired by a happy dream they recently had or go off on their own intuition. Artists have the choice if they want to cut their individual pieces into unique shapes or sticking with the original rectangle shape of mixed media paper handed to them. Once each artist is done with their individual pieces they will be able to decide where to place their piece on the larger collective final piece.

“Big Ideas”/ Essential Question(s): What is your creative impulse telling you to make?

Student Outcome Objectives:

Artists will:

  1. Explore the creative, intuitive process

  2. Explore collaborating.

  3. Explore new media and mixed media (optional)

Prior Knowledge: Ability to create marks on paper.

Lesson Preparation Timeline:

  1. Complete rough draft of PBM

  2. Share with Aki and AJ

  3. Revise from feedback received

  4. Gather and drop off materials at site location

  5. Teach lesson

Student Work

student work <3 .jpg


Additional Resources:
23 Collaborative Art Projects That Bring out Everyone’s Creative Side

Teaching with Community

The Art of Collaboration with KeFe | KQED Arts

Collaborative Art with Amy Franceschini | KQED Arts

Assessment:
Did the artist create marks on the provided paper for the individual 2D piece?

Did the artist create thumbnail sketches?

Did the artist decide where to place their individual piece on the collective piece?

Did the artist experiment with materials?

Is there movement in the piece?

What is the mark making like?

What colors did the artist choose?

Materials: Mixed media paper, poster board, glue (optional: pairs of scissors, paint brushes, sketch sheets, pencils, erasers, paint, markers)

Learning Activities and Timing

  1. Hand out materials throughout lesson as artists need

  2. Open with a presentation of examples of collaborative artworks, introduce project (10 minutes)

  3. Artists sketch initial ideas (10 minutes)

  4. Drawing, marking and cutting individual artwork (30 minutes)

  5. Placing, glueing and formatting collective final piece (20 minutes)

  6. Reflection (20 minutes)

Teaching Artist Reflection

Because of my virtual teaching circumstances, I am heavily reliant on AJ to get the physical parts of the project completed.

I hope for this project to open for exploration, but because of its openness and experimental nature, I feel like it might intimidate some artists.

The artists work will be shared virtually on the MCAD TA website.

For feedback, I will ask the artists and AJ at the end of the project how they felt about the experience.


PART 1/3: Paint Collages Inspired by Jack Whitten

PART 1/3: Paint Collages Inspired by Jack Whitten

Name of Project: Paint Collages inspired by Jack Whitten: PART 1/3

Teacher:  Lula

 Age or Grade Level: Prepared for 3rd grade

 Visual Arts Content / Standards

MN Arts Standard 3501.0820 

Subpart 1a - Foundations:

The student will use foundational knowledge and skills while responding to, creating, and presenting artistic work.

Subpart 5b - Connect:

The student will understand that artistic works influence and are influenced by personal, societal, cultural, and historical contexts, including the contributions of Minnesota American Indian tribes and communities. 

National Core Arts Standard:

Relate artistic ideas and works with societal, cultural and historical context to deepen understanding.

Overview of Project

This will be the first part of a 3-part lesson series investigating the life and work of renowned painter Jack Whitten. We will explore his involvement in the Civil Rights movement of the 1960s, his work as an artist in New York City, and his famous break from traditional painting techniques to collage work using hardened paint. 

This week, in Lesson 1, I will present a slideshow to students about Whitten’s life and work, from his childhood to his Black Monolith series. We will look at his works and discuss what emotions we feel when we look at them. We will discuss what larger forms we see, then zoom in and observe what small shapes collage together to comprise the whole painting. We will compare a photograph of Muhammad Ali with Whitten’s portrait of Muhammad Ali to introduce the idea of representation vs. abstraction.

We will create an acrylic pour painting, which will harden over the next two weeks. We will notice the colors we have chosen and how they look next to each other.

“Big Ideas”/ Essential Question(s)

  • How can small shapes make up a big picture? Why do we look for smaller shapes?

  • How is Jack Whitten’s work influenced by his experience fighting for Civil Rights in the 1960s? 

  • What emotions do we feel when seeing and making political work?

  • What happens when we combine colors? How can we create a color-unified composition?

  • What is abstraction? Why do we use it?

Student Outcome Objectives 

Students will:

1. Learn about Jack Whitten’s life and work

2. Be able to explain the difference between abstract work and representational work, and demonstrate understanding of why artists use abstraction.

Prior Knowledge

Students recently were taught about the Civil Rights movement of the 1960s. This will allow us to utilize language like civil rights, racism, segregation, protest and activism to contextualize Jack Whitten’s involvement in the movement and how his work was influenced by growing up in segregated Alabama.

Examples of Artwork

Here is my slideshow with Whitten’s work included, feel free to download and use it:

Assessment

Ask questions like, “What do you feel when you’re making this?” “Where is your mind wandering to while you’re pouring this paint?” “How do these colors make you feel?” to confirm the goal of abstraction as expressing emotions/ideas through art. We will compare Whitten’s abstract work to photographs and students will explain the difference between abstract and representational.

Materials

Large paper for pouring paint onto

Paint ingredients (paint must be prepped ahead of time to marble when it’s poured):

3 parts Acrylic paint, tempera can work too

1 part Elmers Liquid Glue

Isopropyl alcohol to thin the mixture

Cups & Sticks to stir

Teacher Reflection

Word of advice to future educators of this lesson: the paint pour takes longer than expected (I had planned 10 minutes of pouring but it took us almost 30) and you will need more paint mixture than you expect, about a dixie cup full for each child. This is a no-brush painting activity!!! Kids move the paper around to guide the paint. Make sure to have wet wipes ready & ask children to roll up sleeves first.

A stude
Students manuvering the paint around their papers by tilting the paper up and down, side to side.

Students manuvering the paint around their papers by tilting the paper up and down, side to side.

PART 2/3: Paint Collages Inspired by Jack Whitten

PART 2/3: Paint Collages Inspired by Jack Whitten


Planning Backwards Model 

Name of Project: PART 2/3: Paint Collages Inspired by Jack Whitten

 Teacher:  Lula McConnell

 Age or Grade Level: Prepared for 3rd grade

 Visual Arts Content / Standards

MN Arts Standard 3501.0820 

Subpart 1a - Foundations:

The student will use foundational knowledge and skills while responding to, creating, and presenting artistic work.

Subpart 5b - Connect:

The student will understand that artistic works influence and are influenced by personal, societal, cultural, and historical contexts, including the contributions of Minnesota American Indian tribes and communities. 

National Core Arts Standard:

Relate artistic ideas and works with societal, cultural and historical context to deepen understanding.

Overview of Project

This will be the second part of a 3-part lesson series on the life and work of renowned painter Jack Whitten. We will explore his involvement in the Civil Rights movement of the 1960s*, his work as an artist in New York City, and his famous break from traditional painting techniques to collage work using hardened paint. 

This week, in Lesson 2, I will present a shorter slideshow to students to refresh their knowledge about Jack Whitten’s life and work. I will use questions about what we remember from last week to recap important points: What is abstraction? Who is Jack Whitten? Why do artists use abstraction? How did Jack Whitten paint? We will study geometric shapes by naming them and observing them within Whitten’s painting 9-11-01 (2006). We will talk about tessellations to introduce the geometric term. 

We will use geometric templates to trace shapes onto the back of our painted pages from last week. We will then cut them out and collage them with glue sticks to make tessellations on small canvases.

“Big Ideas”/ EssentialQuestion(s)

  • How can small shapes make up a big picture? Why do we look for smaller shapes?

  • What emotions do we feel when seeing and making political work?

  • What is abstraction? Why do we use it?

Student Outcome Objectives 

Students will:

1. Observe how Jack Whitten uses small geometric shapes to create large organic forms

2. Create work in the style of Jack Whitten

3. Learn rudimentary geometry terms

Prior Knowledge

Students have previously learned about figure drawing by combining simple shapes to draw more complex forms. This is an important foundational drawing skill, and will help them understand how to observe a large work with the intention of finding smaller shapes within it.

Students recently were taught about the Civil Rights movement of the 1960s, and learned about Jack Whitten’s life and work in the context of his experiences in the segregated South. 

Students learned about how Jack Whitten paints in a unique style, by pouring paint, breaking it up into dried chips, and then collaging them together.

Students learned about what abstraction is and why artists use it to express strong emotions.

Examples of Artwork

I have attached my slideshow here: with images for this week

Assessment

Notice shapes the children have used and ask “what is the name of this shape?” to gauge whether they responded to the geometry portion of the lesson. Ask questions about feelings and wandering thoughts while working. Ask if they see any images in their abstract work because of the way they have combined the shapes.

 Materials

  • Paint pours from last week

  • Sturdy watercolor paper

  • Glue sticks

  • Scissors

Teacher Reflection

Provide glue sticks/strong liquid glue and brushes if possible. We used the glue sticks each kid had in their desk. Some worked well and others peeled off the next day. I ended up spending an hour gluing lost pieces back onto their canvases, use strong glue to avoid this :)


Screen Shot 2021-05-05 at 1.11.58 AM.png
Screen Shot 2021-05-05 at 1.12.21 AM.png
Screen Shot 2021-05-05 at 1.13.02 AM.png

PART 3/3: Paint Collages Inspired by Jack Whitten

PART 3/3: Paint Collages Inspired by Jack Whitten

Planning Backwards Model 

Name of Project: PART 3/3: Paint Collages Inspired by Jack Whitten

 Teacher:  Lula McConnell

 Age or Grade Level: Prepared for 3rd grade

 Visual Arts Content / Standards

MN Arts Standard 3501.0820 

Subpart 1a - Foundations:

The student will use foundational knowledge and skills while responding to, creating, and presenting artistic work.

Subpart 5b - Connect:

The student will understand that artistic works influence and are influenced by personal, societal, cultural, and historical contexts, including the contributions of Minnesota American Indian tribes and communities. 

National Core Arts Standard:

Relate artistic ideas and works with societal, cultural and historical context to deepen understanding.


Overview of Project

This will be the third part of a 3-part lesson series based on the life and work of renowned painter Jack Whitten. We will explore his involvement in the Civil Rights movement of the 1960s*, his work as an artist in New York City, and his famous break from traditional painting techniques to collage work using hardened paint. 

This week, in Lesson 3, I will present a shorter slideshow reviewing content from the previous two lessons: Who is Jack Whitten? How does he paint? What is abstraction? Why do we use abstraction? What is a tesselation?

I will introduce the concept of background/foreground. We will use examples from Jack Whitten’s work as well as Faith Ringgold’s story quilts to differentiate the background from the foregeound in both abstract (Whitten) and representational (rRnggold) works. We will then add an acrylic wash background to our collages from the past two lessons. The watercolor paint bonds to the watercolor paper, but not to the acrylic paint. This provides a good opportunity to briefly discuss how paint is made and why different bases make paint work differently.

“Big Ideas”/ EssentialQuestion(s)

  • What emotions do we feel when seeing and making political work?

  • What is abstraction? Why do we use it?

  • How do two artists’ work in different styles relate to each other foundationally?

Student Outcome Objectives 

Students will:

1. Identify foregeound and backgoround in abstract and representational work

2. Create work in the style of Jack Whitten

3. Experiment with latering different paint types

Prior Knowledge

Students have now spent two weeks learning about abstraction, innovating painting techniques, and the work of Jack Whitten.

In the past, I taught a lesson on how to make paint by mixing pigment with a base, so the kids have some background knowledge of differences between paints.

Students previously completed a lesson with a fellow teaching artist based on Faith Ringgold’s story quilts.

Examples of Artwork

See (and feel free to use) attached slideshow:

Assessment

This will be our final lesson in the style of Jack Whitten. Observe final compositions, how students choose to combine colors. Do students notice that the watercolor bonds with the blank watercolor paper but not the acrylic paint chips? Can the students tell me which part of their work is the background and which is the foreground? Can students connect their emotions to the work they are creating?

Materials

  • Paint pours collages from last week

  • watercolor sets, 1 per child

  • paintbrushes

  • cups w/ water for rinsing & paper towels for drying

Teacher Reflection

Some demo on how to clean watercolor brushes would have been helpful. I started demoing the watercolors and a lot of kids were like “we know how to use watercolors!” I should have continued to demo, because it was clear that many kids did not, but I stopped. Definitely demo these skills so you don’t end up with a bunch of all brown watercolor pallettes.


Screen Shot 2021-05-05 at 1.33.49 AM.png
Screen Shot 2021-05-05 at 1.34.49 AM.png
Screen Shot 2021-05-05 at 1.35.08 AM.png
Screen Shot 2021-05-05 at 1.34.15 AM.png

Ancient Greece Vases

Ancient Greece Vases

Age or Grade Level:  4th Grade


VISUAL ARTS CONTENT / STANDARDS


Code:  4.1.1.5.1

Grade:  4th Grade

Strand:  Artistic Foundations

Substrand: 1. Describe the characteristics of the elements of visual art including color, line, shape, value, form, texture, and space. 

Standard: 1. Demonstrate knowledge of the foundations of the arts area. 


CURRICULAR LINK / STANDARDS, IF APPLICABLE

English

Code: 4.1.4.4

Grade:  4th Grade

Strand:  Reading

Substrand: Craft and Structure

Standard: Determine the meaning of words and phrases as they are used in a text, including those that allude to significant characters found in mythology (e.g., Herculean). (Allegories, Fables)

OVERVIEW OF PROJECT

  Create an ancient greek vase using the imagery from Greek mythology Gods and Goddesses.  Connect the images to everyday life and themselves.  (Midas Tire, Nike, Apollo Theater, ect)


“BIG IDEAS”/ ESSENTIAL QUESTION(S)

  The big idea for this lesson is to connect ancient greek mythology to everyday life.  

What do these symbols mean and why did you choose them? 

STUDENT OUTCOME OBJECTIVES

Students will:

  1. Create a scratch off vase.

  2. Illustrate an image from a Greek allegory/fable relating to everyday life. 


PRIOR KNOWLEDGE

 The students should have prior knowledge of  Greek Mythology, of Greek Allegories, and allusions.

TEAM LESSON PREPARATION TIMELINE

  • Create draft lesson plan 03/17

  • Teach drafting part of lesson 03/17

  • Teach lesson on 03/22


EXAMPLES OF ARTWORK

I will show examples of ancient Greece vases to inspire the students.  I will also create an example for the students and create with them. 


ADDITIONAL RESOURCES 

Greek mythology books, powerpoint about greek allusions


ASSESSMENT

See http://artsedge.kennedy-center.org/educators/how-to/supporting-individual-needs/do-tell-giving-feedback.aspx for a varied list of assessment techniques in the arts.

 I will grade these based on how they connect greek mythology symbols to their own personalities, also how they use line, patterns, and shape according to the elements of art. 

MATERIALS

  • Paper

  • Kabob Sticks

  • Paint

  • Paint Brushes

  • Soap

  • Little cups

  • Orange and Red Crayons

  • Pencil

LEARNING ACTIVITIES AND TIMING

Day 1:

  1. Create a draft drawing of the vase based on the images on the slide show (slide 3).  Just a simple outline of the vases. (15min)

  2. Show Slideshow, slide 2. About the background of ancient greek vases.  (3min)

  3. Go over the project and have the students figure out some images to etch into their vases.  Slides 4 and 6 (10min)

Day 2 (could combine with day 1):

  1. Gather Supplies for the project  (5min)

  2. Show slides 3 for examples of vase shapes.  Have the students draw their vase on their piece of paper, color in.  (20min)

  3. Paint over with black paint. Let dry.  (5min)

Day 3:

  1. Show slides 4 and 6 with examples. Have the students draw on scratch paper with their ideas. (10min)

  2. Start etching patterns into the vase. Talk about the elements and principles of art specifically pattern, line, and shape. Slide 5  (5min)

  3. Etch the image onto the vase of the greek allegory they chose. (10min)

  4. Done :) write names on papers.