Viewing entries in
Lesson Plan / Intergener

Collaborative Line Drawing... With a Twist!

Collaborative Line Drawing... With a Twist!

Whatever it is, the way you tell your story online can make all the difference.

Age of participants: 6+

Mcad teaching artist: Greer Coffman

Number of Students: 7

Overview of Project:

In this project we will come together to create a collaborative blind drawings and explore how to communicate our

goals and intentions with each other, both abstractly and concretely.

Big Ideas:

● clear communication vs abstract communication

● different interpretations of ideas

● individuality

Student Outcome Objectives

Students will:

1. create a collaborative line drawing

2. find ways to communicate with each other to make their points clear

3. have a good time!

Prior Knowledge:

● usage of a mark making tool

● communication skills

lesson preparation timeline:

● planned the lesson

Materials:

● piece of paper

● mark making tool

● google meet software

learning activities and timeline:

1. i will start the lesson by explaining the concept

1. “today we will be creating a collaborative line drawing, one person will start by putting a line on the

paper, and it can be any shape or duration, but as soon as you lift your pencil off the paper, you are

done. you then must describe to the group the line you made and everyone must try and replicate

that line without seeing it. then the next person will go and add on with a line of their own, and

everyone must replicate that line without seeing it, and so on and so forth”

2. I will be the person to start the line drawing, then I will choose someone to do the next line, and then we will

continue in that manner.

3. After we are done with the first round, we will do a second round in which we will try and create something

more grounded, but using more abstract terms. For example, someone will draw a mouse, but instead of

using very specific terms for it, they will be looser with how they describe it, and people can interpret that

how they want.

4. After all of the drawings are complete, we will come together to share and compare our individual interpretations of the prompt!

Circle Fold Books

Circle Fold Books

Circle Fold Books

Grade Level or Age of Participant: age 5 - 95 (basically all ages)

Organization: Minnesota Center for Book Arts, “Fold-Along Friday” weekly virtual book arts lesson

MCAD Teaching Artist:  Jamie Kubat

Number of Students: open (video demo, free for everyone)


OVERVIEW OF PROJECT

This project is a pre-recorded video that demonstrates how to make a folded circle book. This is a simple but elegant structure that can be used as a book with content or as a sculptural object. The demo is for MCBA’s Fold-Along Friday lineup, a virtual lesson format provided to their Facebook and Instagram audiences in response to the COVID-19 epidemic.


“BIG IDEAS”/ ESSENTIAL QUESTION(S)

This lesson provides a way for people to engage with MCBA through this time of social isolation. It is designed to support viewers/participants by giving them a thought provoking and enjoyable process to inspire them to create something new. 

Additionally, the project supports an organization that gives so much to the larger arts community through their programming and access to studio space. This lesson fills a gap left by social distancing and our current inability to teach face-to-face. 


STUDENT OUTCOME OBJECTIVES

Students will:

1. Construct a blank book

2. Develop content for the book if they desire

3. Adapt the lesson to their own needs or creative pursuits through experimentation

(The lesson provides a concrete way to accomplish the first step but the other two will be up to the viewer to pursue. Examples and verbal encouragement are provided for taking the content further).


PRIOR KNOWLEDGE

Basic knowledge of how to use a scissors to cut with and pencil to draw with is helpful. The rest of the steps are explained, such as folding paper, gluing, etc.


LESSON PREPARATION TIMELINE

By 4/16: submit lesson plan draft

By 4/19: create exemplars and set up space in my apartment for video. Experiment with video shots and photograph exemplars. Share demo ideas/footage with TA Development group.

By 4/25: Write script. Video draft edit and rework lesson plan. 

By 5/1: Submit video lesson to Shelby and Madeline for upload on Friday 5/15.


EXAMPLES OF ARTWORK

I made several exemplars, which are included in a gallery below.


ADDITIONAL RESOURCES

Link to MCBA’s free Fold-Along workshops here.

The Art of The Fold, by Hedi Kyle and Ulla Warchol. 

Making Handmade Books: 100+ Bindings, Structures & Forms, by Alisa J. Golden. 


ASSESSMENT

I asked people to tag their work on social media so I could see what they make, and I received some feedback through both social media and email responses. 


MATERIALS

Paper, enough for 8 circles in any size (suggested diameter of each circle is 4.5”)

Pencil

Compass or a bowl/other circular object to trace around

Bone folder, popsicle stick, ruler (or thumbnail) for folding

Glue stick, PVA glue, or other type of glue 

Other paper and drawing materials for collage/content/etc. (magazines, handmade paper, old prints, dried flowers, watercolors, etc.).

Optional heavier paper for covers (will provide size recommended for cover based on size of pages, or a way to find that size)

VIDEO DEMO  

LEARNING ACTIVITIES AND TIMING

1. Intro and talk about MCBA a bit and my role at MCBA/in this series of lessons. (2 min)

2. Cutting paper into circles (3 min; cut and fold most circles ahead of time and just demonstrate with one or two during lesson).

3. Folding the paper (4 min)

4. Gluing the pages together and gluing on a cover (8 min)

5. Wrapping up, asking people to support MCBA (Shelby requested, it’ll probably be specific to the version of the video I send them along with any other MCBA related info) 2 min


TEACHING ARTIST REFLECTION

What problems are anticipated with this lesson?

Timing and dealing with the video creation. Performing for a recorded video while home alone proved challenging but ultimately very worth the time and effort. 

How does this project fit into overall curriculum planning for the subject areas?

It goes well with other books that MCBA shares in their youth curricula: simple, easy to adapt for a variety of content purposes, unique, and fun to make

How will your students’ work be shared with the community?

They can share it on social media or with friends/family if they want to! 


The video I recorded for this lesson can also be found here, on MCBA’s Facebook page!

Comic of our Fears  hosted by Mia

Comic of our Fears hosted by Mia

Comic of our Fears

Grade Level or Age of Participant: First grade and above

School, Teacher and Classroom: Minneapolis Institute of Art, Angela Olsen

MCAD Teaching Artist: Anavi Mullick

OVERVIEW OF PROJECT

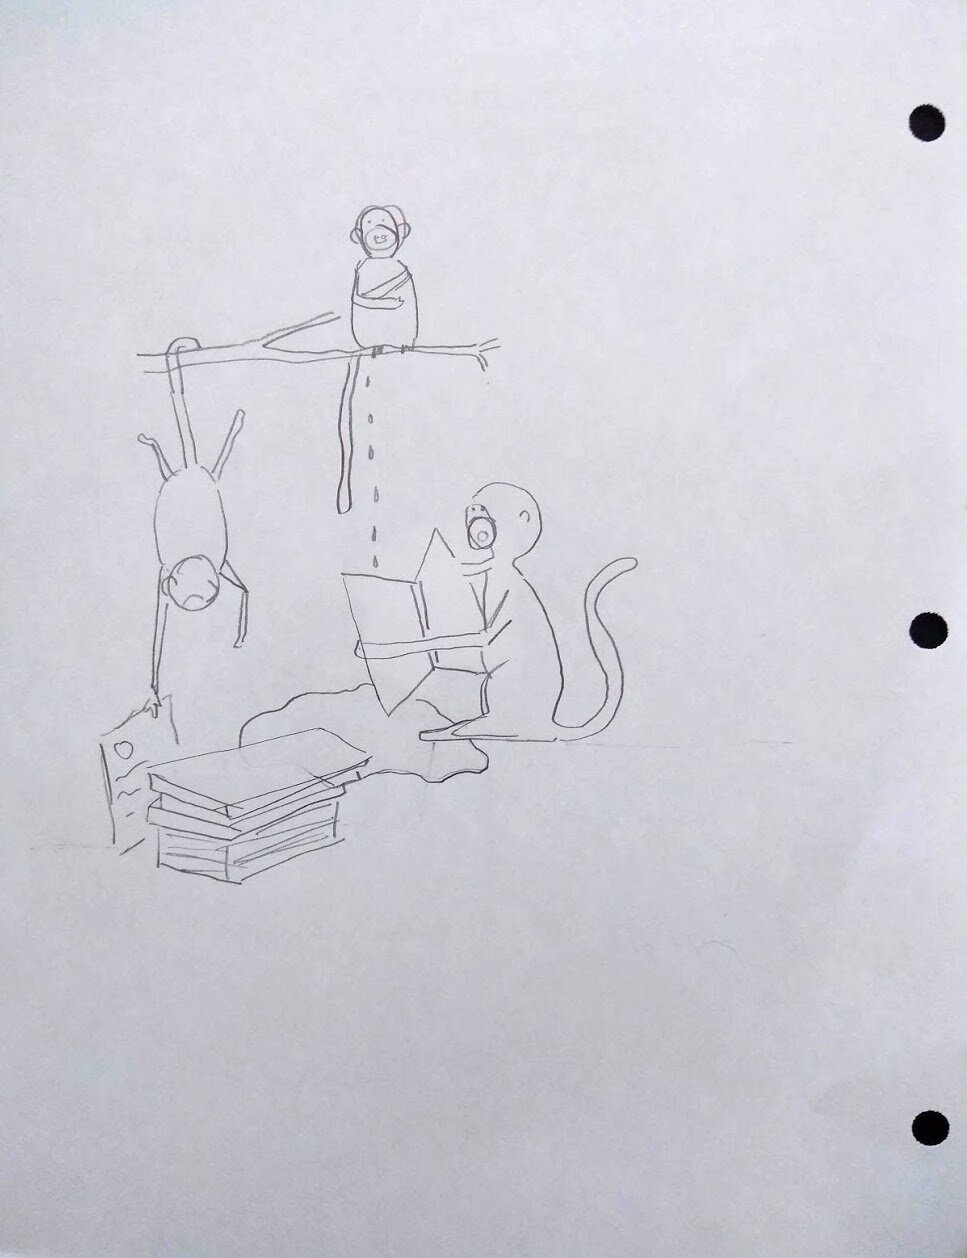
This simple drawing project addresses fears and how to approach them with humor. Participants think about their own fears, choose one that is most alive for them, and then pick an animal which they feel best represents their fears. Then keeping in mind the fear and the animal they will draw the animal in a silly situation. For example; the fear of loved ones falling ill, embodied as a porcupine, and then imagining the porcupine juggling balls, and drawing this.

The lesson was designed focusing on the challenges that we are all facing as we live through a pandemic. Participants will be able to share their work through online social media platforms, as well as with members of their families.

A step-by-step document is featured on the Minneapolis Institute of Art (Mia) Website. Link Here.

“BIG IDEAS”/ ESSENTIAL QUESTION(S)

What are we afraid of? How can we learn to visualize something? How can art be reflective and expressive? How to draw from imagination? How can art be accessible to all?


STUDENT OUTCOME OBJECTIVES

Participants will:

1. Explore their own fears with guidance through a process to visualize a fear.

2. Draw from imagination.

3. Experience art as a form of expression.

4. Reflect on the power of the creative process.

PRIOR KNOWLEDGE

Ability to read/follow step-by-step instructions, or have a partner to help guide the participant.

LESSON PREPARATION TIMELINE

-       Brainstorming lesson

-       Step-by-Step planning

-       Reflect on outcomes and next steps

This lesson was conceived by Anavi Mullick from the MCAD Teaching Artist Practicum course and reviewed and workshopped by the Education Department of the Minneapolis Institute of Art prior to being included in their web lessons during the Covid 19 Pandemic
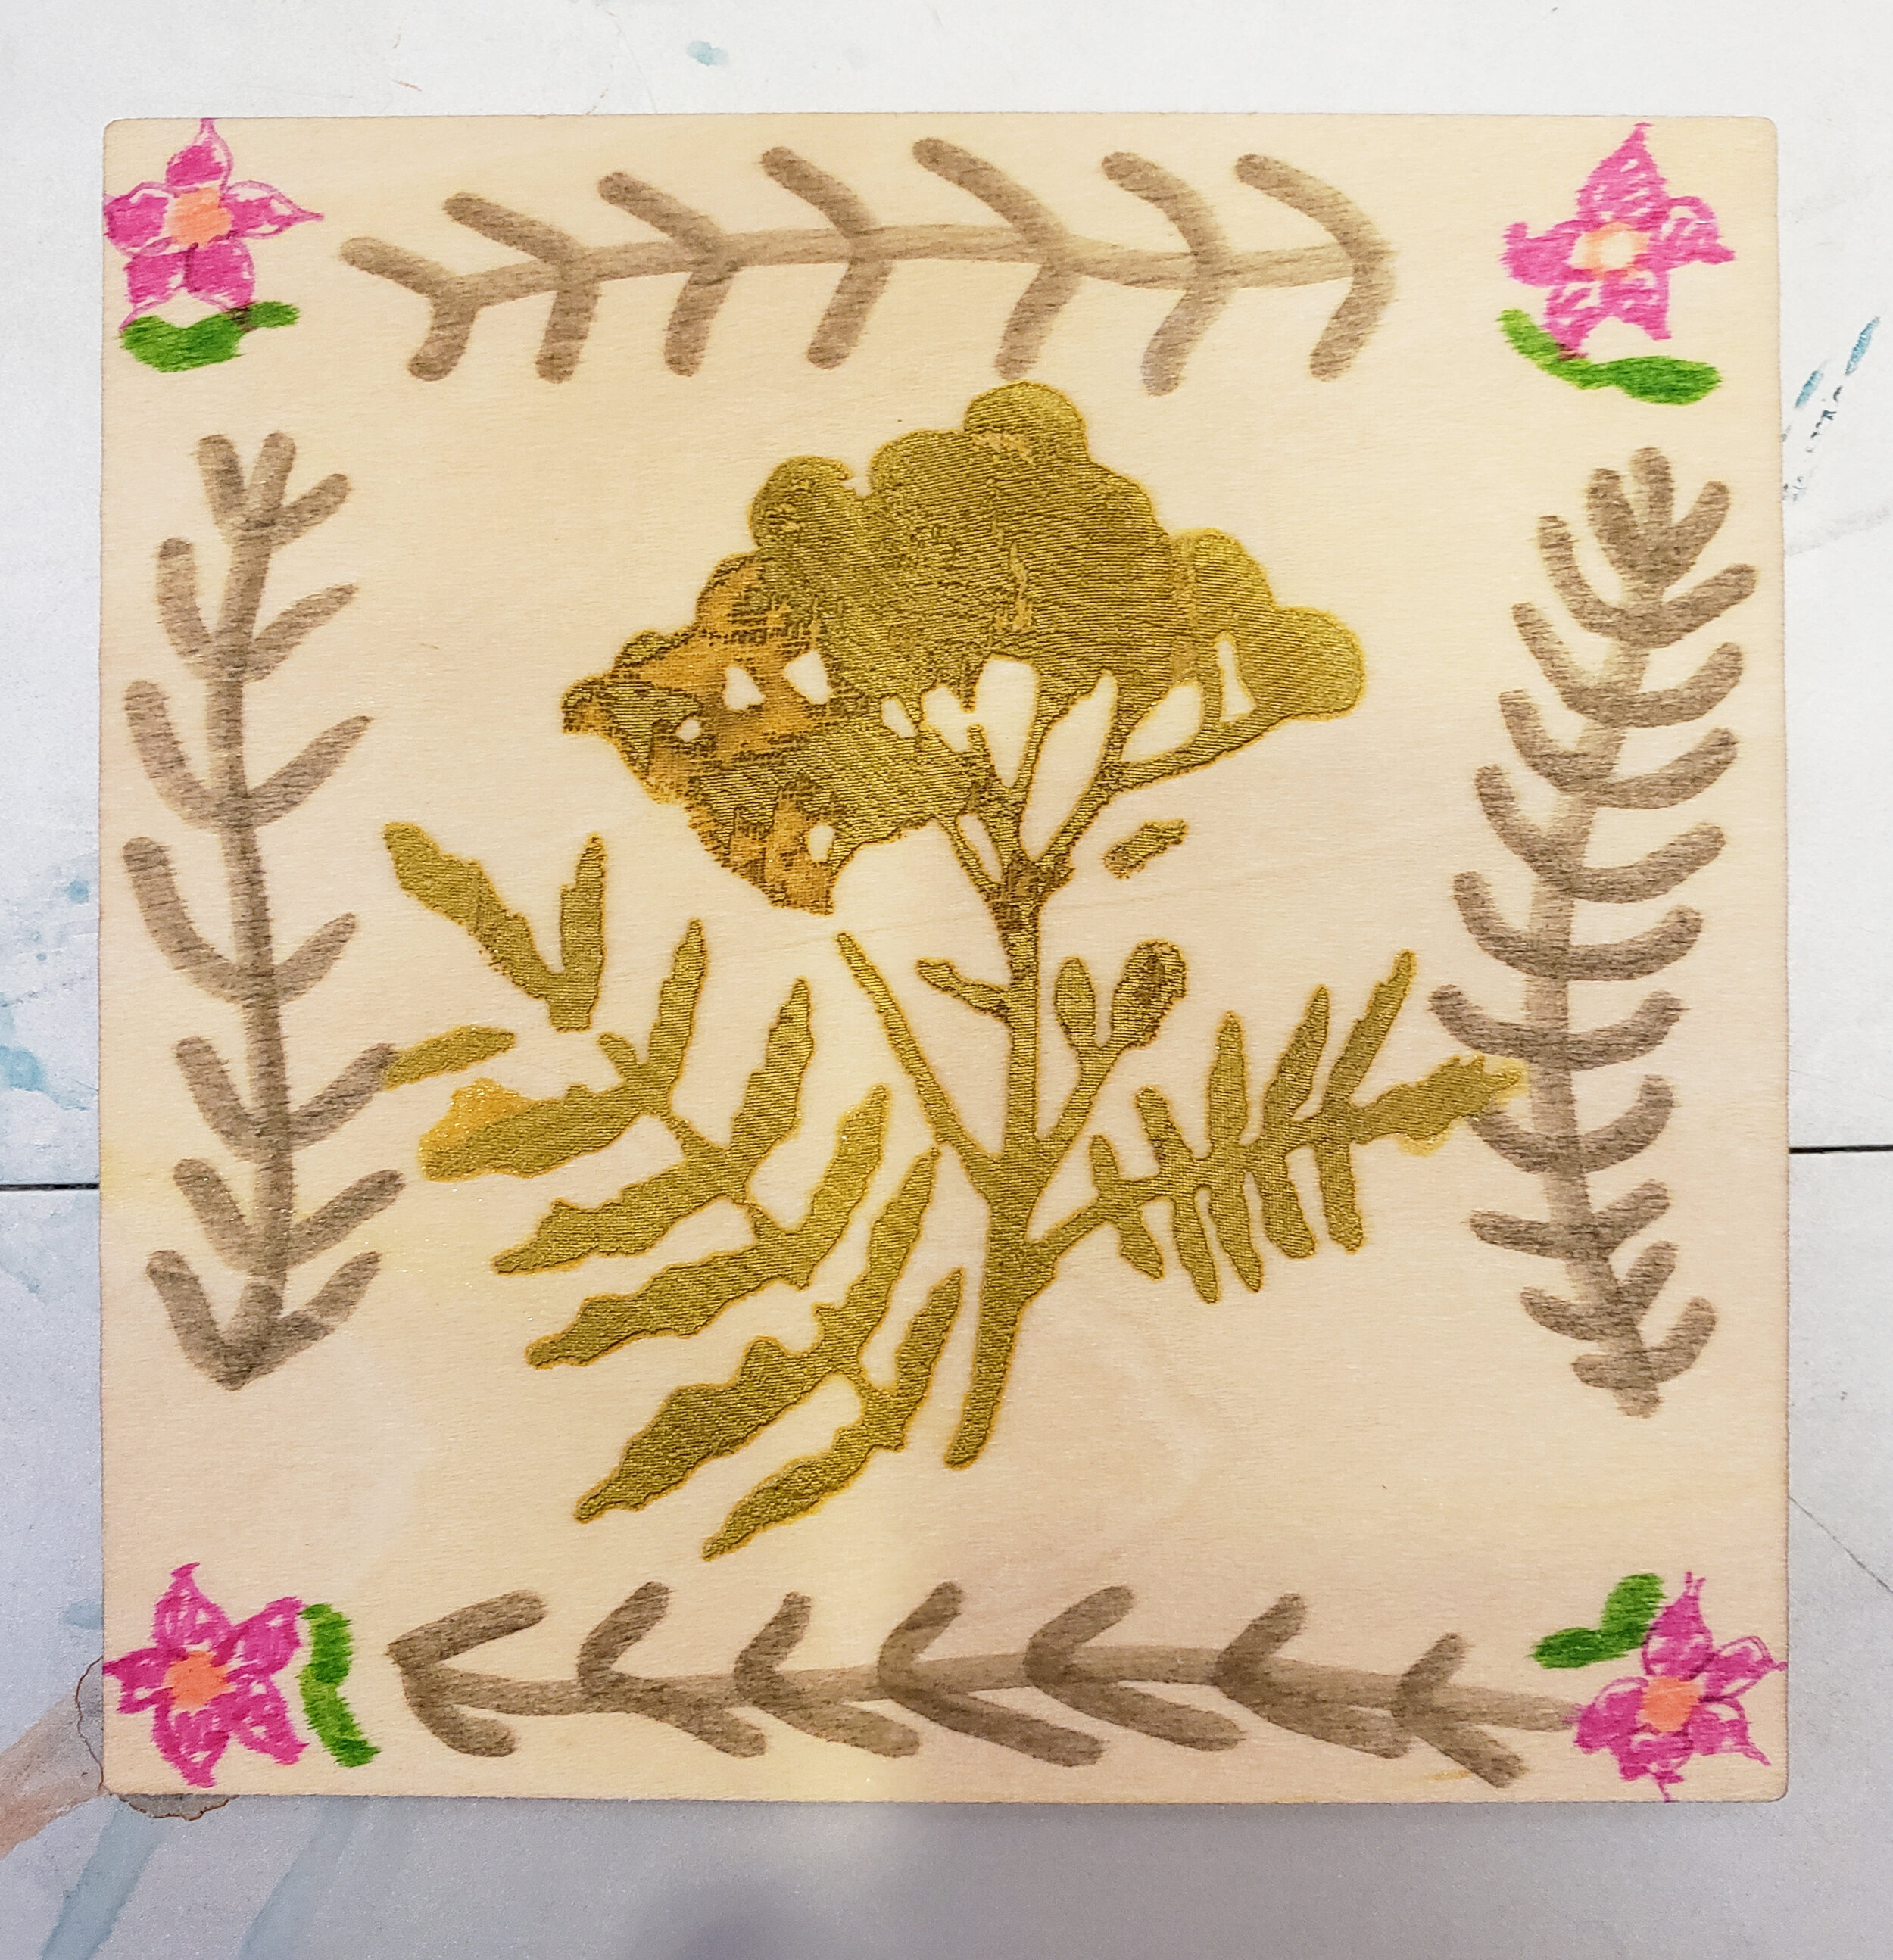
 

EXAMPLES OF ARTWORK

Samples chosen from the Collection at the Minneapolis Institute of Art.

-       Graham Sutherland, Bird and Mouse, 1968, 24.75 x 19.5 in.

https://collections.artsmia.org/art/54851/bird-and-mouse-graham-sutherland

-       Getsuju, Frog and Mouse, late 18th - early 19th century, 65 × 35 in.

https://collections.artsmia.org/art/117177/frog-and-mouse-getsuju

-       Gerhard Marcks, Cats, 1921, 15 x 20 in.

https://collections.artsmia.org/art/72892/cats-gerhard-marcks

-       Unknown artist, Seated Dog, 386-535.

https://collections.artsmia.org/art/872/seated-dog-china

-       John Randolph Carter, Grinning Dog with Raggedy Ann Doll, Clouds with Ears in Sky, 1979, 13.5 x 17 in.

https://collections.artsmia.org/art/8873/grinning-dog-with-raggedy-ann-doll-clouds-with-ears-in-sky-john-randolph-carter

-       Dudley Huppler, The Bug of Marianne Moore, 1945, 11 x 9 in.

https://collections.artsmia.org/art/128355/the-bug-of-marianne-moore-dudley-huppler

-       Unknown artist, Finial with Animal, late 12th-11th century BCE, 7 x 6 x 2 in.

https://collections.artsmia.org/art/1155/finial-with-animal-china

-       Clement Hurd, Animals, second half 20th century, 10.5 x 27 in.

https://collections.artsmia.org/art/117681/animals-clement-hurd


ADDITIONAL RESOURCES

-       Henri Rousseau’s (Artist) paintings of animals. (https://www.google.com/search?q=henri+rousseau+animal+paintings&hl=en&sxsrf=ALeKk00R9An6fyTyrO9S3pOqd82ipG4TPQ:1586804902830&source=lnms&tbm=isch&sa=X&ved=2ahUKEwjJ7r30jOboAhWRuJ4KHck5CUUQ_AUoAXoECBMQAw&biw=1172&bih=539)


SUPPORT MATERIALS

ASSESSMENT 

-How did you feel at the start of the lesson when you were thinking about what you were afraid of? How did you feel after the lesson?


MATERIALS

1.     A drawing tool

a.     Any one of the following; pencil. Pen, marker, crayon, color-pencil, paint and brush, chalk.

b.     Optional – if you think you would like to color your drawing after, you are welcome to. (crayons, paint, color pencil)

2.     A writing tool - a pencil or pen

3.     Paper/drawing surface - (2)

a.     Anything you have around you. (blank white paper, one sided paper, ruled sheets, an old paper bag, cut open a cereal box and use the inner surface, colored paper, newspaper, your driveway or sidewalk if you are using chalk)

4.     A comfy spot to sit, with a flat surface in reach. Not limited to, but a few options are; a dining table, or on the floor, or with a drawing board/a clipboard, or against a wall.


LEARNING ACTIVITIES AND PROJECT OVERVIEW

PROVIDE AN OVERVIEW OF THE PROJECT, PROCESS AND PURPOSE. See description above.

PREPARE. Gather drawing tool and decide on a drawing surface. Have everything at hand prior to starting. Then get comfortable.

Step 1. Brainstorming. Take a few seconds to observe your body, your breath, your heartbeat. You can close your eyes if you would like. 

Think about where you are, how you have been feeling, what you are afraid of.

 Step 2. Making a list and choosing. If your eyes were closed, you can open them. Pick up your writing tool, and your chosen drawing surface. Make a list of the fears that came to mind.

 When you are done with your list, take a moment to look at your list and identify which fear feels the most alive to you? Choose one that stands out to you.

Is it big and overwhelming? Is it small but sharp? Can you imagine this fear as an animal? What animal represents this fear?

Step 3. Imagining. Once you have chosen an animal that represents your fear, think of the animal doing something silly. Is it juggling balls? Eating fourteen bananas at the same time? Jumping on a trampoline? Be as silly as you can!

Step 4.  Draw it! Draw the animal doing this silly thing! Color it if you would like to. Do not worry about the animal or the activity looking ‘correct’. Just draw and enjoy! No judgement.

Step 5. Think about it….How do you feel now? Is your fear as great? Do you feel differently?

Step 5. Upload image, hashtag and respond. Tag @artsmia if you choose to post it, or #InspiredbyMia #MiaFromHome #MuseumFromHome. We’d love to hear what animal you chose, why you chose it and how you feel now.

Do as many as you like!

TEACHING ARTIST REFLECTION

-       Some participants will need assistance depending on their age in participating.

-       Participants might feel intimidated to think about the fears or drawing.

-       Challenging to consider consider sharing their artwork online

 Assessment from staff, general assessment through social media.

Invasive Species Screen Printing

Invasive Species Screen Printing

Name of Project: Invasive Species Screen Printing

Grade Level or Age of Participant

All ages, families

School, Teacher, and Classroom: Silverwood Park, NED the Naturalist Program with Seth Eberle

MCAD Teaching Artist: Cassidy Walker

Number of Students: (Drop-in activity) Prepared for 300

Visual Arts Content or Standards

Participants are able to learn screen printing basics with premade screens that depict invasive plant species that the park naturalists are focusing on and relates to current art exhibition of artwork by Margi Grill

Overview of Project

Participants are invited to color with marker and screen print on a 4” x 4” wood panel. The screens are prepared with the silhouettes of invasive plant species found in the park.

“Big Ideas”/ Essential QUESTION(s)

What does it mean if a plant is an invasive species?

Student Outcome Objectives

Students will:

1. Be able to identify invasive plant species within the park and gain plant identification skills by working with the forms provided.

2. Create an original work of art from a predetermined shape through composition and color choice.

3. Understand the fundamentals of screen printing and print media.

Prior Knowledge

A demonstration will be done for screen printing but prior knowledge could make for an easier process.

Lesson Preparation Timeline

Two weeks prior to the lesson - Planning with Seth Eberle, creation of screens for printing

One week prior to the lesson – Creation of planning backwards model draft, receive feedback and revise

March 8th – Teaching date

Examples of Artwork

Oil on wood board paintings of invasive plant species by artist Margi Grill. Available for participants to view in her exhibit at Silverwood, Gone to Seed.

Additional Resources

Seth and I created the screens using the drawing fluid/screen filler method which we used this guide to figure out:

https://www.dharmatrading.com/techniques/screen-printing-drawing-fluid-method.html

Assessment

As participants complete their panels, ask about the plant species they depicted, how they felt about screen printing (was this their first experience?) and if they preferred working with the markers or printing method.

Gauge interest with how many participants continue to engage with the activity and create multiple panels.

Materials

Prepared screens with images of invasive plant species

Plastic Squeegee

Markers

Wood panel cut to 4” x 4”

Various ink colors for screen printing (Block printing ink which is water-soluble for easy cleanup)

Learning Activities and Timing

1.     Before lesson begins set materials and five step instructions out on tables (15 min.)

2.     Introduce self and other educators. (5 min.)

3.     Demonstrate screen printing and marker methods. (10 min.)

4.     Assist participants and answer questions throughout the lesson.

If we have more people than can fit into the classroom right away at 1pm, worksheets can be given out to part of the group to engage with the gallery show. Participants are able to go in and out during the lesson time (1-3pm). Steps 3 and 4 can be repeated for new participants but instructions are also available for people to self-teach and lead.

Teaching Artist Reflection

Some families that drop-in may have a hard time understanding instructions and not be able to receive help from a teacher or volunteer right away.

Some people are sensitive to the texture of unfinished wood and may have a hard time drawing on it with a marker.

This project is in direct response to Margi Grills paintings of invasive plant species on wood.

I will receive feedback from my instructor. I will also discuss afterward, the effectiveness of the lesson with the Silverwood educator that I am working with.

MMiW Screen Printing Workshop with Courtney Cochran

MMiW Screen Printing Workshop with Courtney Cochran

Screen Shot 2019-03-10 at 12.45.56 PM.png

Screen Printing Events for Missing and Murdered Indigenous Women (MMiW)

School/Teacher/Classroom or Arts Organization/Mentor: All My Relations Art

Grade Level or Age of Participants: All levels and ages

MCAD Teaching Artist:  Courtney Cochran

Number of Participants: 100-300

Overview of Project: Community members can choose to make a MMIW screen prints on paper, t-shirts or banners at these traveling events. If they choose to print, they will learn how to pull a screen and why raising awareness for MISSING AND MURDERED INDIGENOUS WOMAN is important.

Big Ideas”/ Essential QUESTION(s): How we can stand in solidarity to raise continued awareness for MMIW in any art form or non-art event.

Student Outcome Objectives:

 Community members can choose to:

  1. Spread awareness for MMIW with this art form

  2. Learn how to pull a screen and print an image

  3. Choose to paint a blank banner by hand

  4. Raise awareness of social issues using screen printing

 Prior Knowledge: No prior knowledge required, everyone welcome!

 Examples of Artwork: Images will be printed for participants to see what we are creating, no other examples are needed. Many have already seen the image since this has been a yearly event.

 Assessment: It’s more about building community together rather than strictly a student-teacher dynamic in these workshops. There is no hierarchy and these events and some volunteers are even first time printers, we are all standing together and learning from each other in many ways than an art form.

We show the people who choose to participate that they can use this medium to spread awareness in a way that can reach multiple people even after the events by wearing these designs on a daily basis. Assessment is focused on participation and participants engagement with the activity and the community in preparation for the event.

 Materials:

Paint

Screens prepared with content

Tables

Tarps for tables

Spatulas

Squeegees

Spray bottles

Clamps

Clothes pins

String

Learning Activities and Timing:

With time and studio space, goals are not to have community learn every step that goes into creating a design, burning to cleaning screens. These workshops offer the community a way to use the arts to carry their voices. Participants arrive throughout the printmaking workshop.

Step by Step

  1. Artists are on site preparing screens, setting up and printing before the event begins.

  2. As participants arrive artists teach them how to pull/print onto fabric and or poster paper.

  3. Prints need to dry before they can be used.

Teaching Artist Reflection: Things might move too slowly while teaching inexperienced community members; screens can get too dry. If so, all we need to do is wash the screens. These projects goes beyond traditional classroom requirements because we are working with a larger community and don’t look at the quality of the print but rather than the time our community came together.