Camera Obscura
Teaching Team Members: Jack Powers and Avery Nordin
Age or Grade Level: 11th and 12th Grade
VISUAL ARTS CONTENT / STANDARDS
Media Arts 2.9.2.2.1
High School
Create
2. Generate and develop original artistic ideas.
1. Apply aesthetic criteria in developing, proposing, and refining artistic ideas, plans, prototypes, and production processes for media artworks, considering original inspirations, audience and constraints.
OVERVIEW OF PROJECT
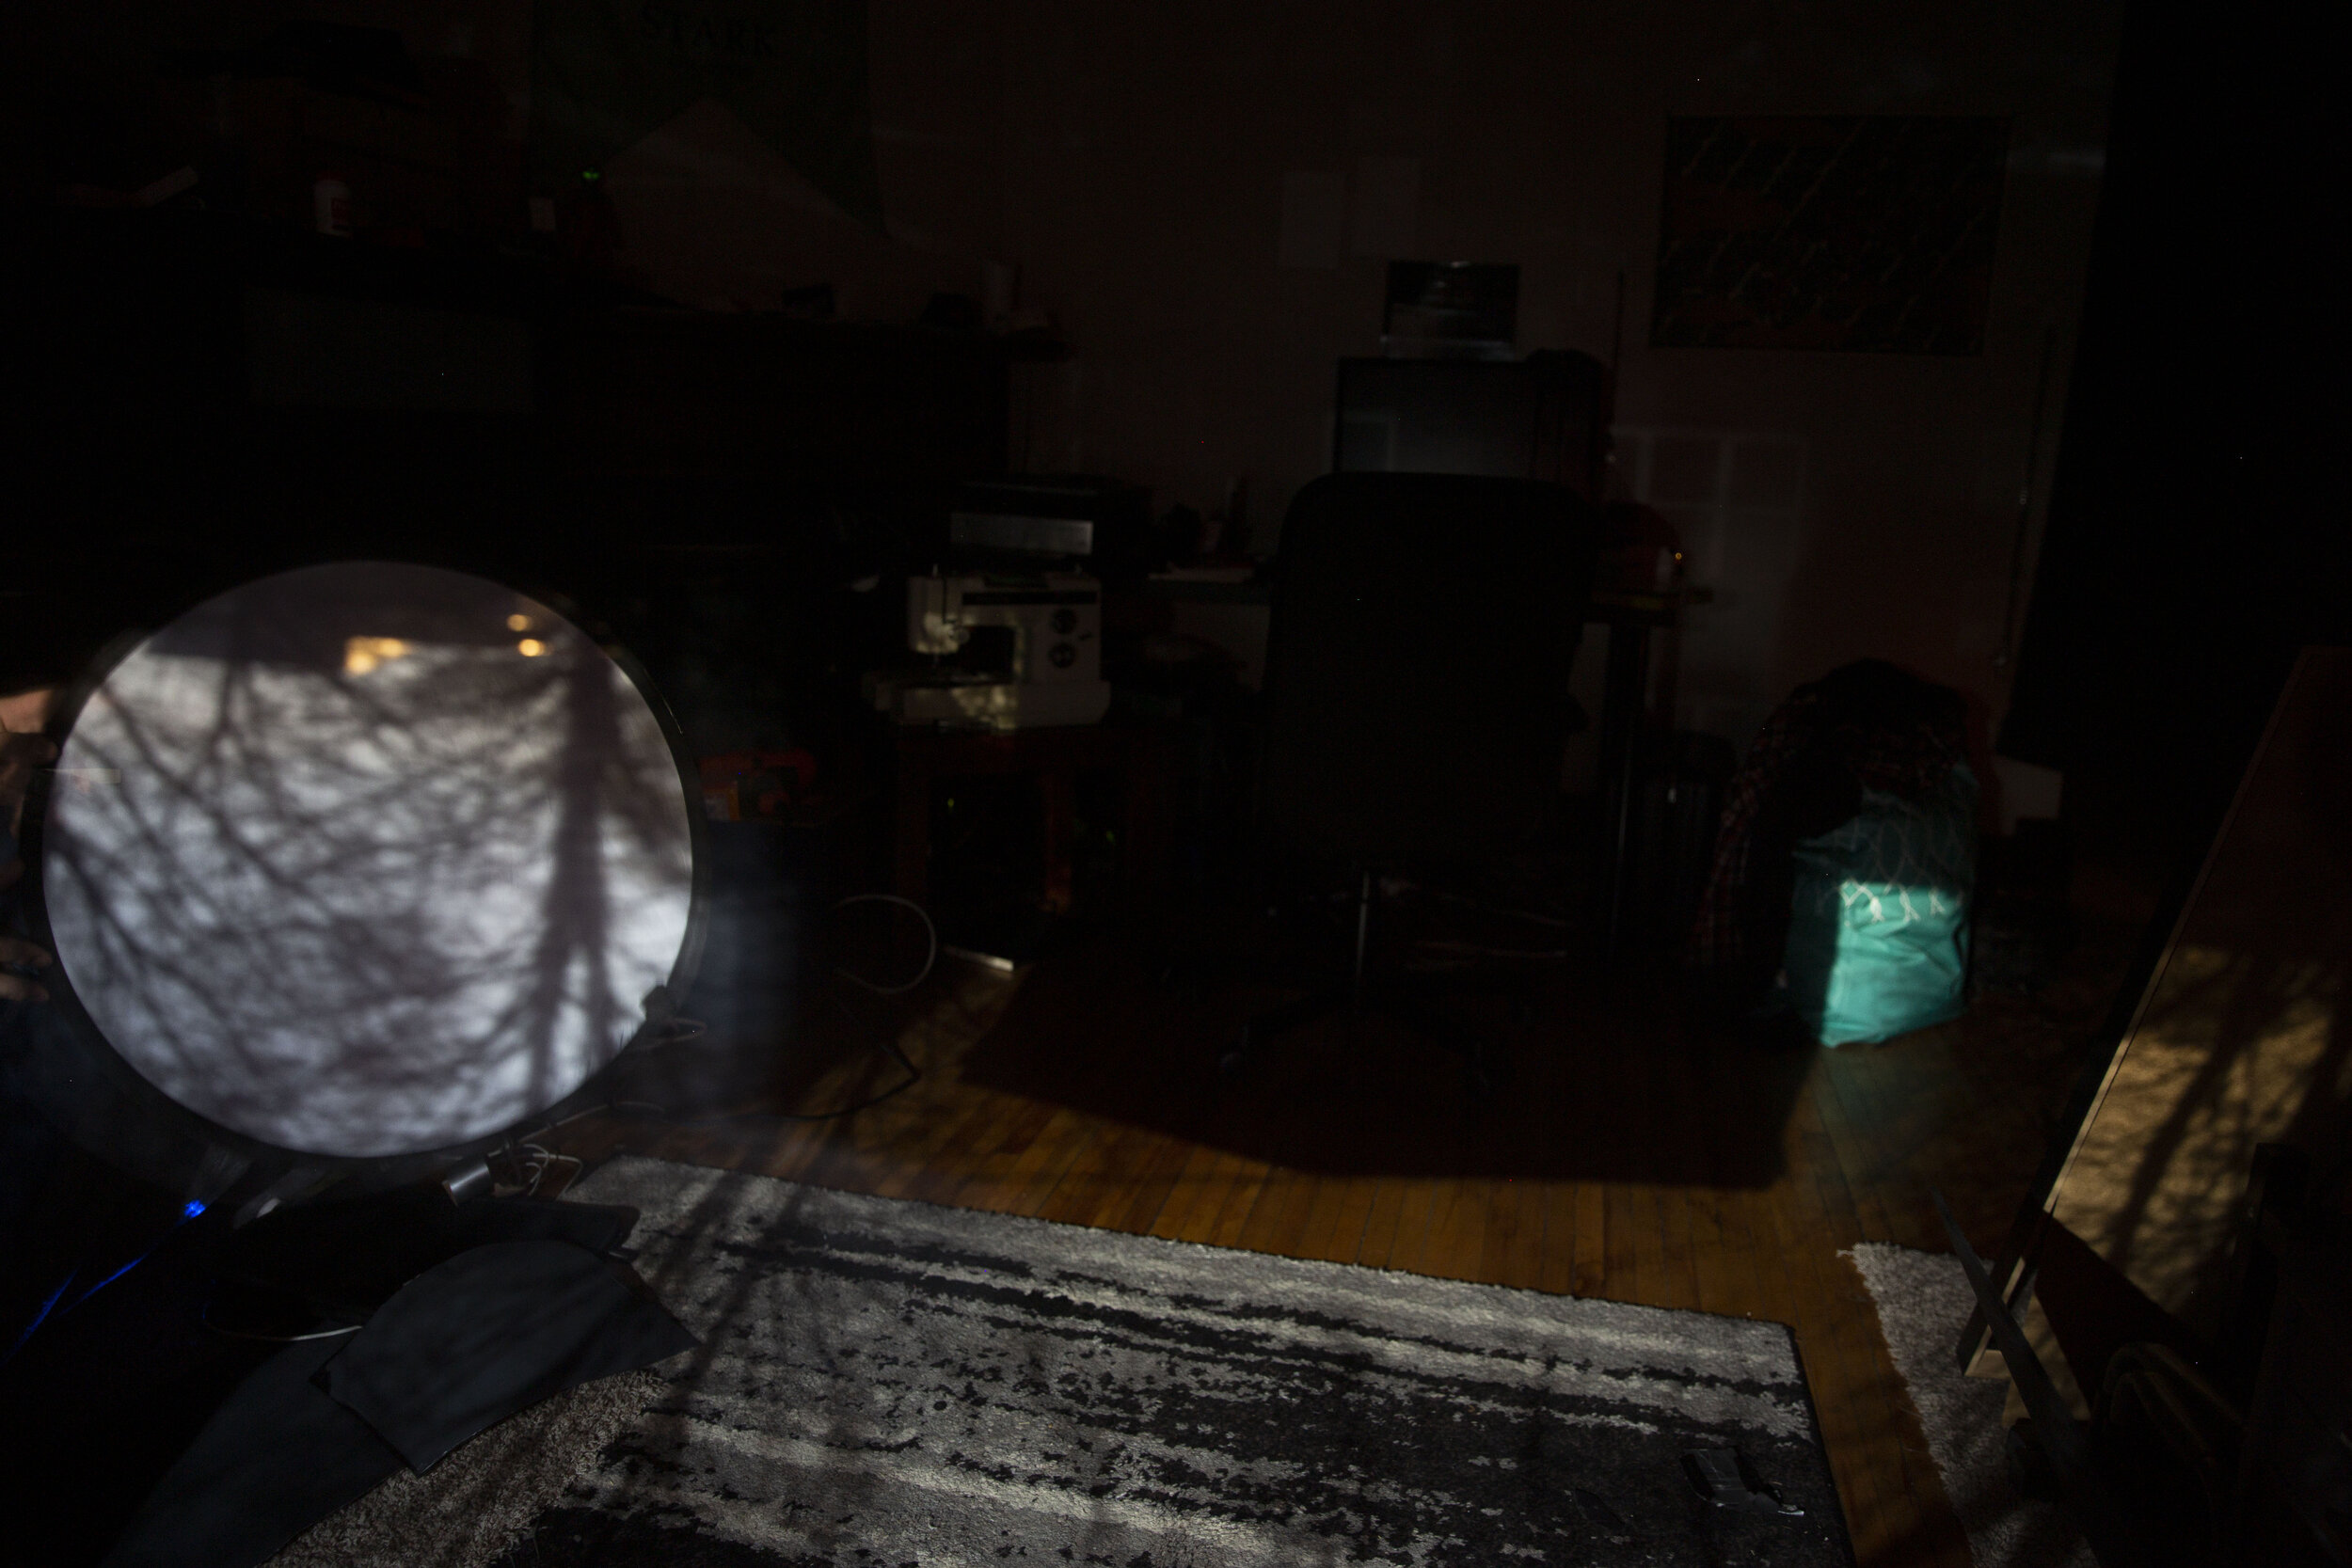
Students will be learning how a camera obscura works and then be turning one of their rooms into a camera.
“BIG IDEAS”/ ESSENTIAL QUESTION(S)
How can we work around lack of resources as a photographer?
How does a camera work?
Why does an image get cast on a wall in the camera obscura?
Why is the image inverted?
STUDENT OUTCOME OBJECTIVES
Students will:
1. Make their own camera obscura
2. Learn how cameras work.
3. Judge the accessibility of the process
PRIOR KNOWLEDGE
None needed
EXAMPLES OF ARTWORK
https://www.flickr.com/photos/stealw0rker/6784969629
https://www.flickr.com/photos/number7cloud/26357316558
ADDITIONAL RESOURCES
https://petapixel.com/2014/05/12/diy-tutorial-convert-room-camera-obscura/
ASSESSMENT
Upload an image of your camera obscura.
Fill out some assessment questions.
How does time of day affect the image?
How did the room you projected into effect the image?
Is this something you could use in your art practice? If so how?
What were some challenges in trying to do this from home?
SUPPORT DEMO by JACK POWERS AND AVERY NORDIN
MATERIALS
· Duct Tape
· Electrical Tape
· Scissors
· A window
· A separate piece of paper or board to put holes in (obscura lens)
· A drill (not needed but can be used to create clean holes)
· White sheet or something to project image onto
-A few of the following to be used to black out the window:
· Black Construction paper
· Cardboard or black Garbage Bags
· Anything that will help block out light completely
LEARNING ACTIVITIES AND TIMING
1. Collect all the materials that you need prior to starting
2. Find a room with a window you would like to black out. Think about the time of day when you do this. How might it affect the image?
3. Start to black out the window, but leave a spot in the middle for the obscura lens. The lens will just be another piece of paper or foam board that you’ll cut holes into for the light to come into the room.
4. Once window is blacked out makes sure there are no light leaks. The darker the room the easier it will be to see the image.
5. Cut the obscura lens. Decide how large you want the obscura hole. The smaller the hole the sharper the image, but the harder it will be to see. The larger the hole the brighter the image will be, but will have less detail. A 10 – 15 mm ( .5-.75”) hole in diameter is recommended to start, but experiment to see what other results you can get. If you even want to you could try to cut a whole for a camera lens to fit into. You can also have multiple holes and just cover the ones you don't want to use.
6. Once everything is blacked out and the holes have been cut, you can now tape the Obscura lens to the window (shown in video).
7. Turn off the lights and see the image being projected into your room. Wait 10-15 mins for your eyes to adjust to the darkness before trying to adjust the obscura hole.
8. If you can’t see an image, try setting up a projection screen (white boards or curtains in my case.) in front of the obscura lens hole.
9. If you still cannot see an image, try making a larger hole or seeing if your room still has some light leaking in.
10. Once you have an image being projected in, take a photo of it! You might need to do a long exposure.
TEACHER REFLECTION
What problems do you anticipated with this lesson?
Is it accessible to all at home?
Will the materials be available at home?
Will students be interested?
Tape may not stick to various surfaces.
Too much light leak
Too little light outside - need a bright day
How does this project fit into overall curriculum planning for the subject areas and the arts?
Shows how a camera works in a Photography class
How will your students’ work be shared with the community?
If the students can document the work they can share in online folders in classes or on social media
How will you receive feedback on your teaching methodology and quality of student work?
Assessment and evaluation form


