Planning Backwards Model
Teaching Artist Practicum
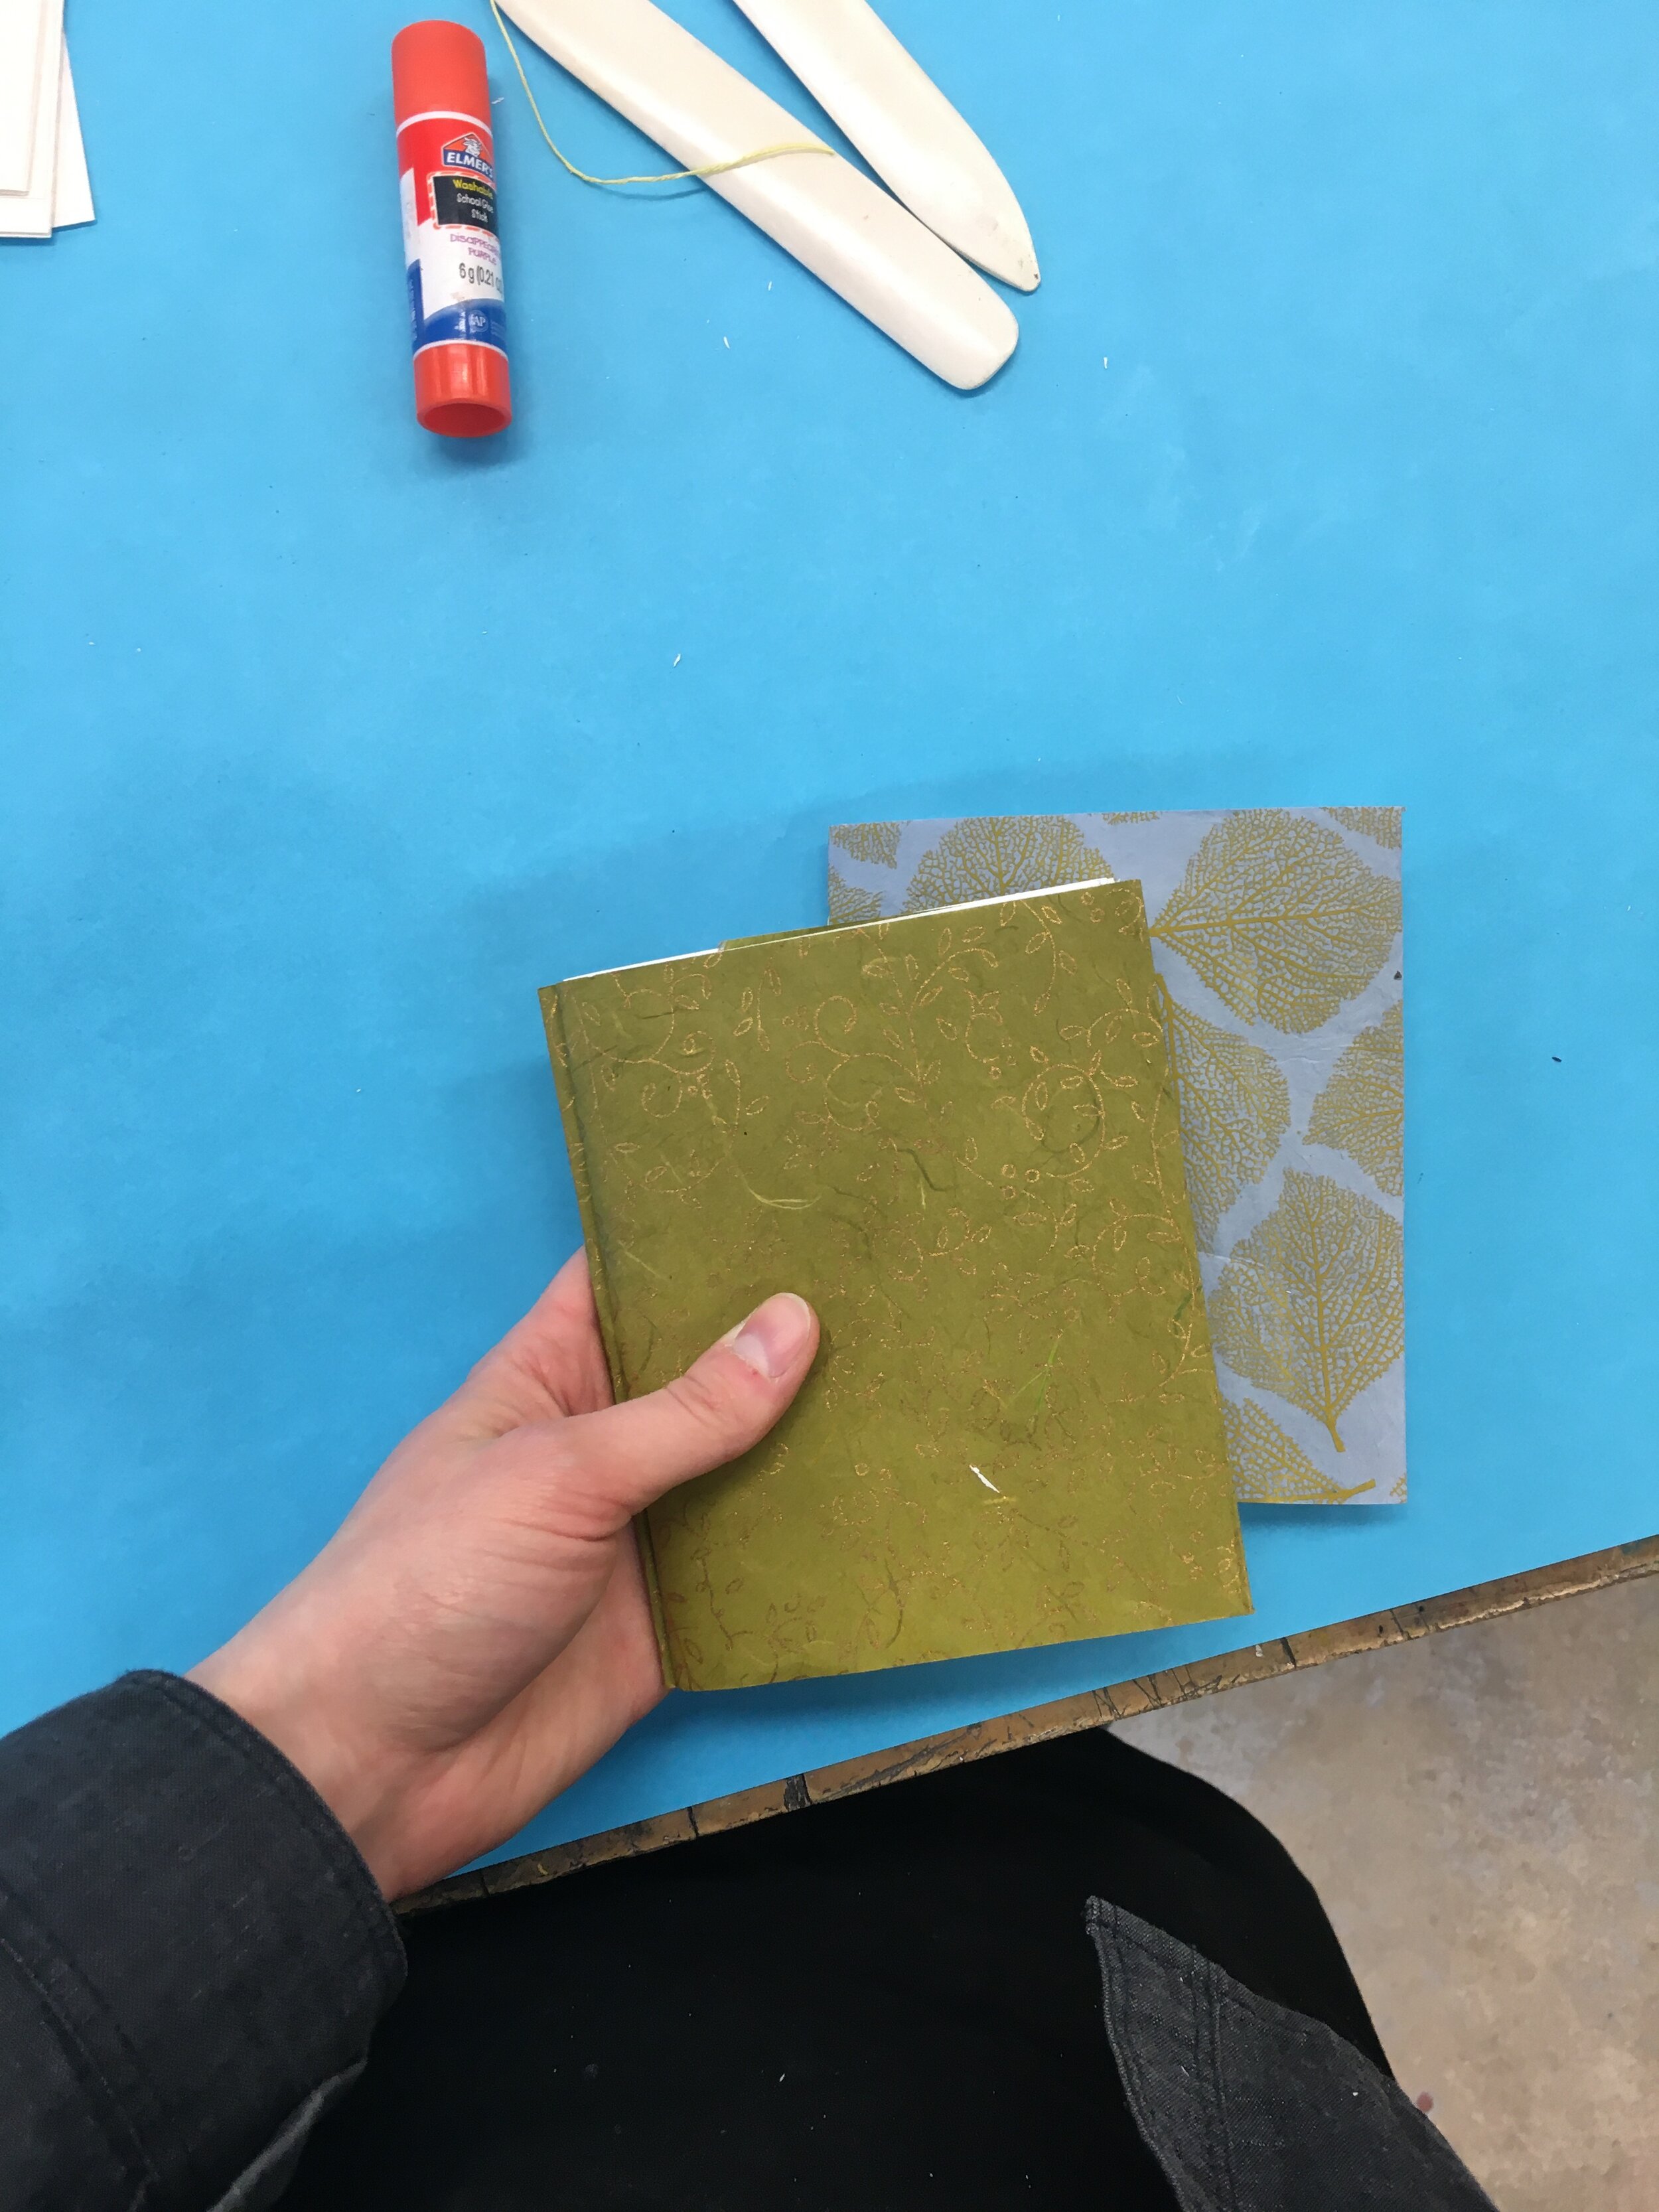
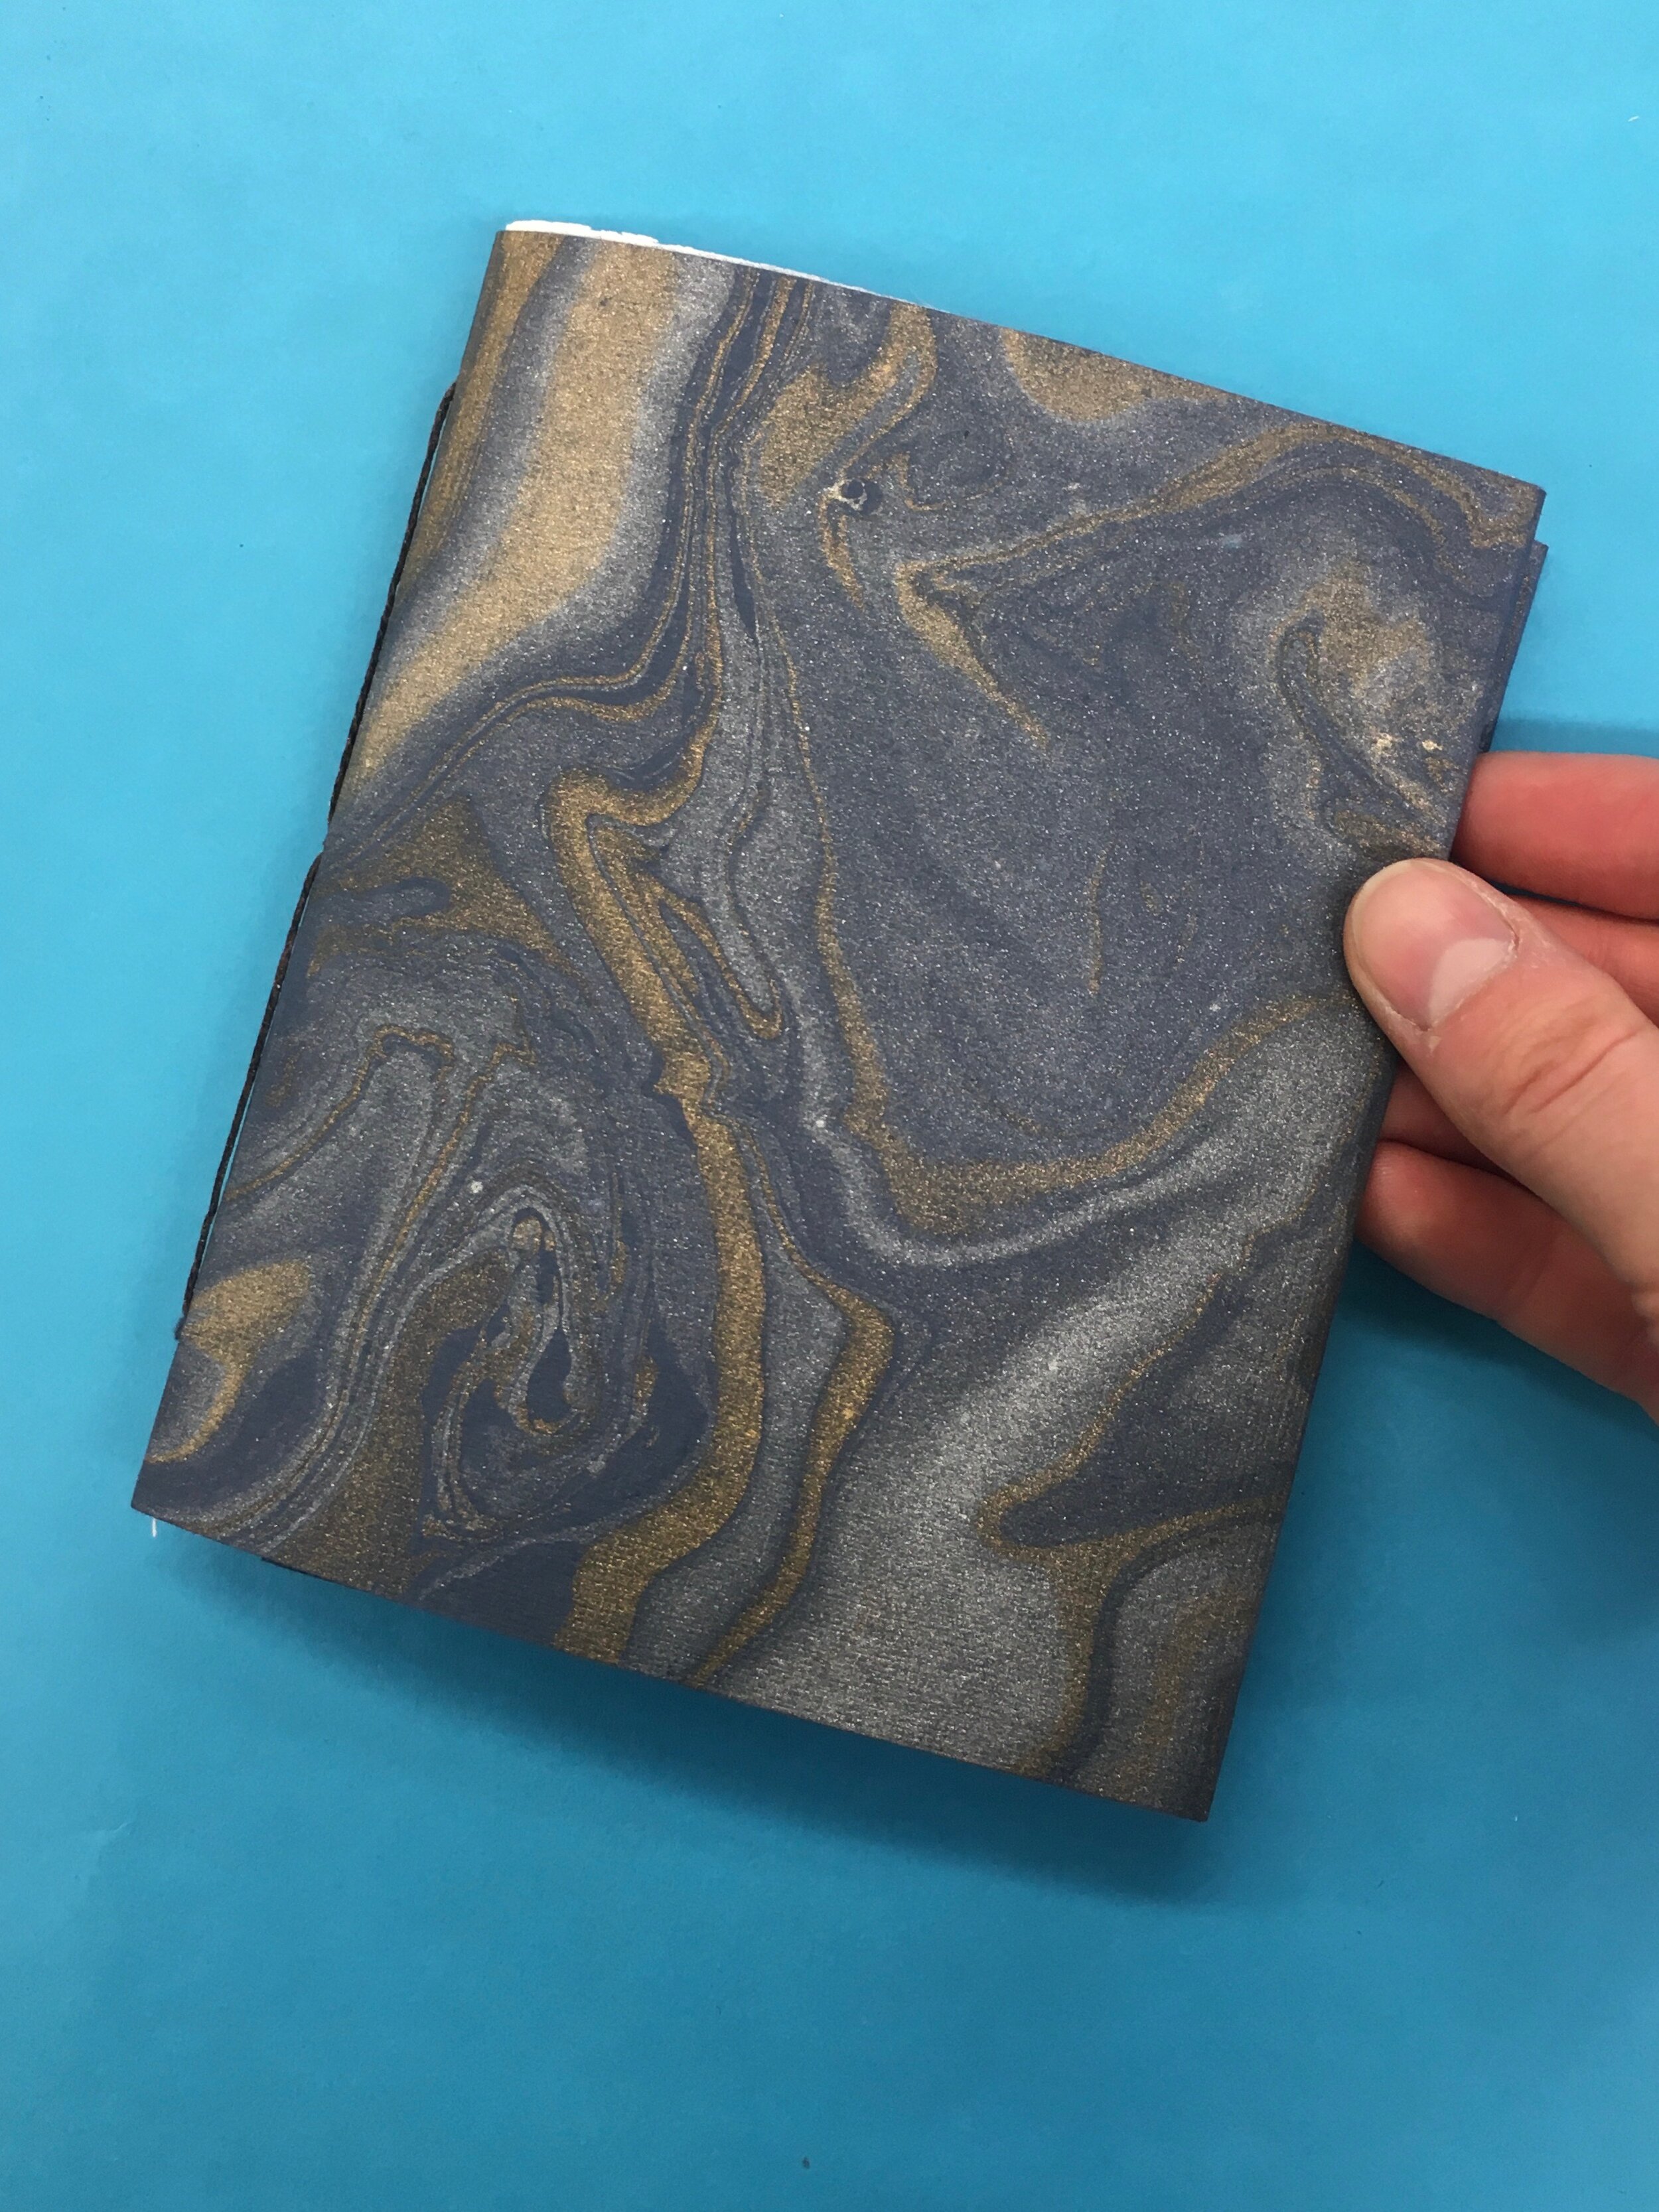
Name of Project: Everyday Notebooks: Figure-Eight Sewn Booklet
Grade Level or Age of Participant: Highschool (Grades 11 & 12)
School, Teacher and Classroom: Perpich Center for Arts Education, Jeremy Lundquist (two sections of his printmaking class)
MCAD Teaching Artist: Jamie Kubat
Number of Students: 33 total (17 in first group, 16 in second group)
VISUAL ARTS CONTENT OR STANDARDS
5.A.1.1 Visual Arts. All grades.1. Foundations 1. Use foundational knowledge and skills while responding to, creating, and presenting artistic work.
OVERVIEW OF PROJECT
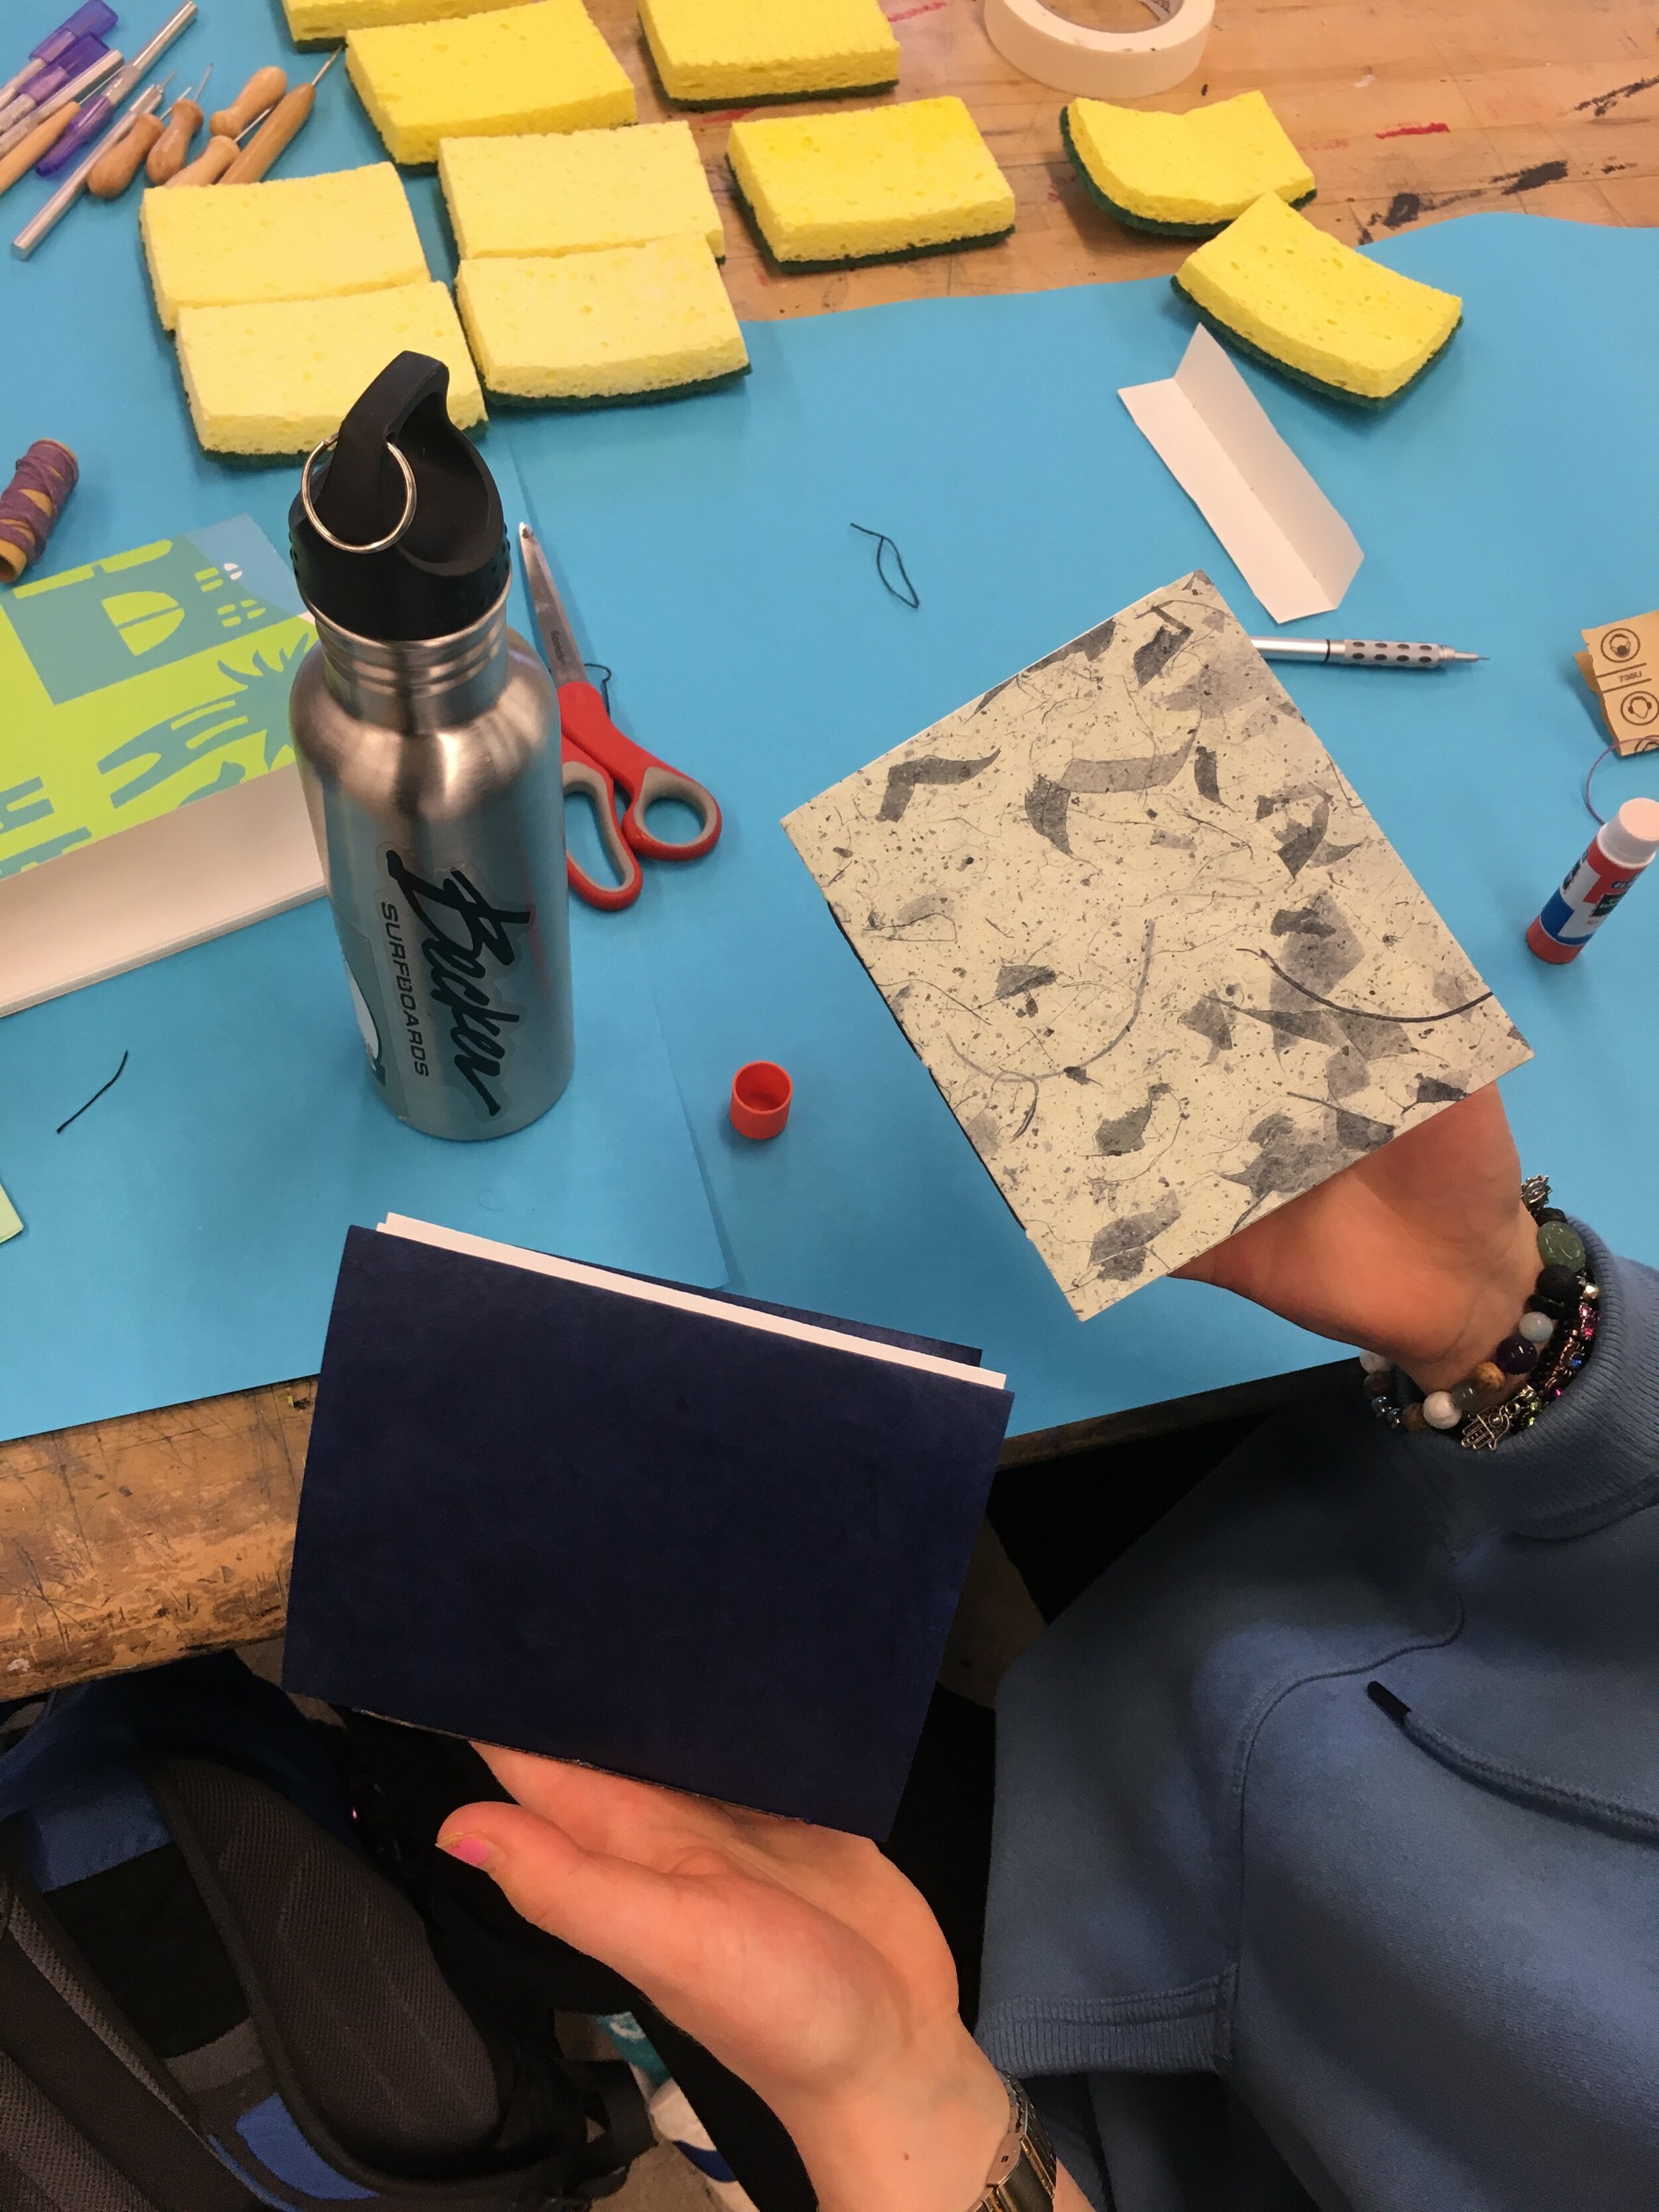
Students will be taught how to bind a single-signature book, using traditional binding tools as well as more accessible options (such as using a sponge to protect their work surface when punching holes, instead of a traditional book cradle, which is not readily available outside of book arts centers or some higher educational settings).
“BIG IDEAS”/ ESSENTIAL QUESTION(S)
The lesson will introduce the idea of signature-sewn bindings and give the students a structure to potentially use in their final projects for the educational quarter, if they chose to. It will also hopefully communicate that bookmaking can be an accessible art form, a continuation of themes they have already been learning.
STUDENT OUTCOME OBJECTIVES Students will:
1. Sew a single-signature book binding
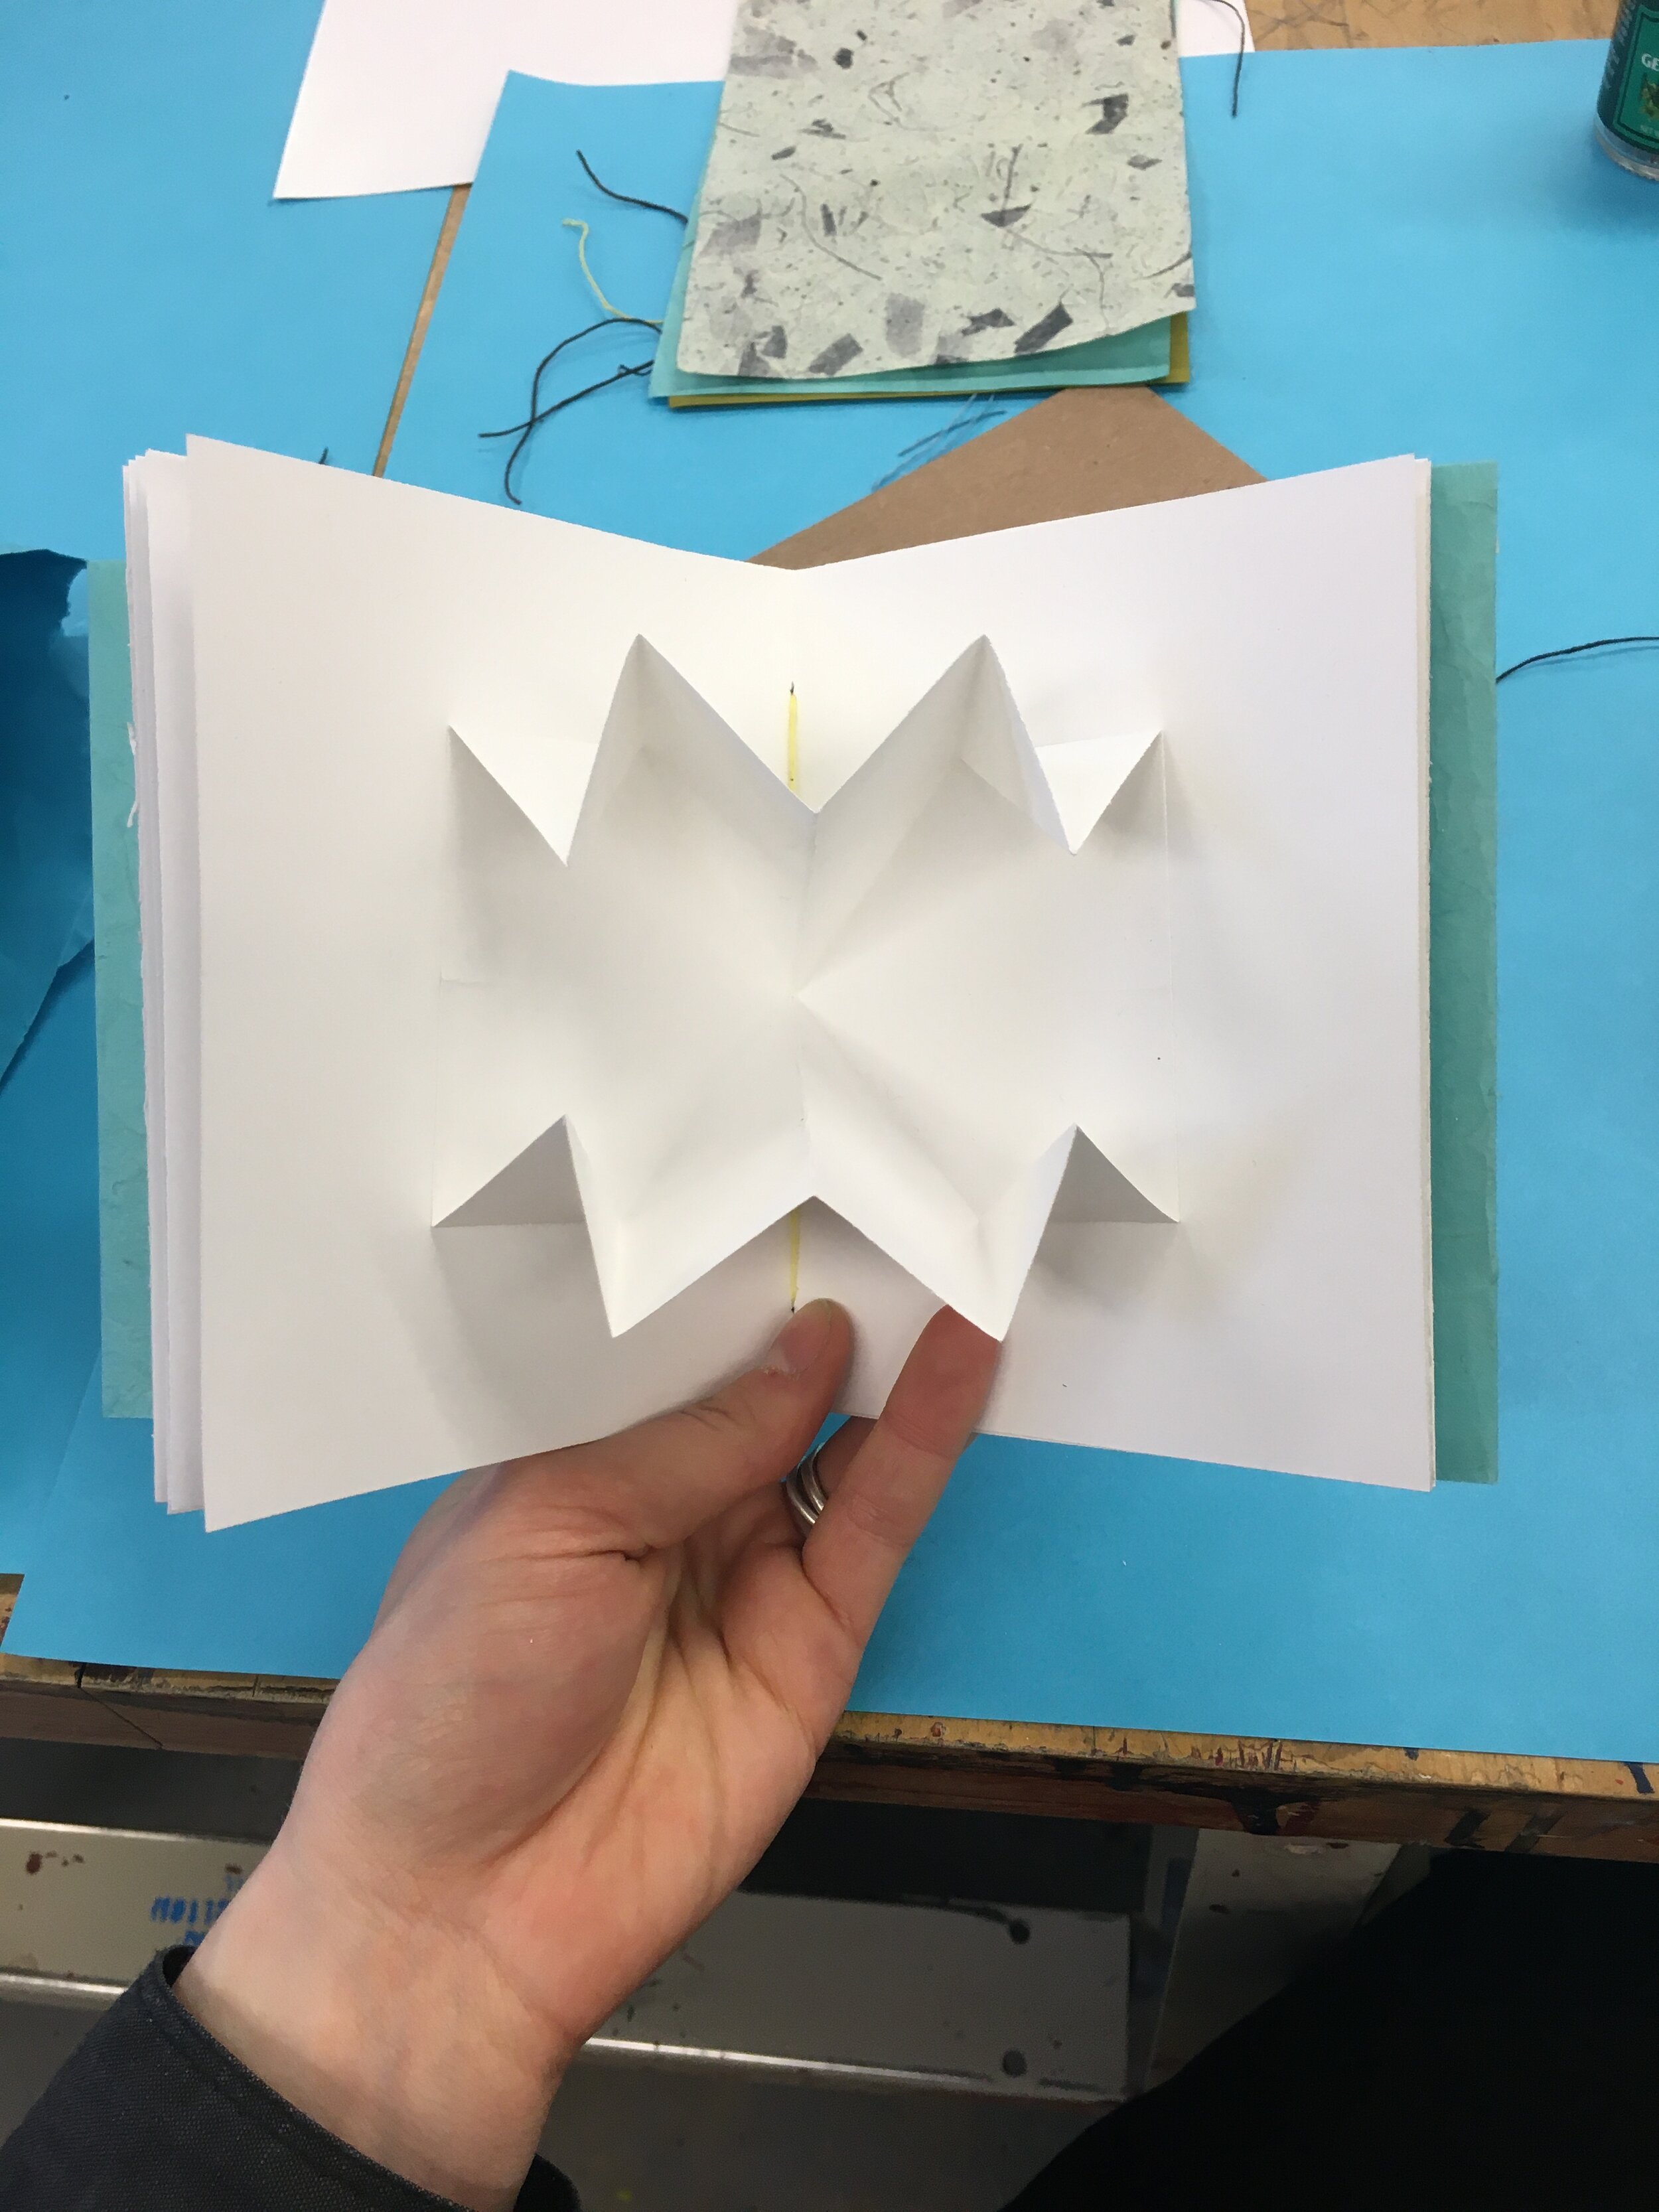
2. Use skills from two prior book projects together in one new one (sewing from stab binding and folding from meander book)
3. Construct a book from prepared materials
PRIOR KNOWLEDGE
Students do not need any prior knowledge to complete this lesson.
LESSON PREPARATION TIMELINE
Thursday, March 5: meet with Jeremy to finalize lesson details
Monday, March 9: buy paper for covers, thread, etc. and gather other TA materials from Lynda
Tuesday, March 10 (morning): cut down paper and gather all materials in one place
Tuesday, March 10 (afternoon): teach, document student work
EXAMPLES OF ARTWORK
Examples of various sample figure-eight bound books and zines (both blank exemplars and artist work).
ADDITIONAL RESOURCES
Making Handmade Books: 100+ Bindings, Structures & Forms, by Alisa J. Golden. $20.
Non Adhesive Binding: Books without Paste or Glue, by Keith Smith. $30
ASSESSMENT
Goals for this project are for each student to complete their own book. Success will be students meeting this goal, engaging with the work/demonstration, and/or creating their own work beyond the lesson activity. Assessment can be obtained through observation and verbal feedback.
MATERIALS
In containers on the table or at each students’ place:
Bone folders (18)
Binding needles (18)
Awls (Jeremy provides, 18)
Sponges (Jeremy provides, 18)
Paper for covers, such as mulberry, lokta or another strong, light paper (35, 18 for one class and 17 for the other. Set out for students to choose from)
Paper for pages (Jeremy provides. 8 per student plus some for me = 280. Set out for students to take).
Scrap papers for guide (height of pages). (35 pieces)
Waxed thread (around 4 yds each of four colors, enough for each student to cut a piece for their book. Probably more than I need. Send around during demo/)
Scissors (1 for me and 4 to pass around with the thread)
Pencils so they can write their names in the back cover of the book (introduce colophons).
LEARNING ACTIVITIES AND TIMING
1. Introduce book structure and sample books, purpose of lesson (new structure that is widely used, can be altered easily, this small one is a great pocket notebook size). Ask questions of students and show them examples of work made with the structure. (5 min.)
2. Demo “hold and fold” method for folding pages and using bone folders if they haven’t done so before. Have students fold their pages and nest them inside one another correctly. Have students fold cover sheet as well. Talk about signatures, grain of paper, and paper for covers. (5-7 min.)
3. Demo making a guide with scrap papers. Use guides to punch holes with awls & sponges. (5 min).
4. Send thread around to be cut. Height = twice height of spine + a few inches. This can be done overlapping with previous step. (2 min).If available, a diagram on a whiteboard could be used.
5. Demo threading needles, piercing string. Demo sewing the books and tying off thread with square knots, cutting ends while leaving tails, which can be run under the stitches inside the book. (5-7 min).
YAY! YOU HAVE A COOL LIL’ BOOK!
TEACHING ARTIST REFLECTION
What problems are anticipated with this lesson?
Some of the problems are keeping the students focused, and making sure everyone can see the demonstrations. There are 17 students so taking it slow and make sure everyone knows what they are doing. Thankfully since they are teenagers they are old enough to help one another, plus Jeremy will be there to assist.
How does this project fit into overall curriculum planning for the subject areas?
Jeremy has been teaching them printmaking and basic book structures that can be easily used in combination with traditional and digital printmaking techniques. They have learned some folded structures as well as Japanese stab binding, and a figure-eight bound booklet is a natural third project.
How will your students’ work be shared with the community?
They’ll hopefully be able to make & use these books on their own, going forward. I will also document the work and share it in my teaching artist journals.
How will you receive feedback on your teaching methodology and quality of student work?
I will ask for feedback from Jeremy and Lynda, and likely discuss the teaching with fellow book artists & educators who have taught similar lessons.