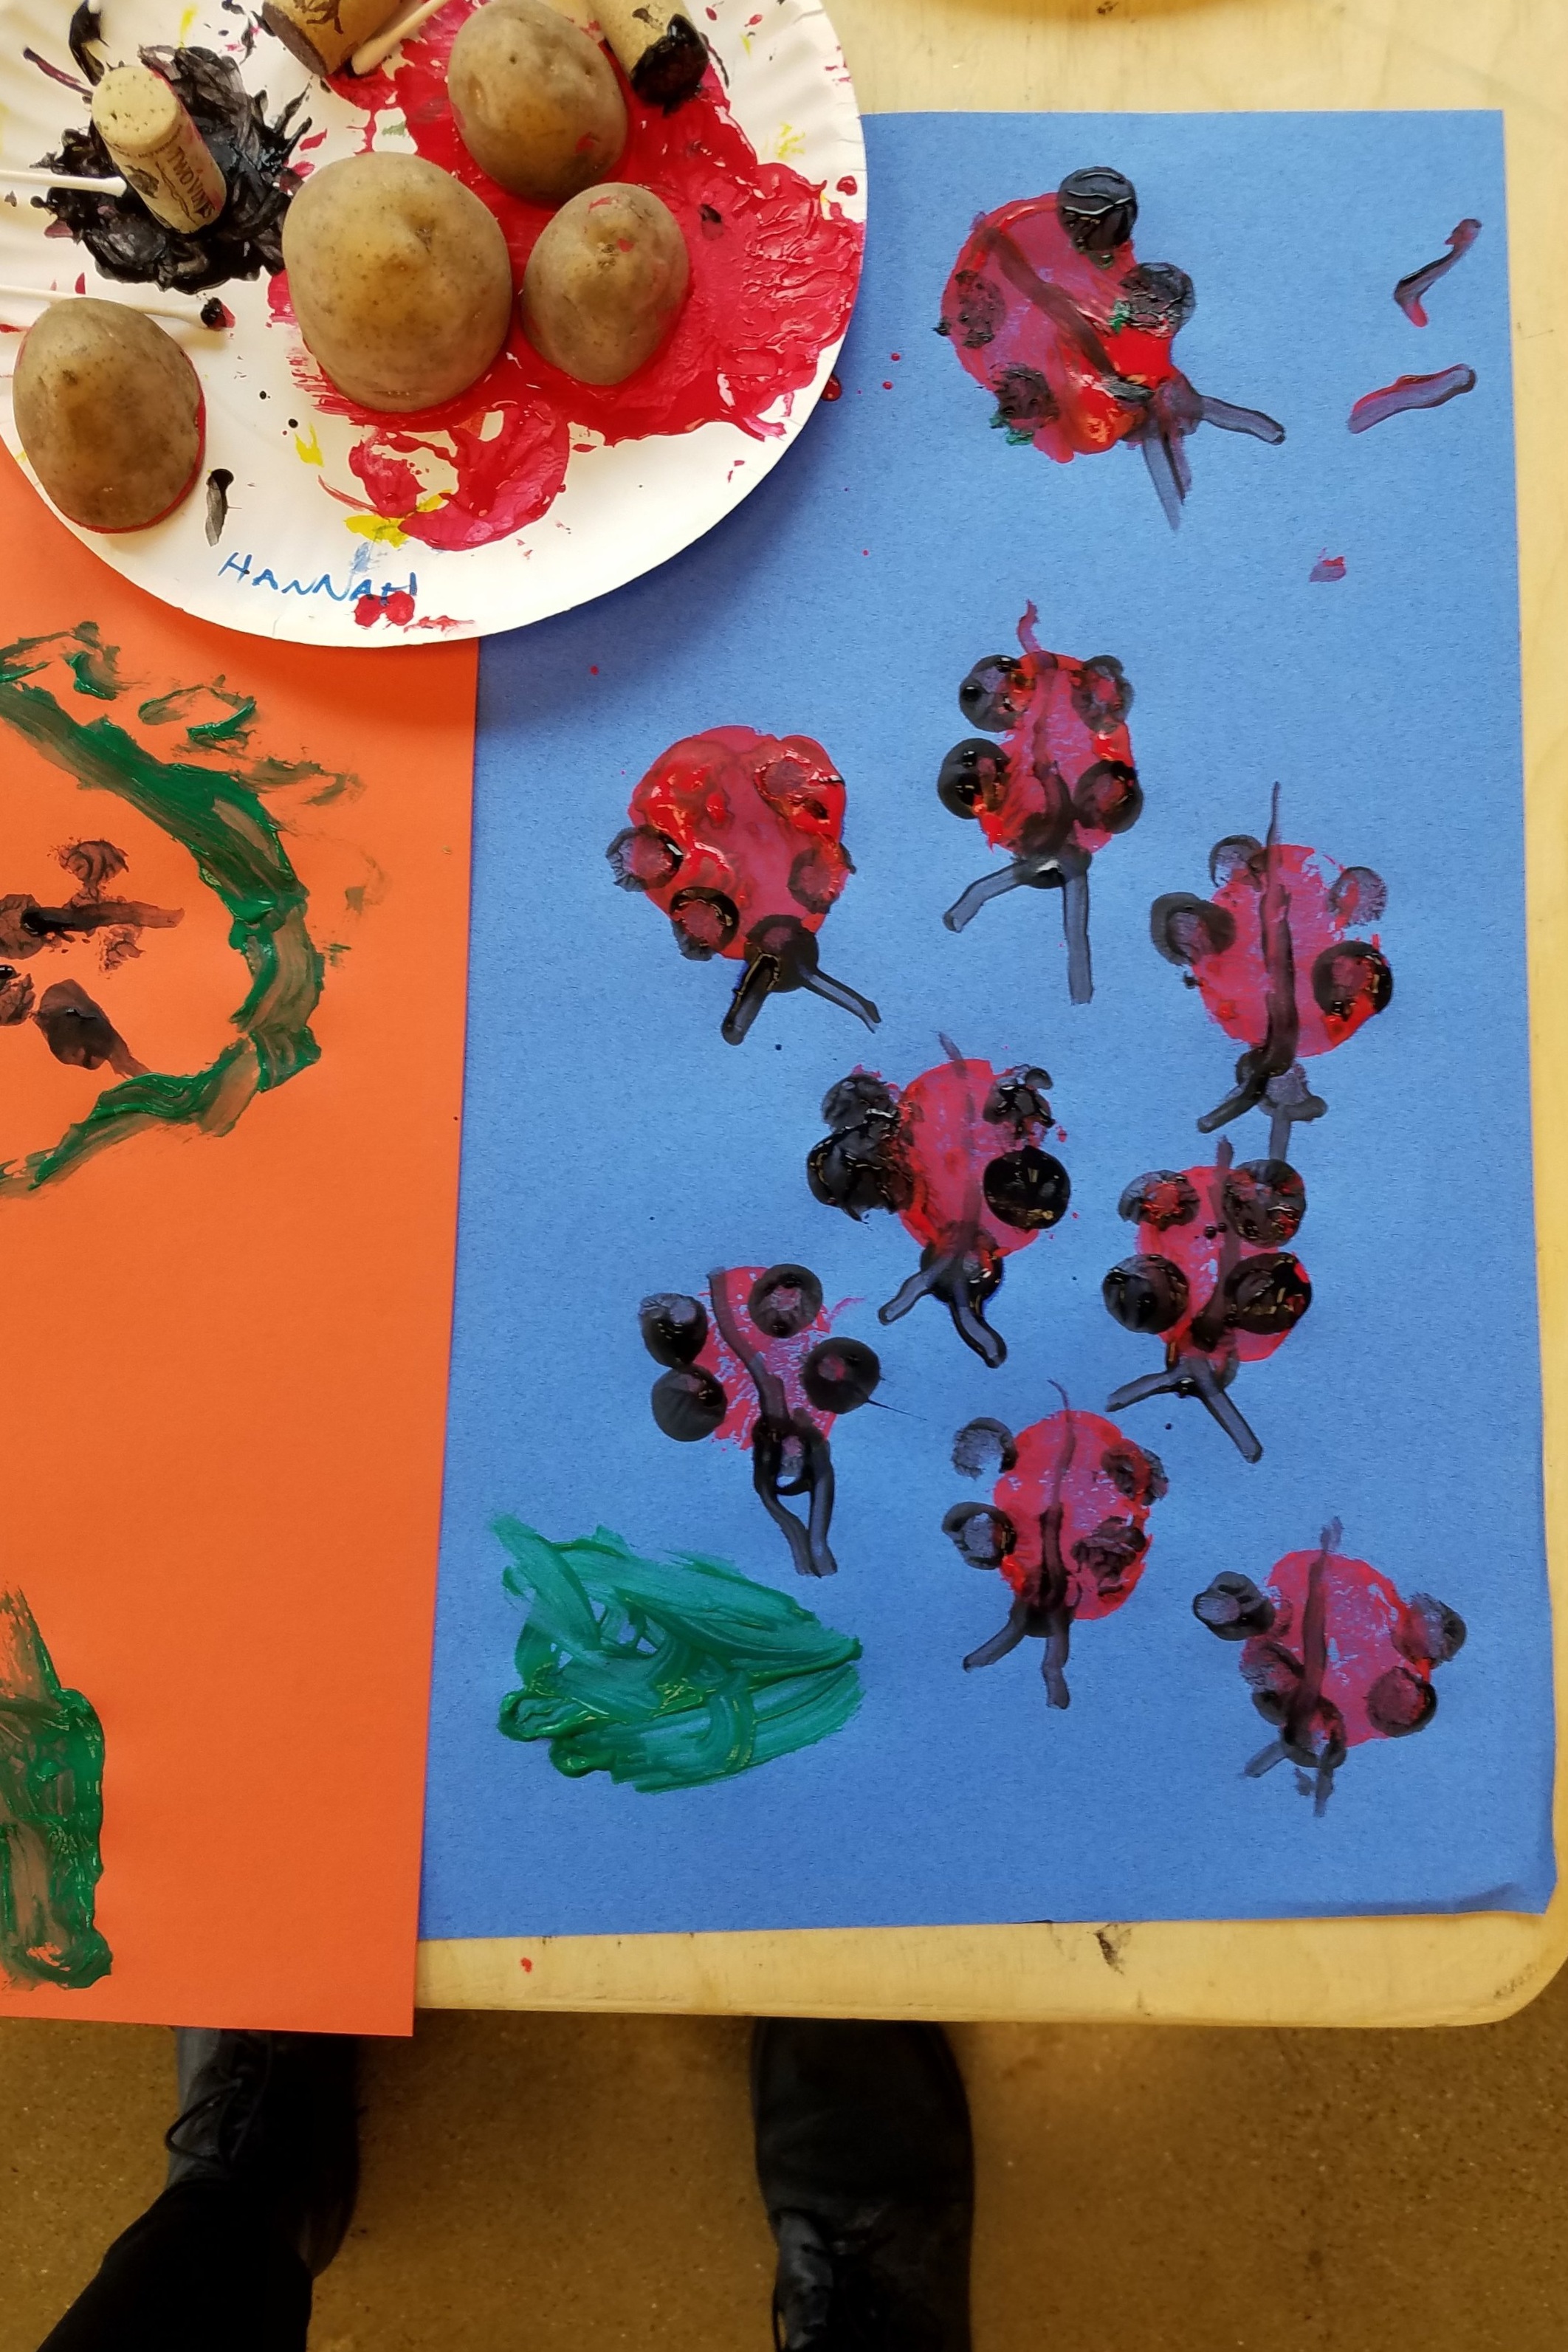
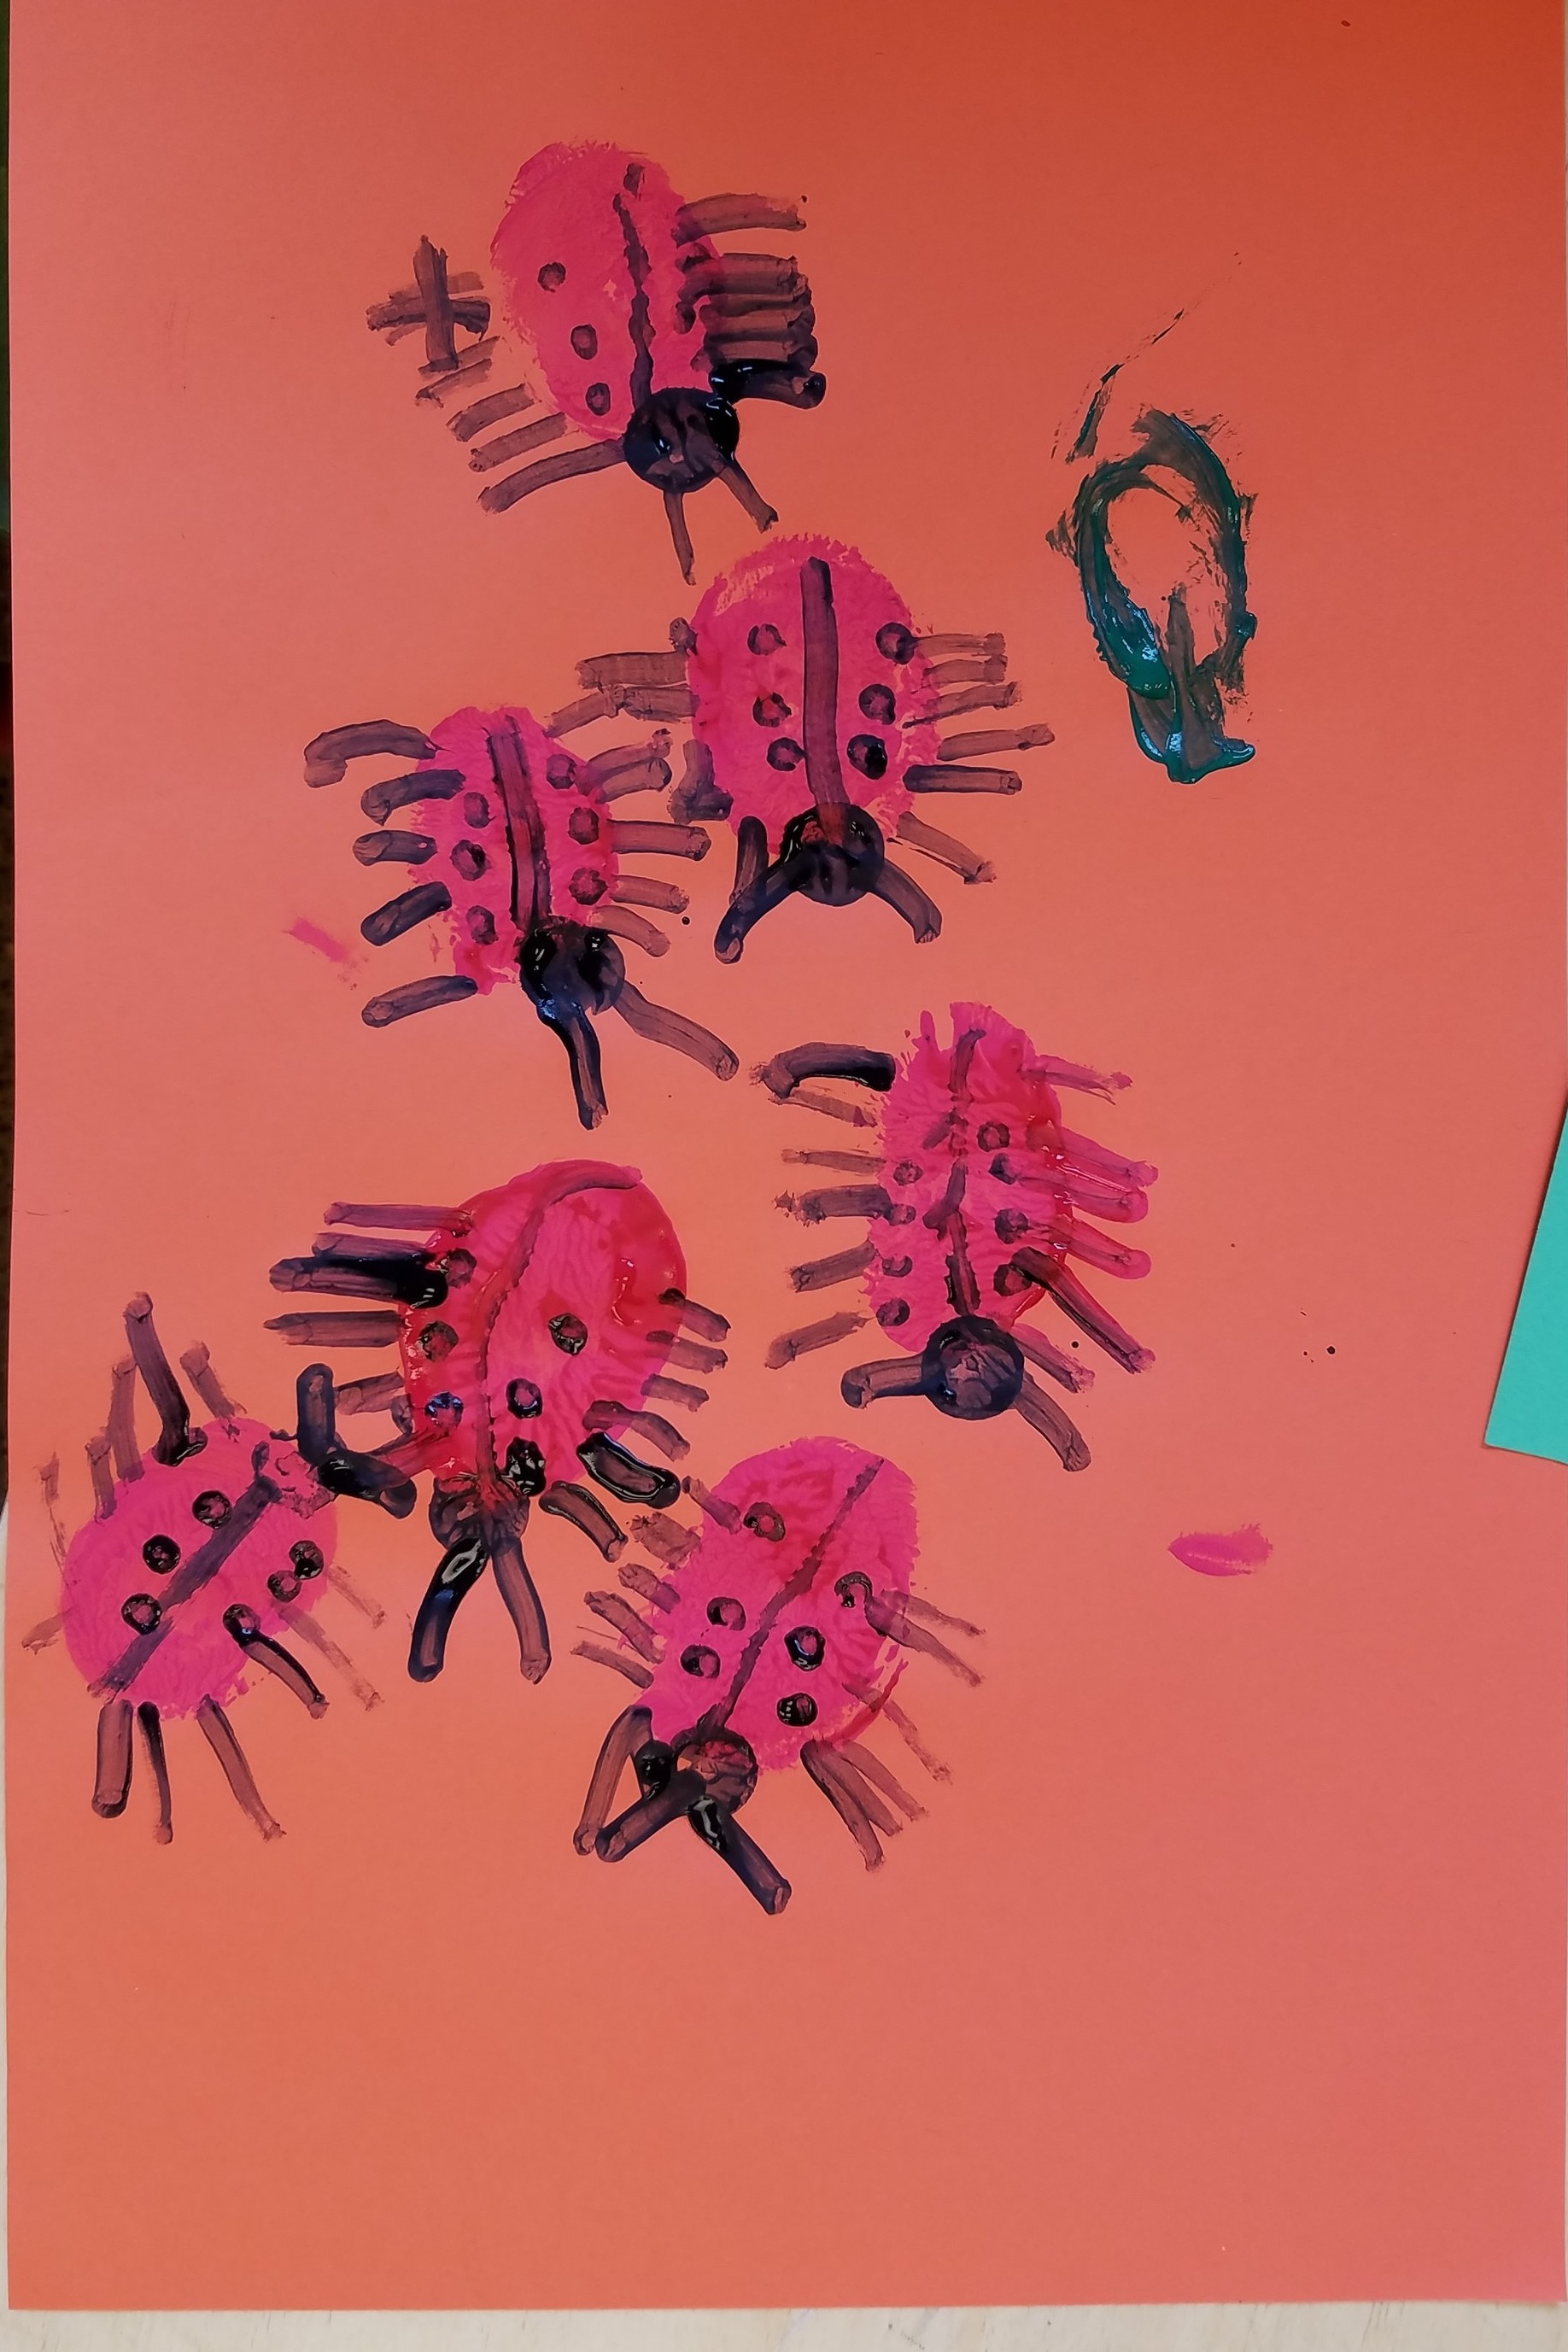
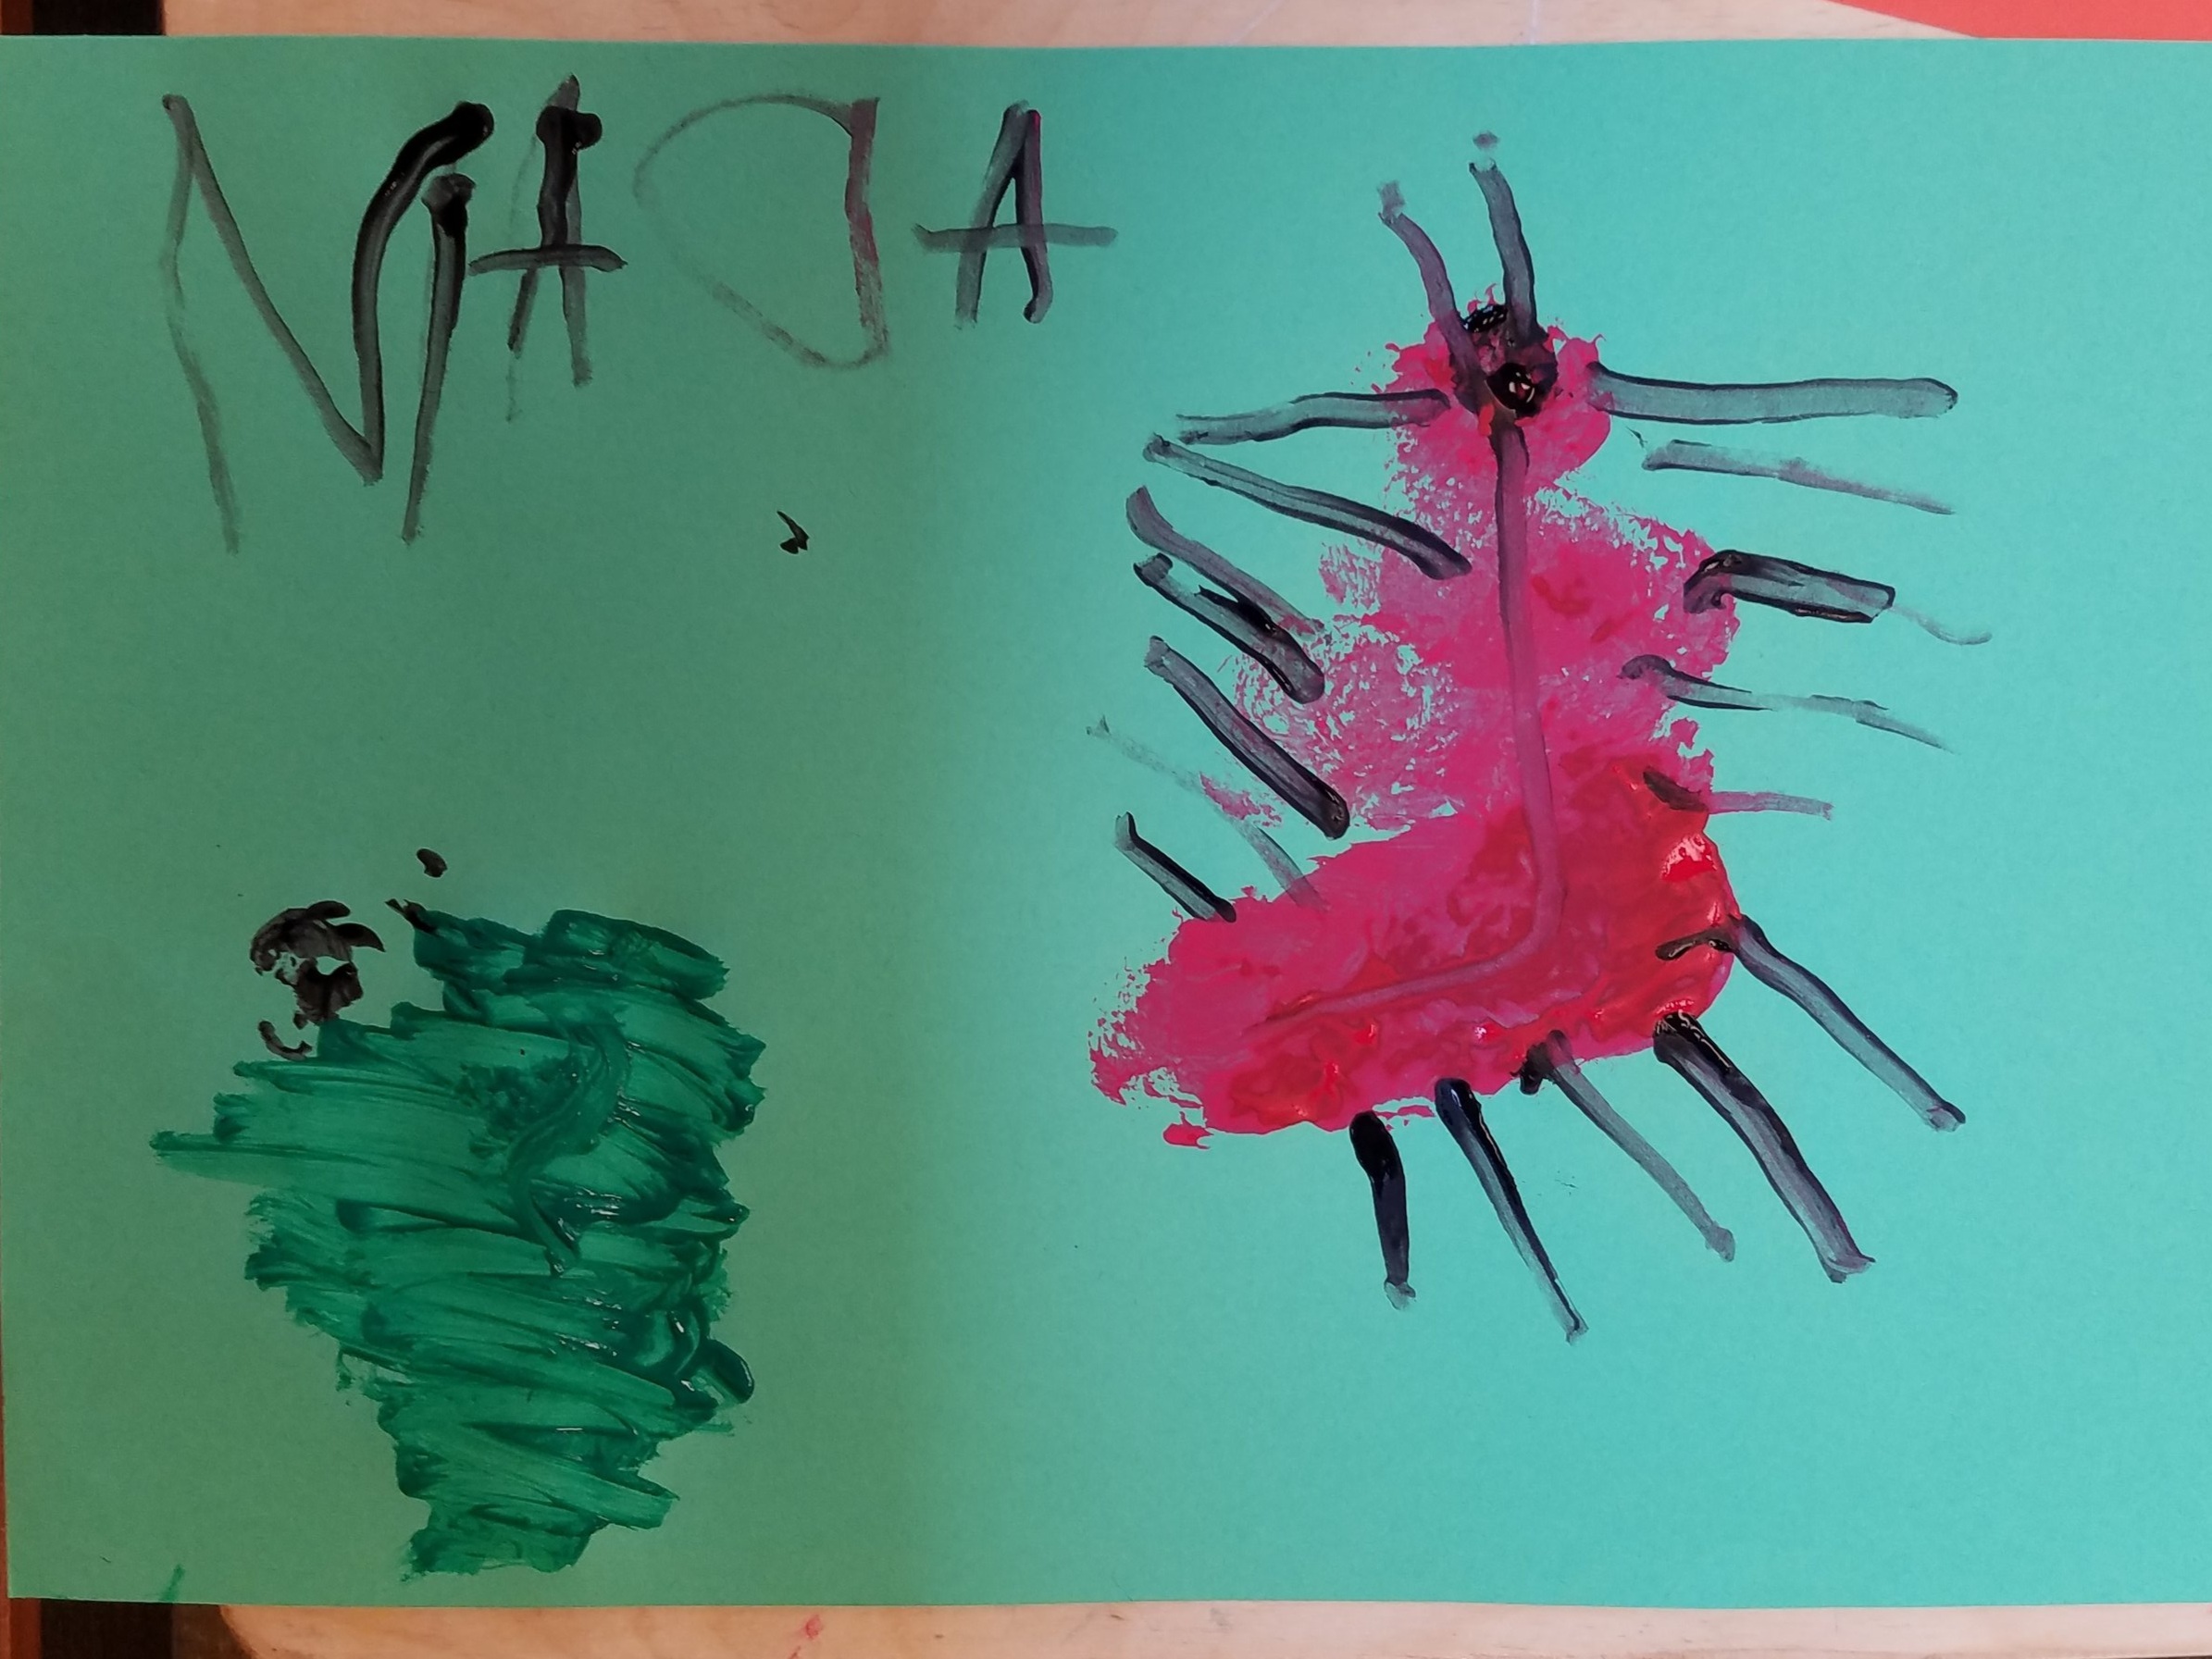
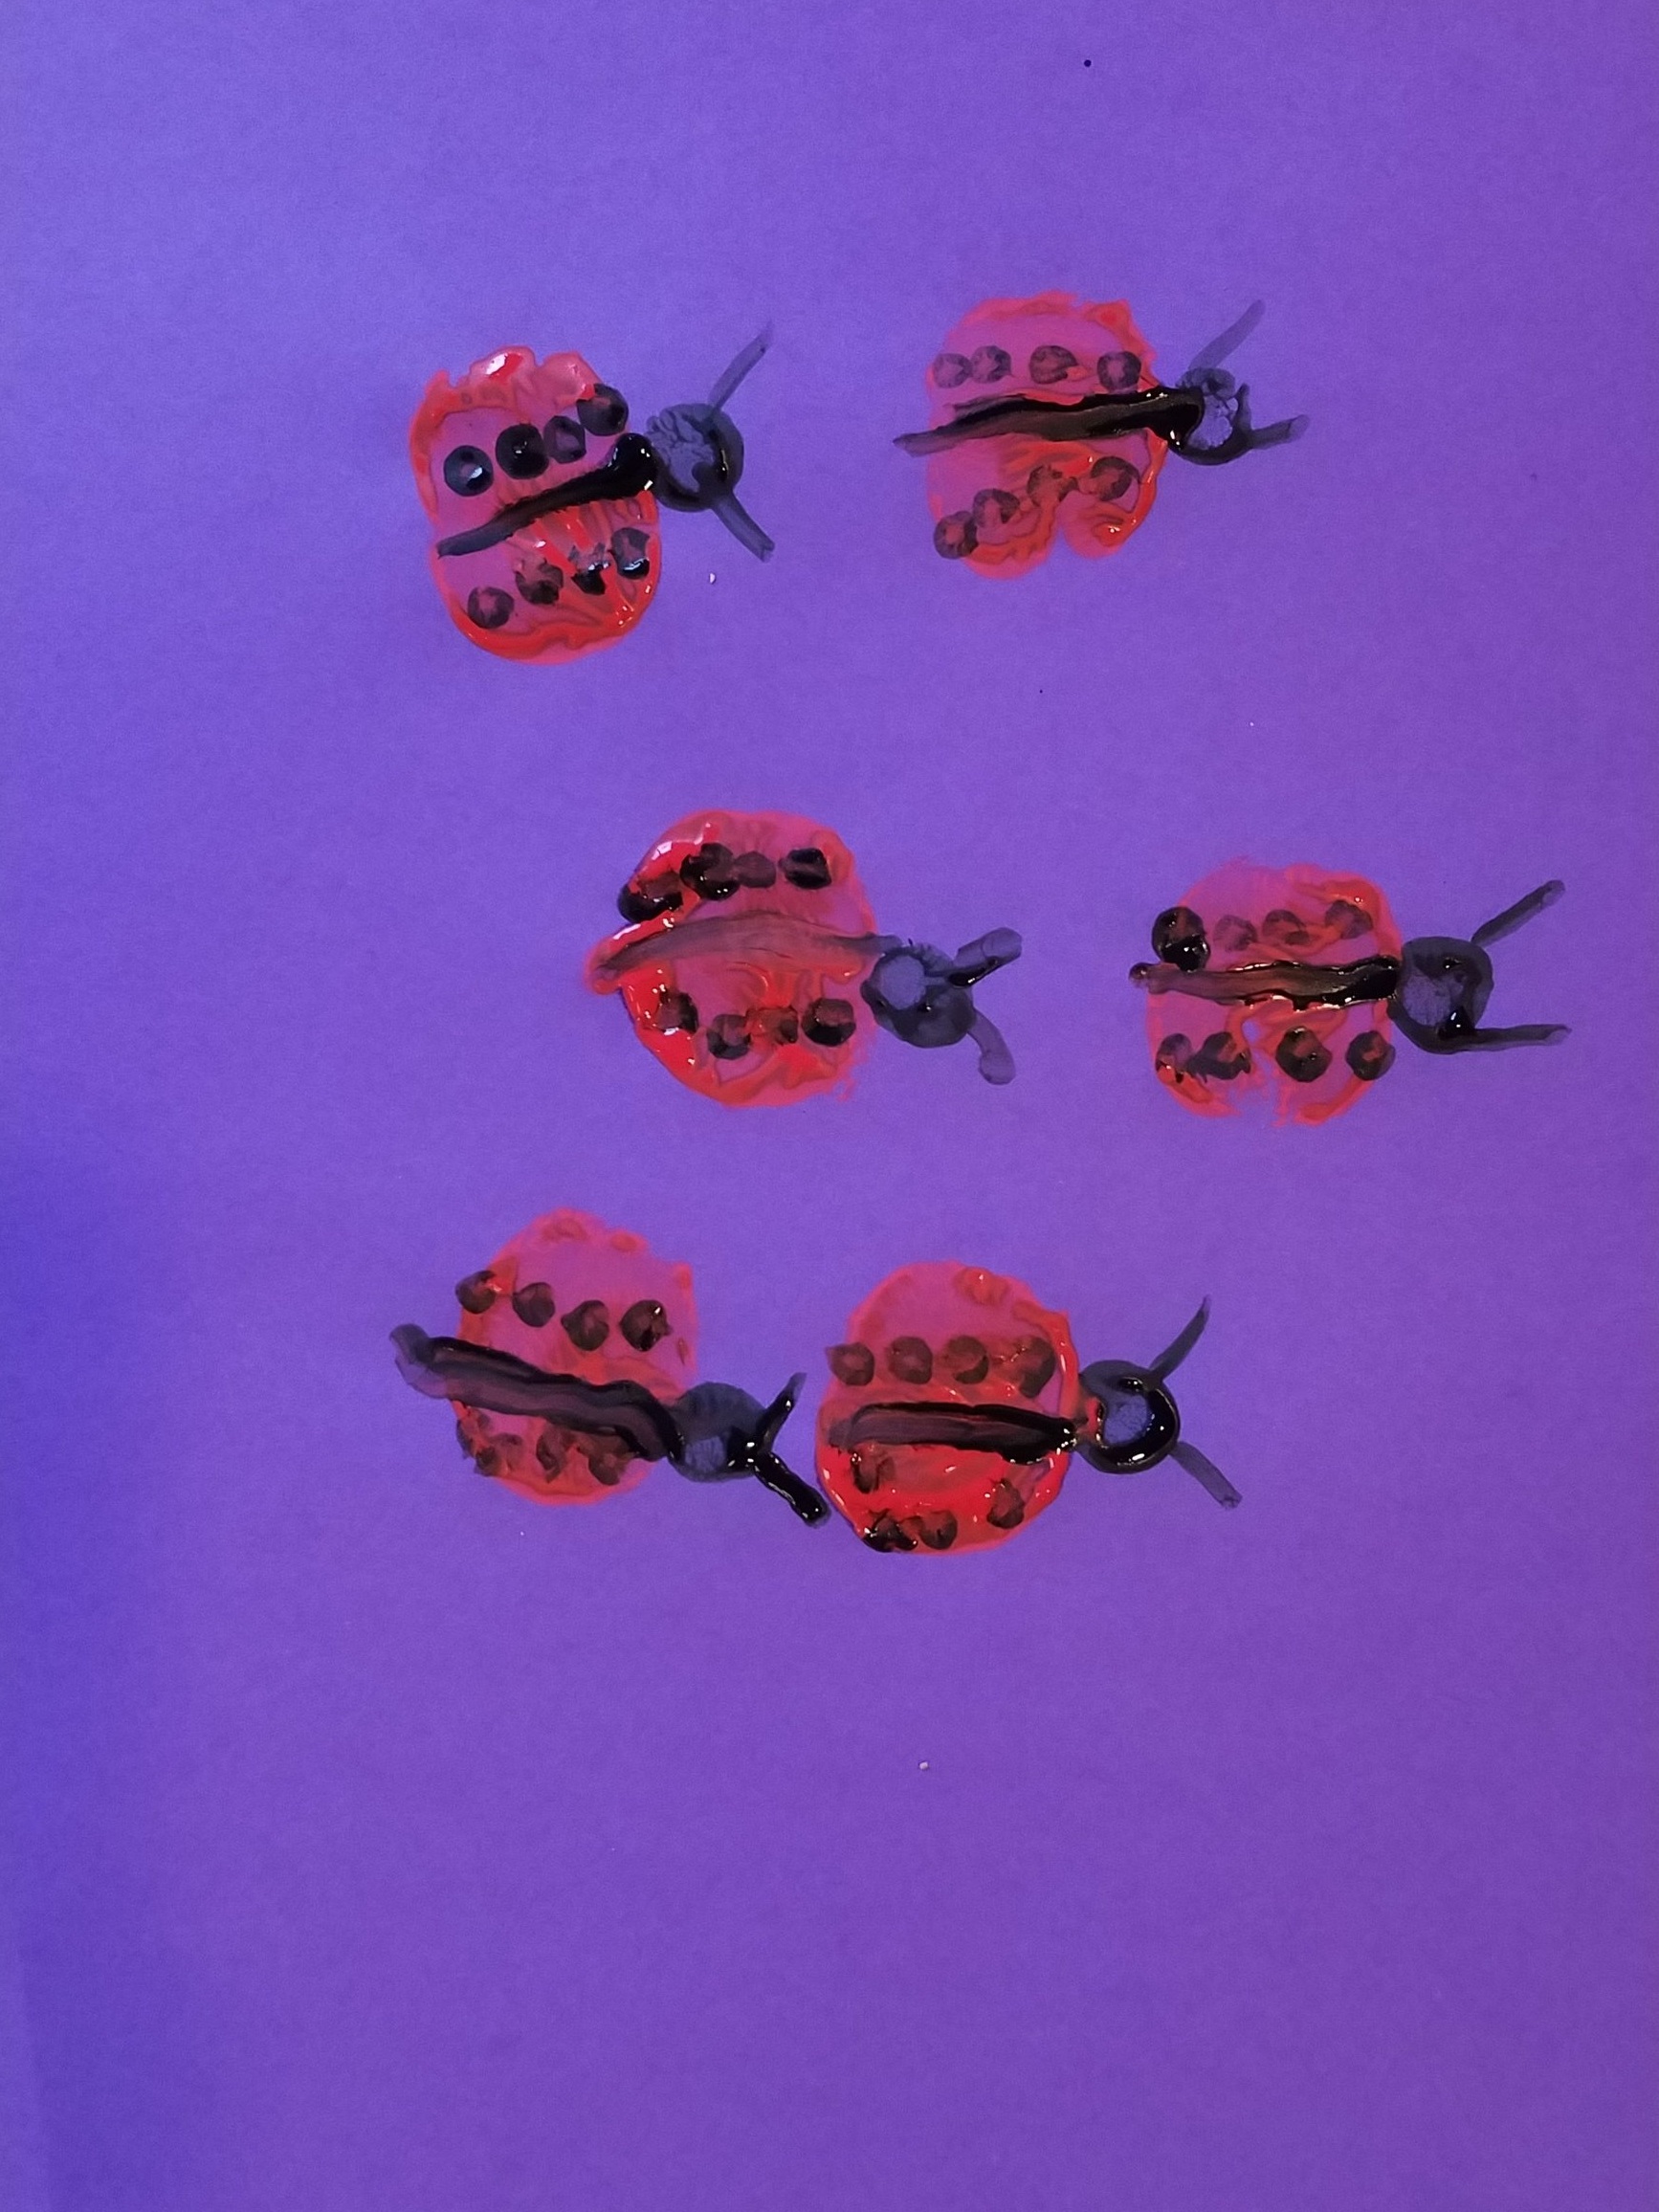
Stamped Ladybugs
School/Teacher/Classroom or Arts Organization/Mentor: Seth Erlab and Chelsea Novotny
Grade Level or Age of Participants: 4-5 years old
MCAD Teaching Artist: Eleni Leventopoulos
Number of Students: 12
OVERVIEW OF PROJECT
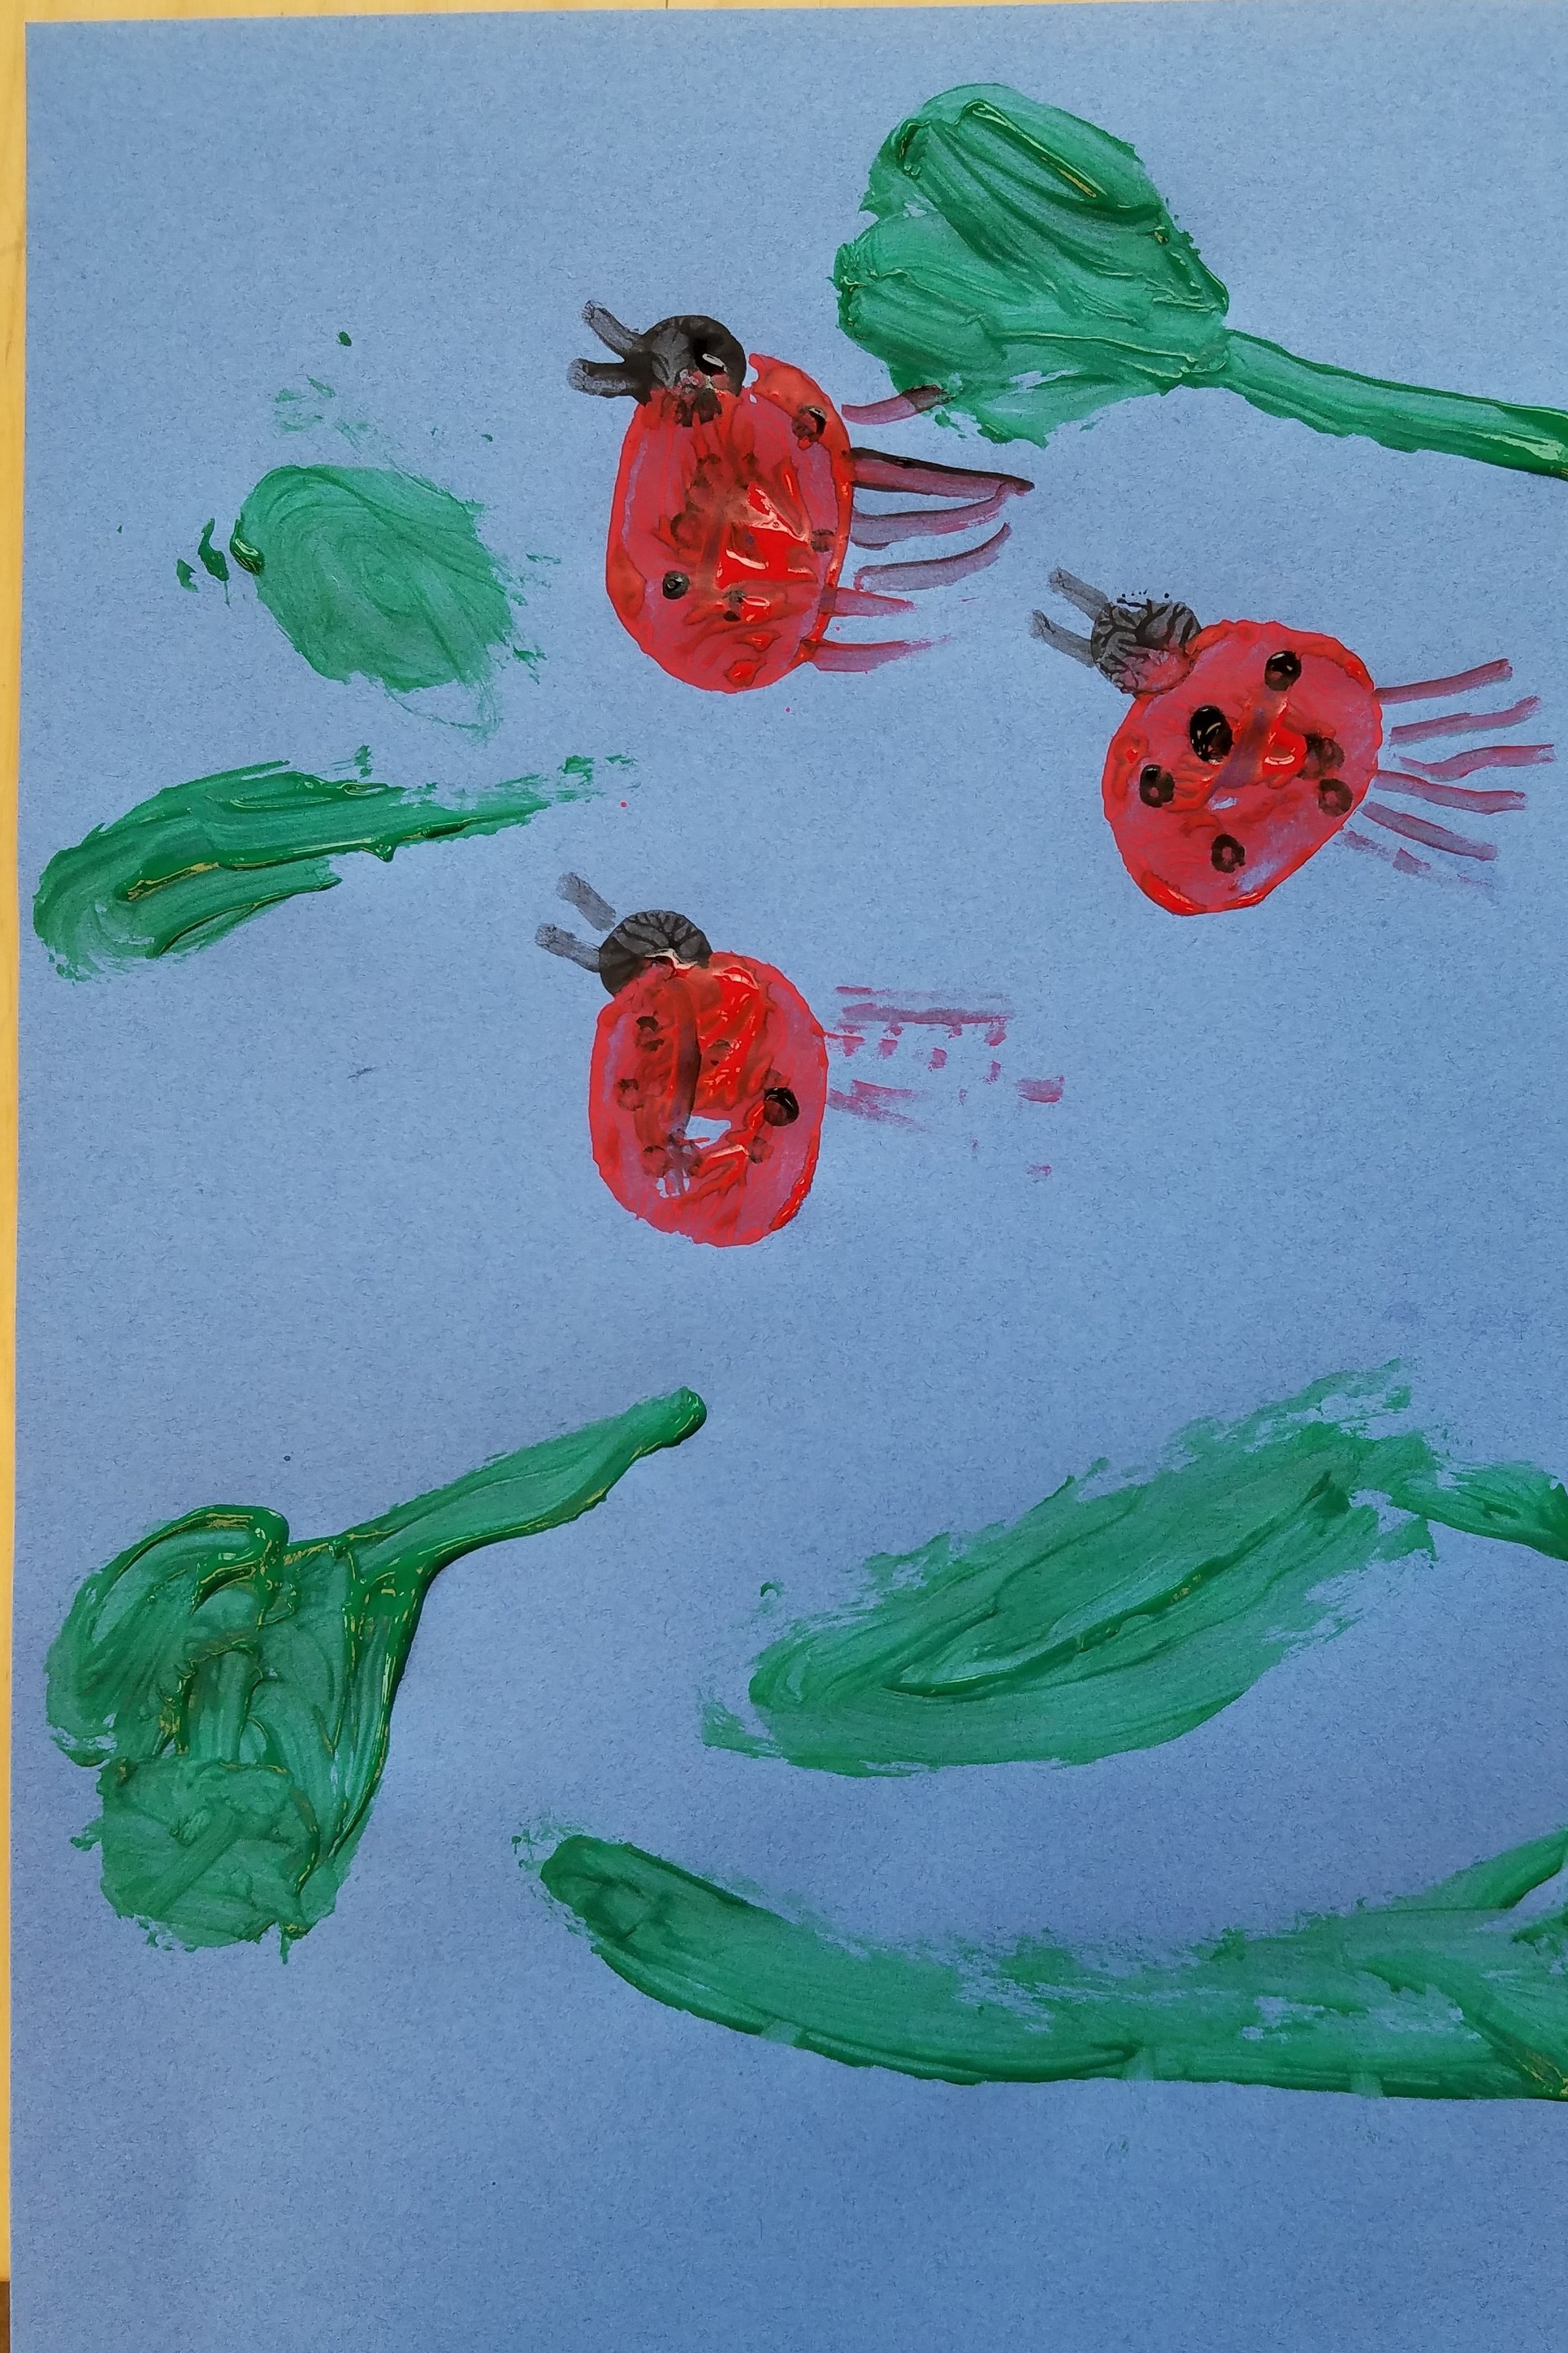
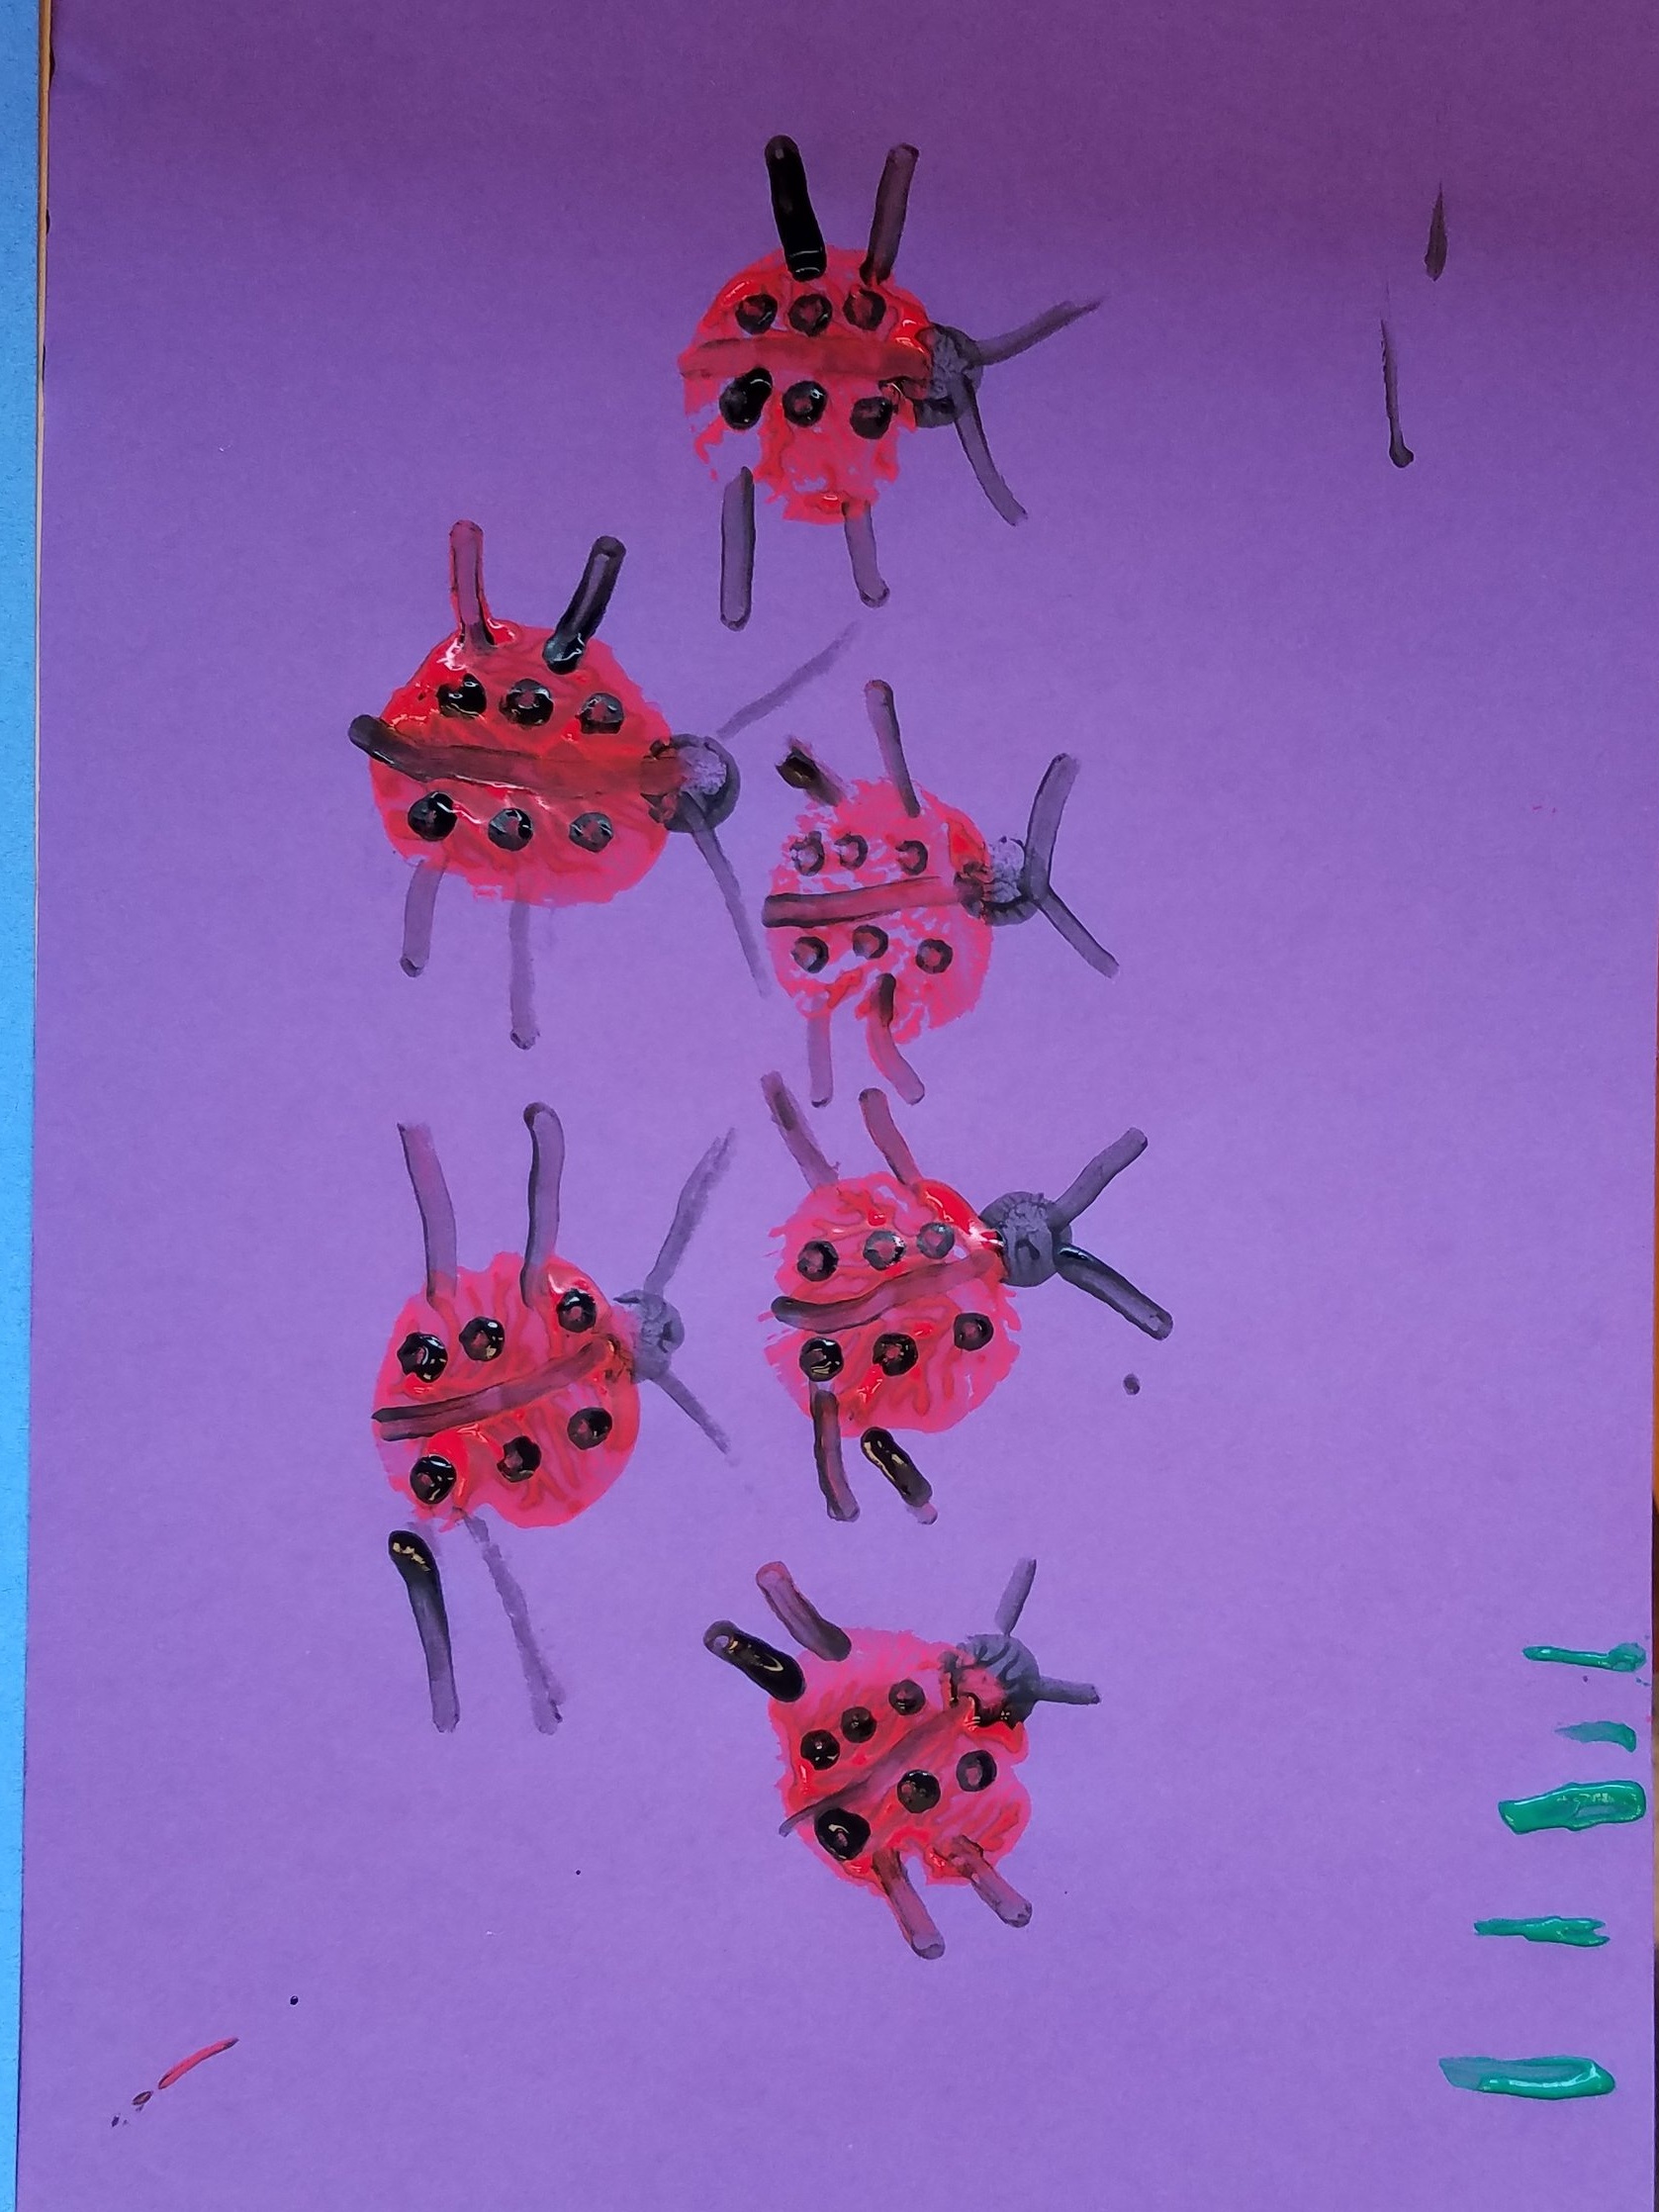
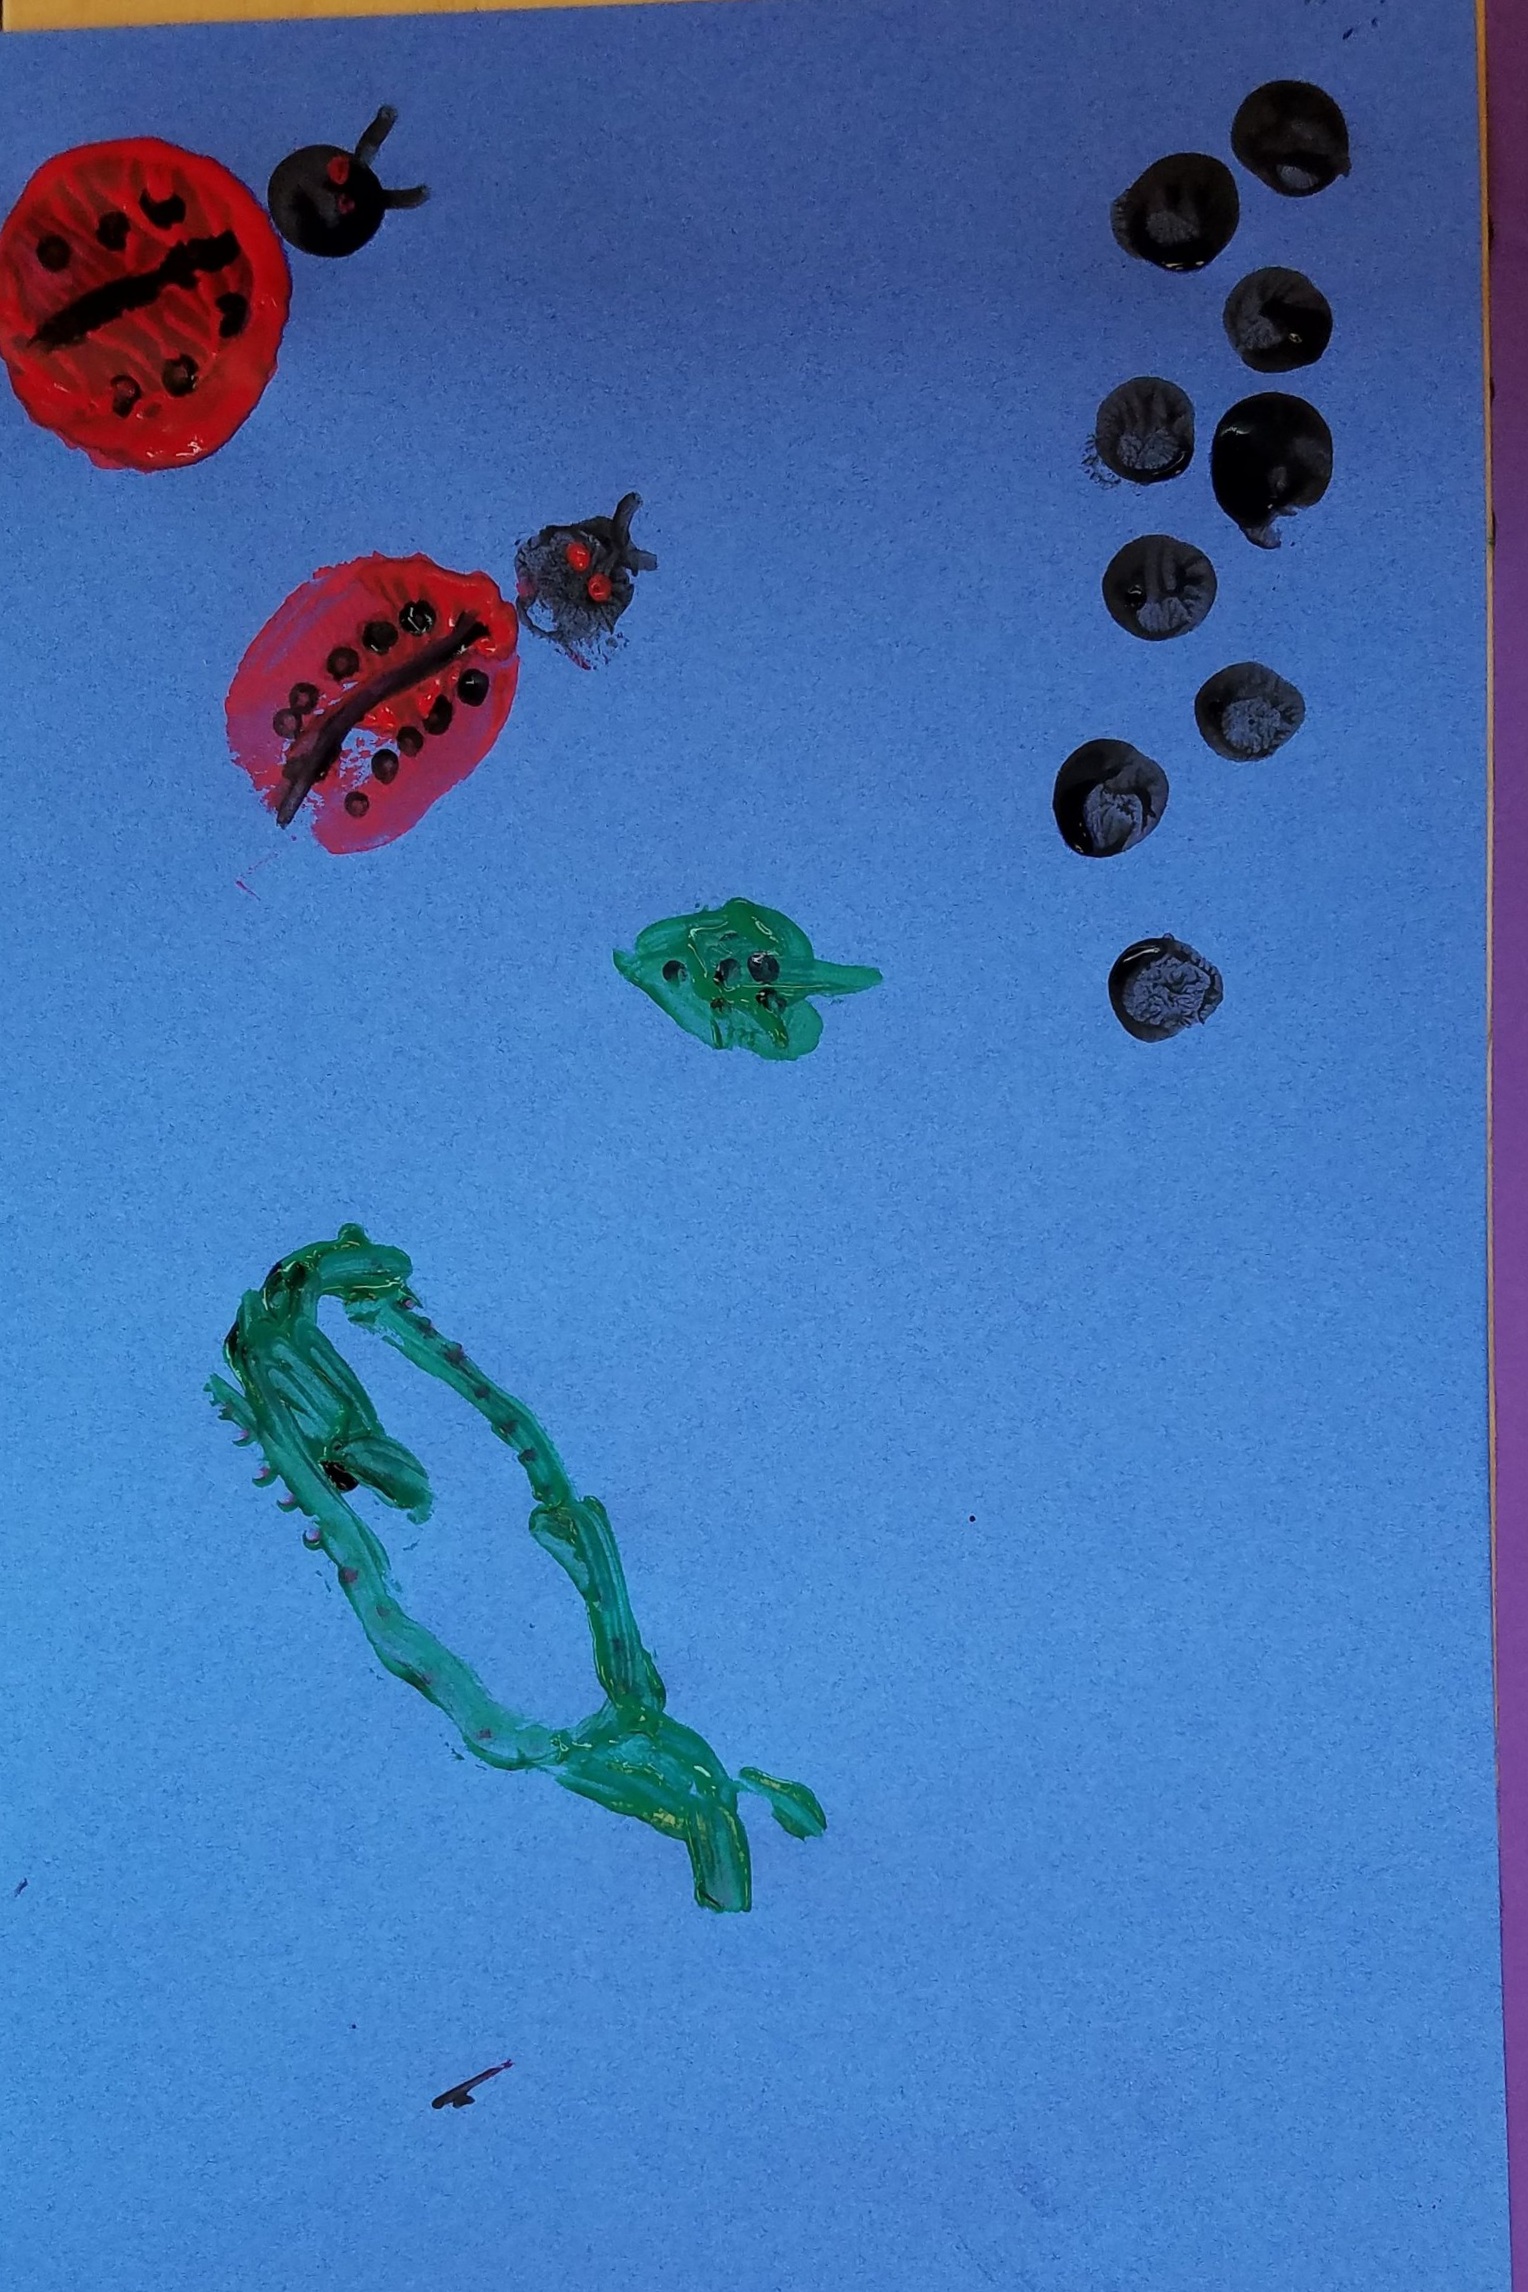
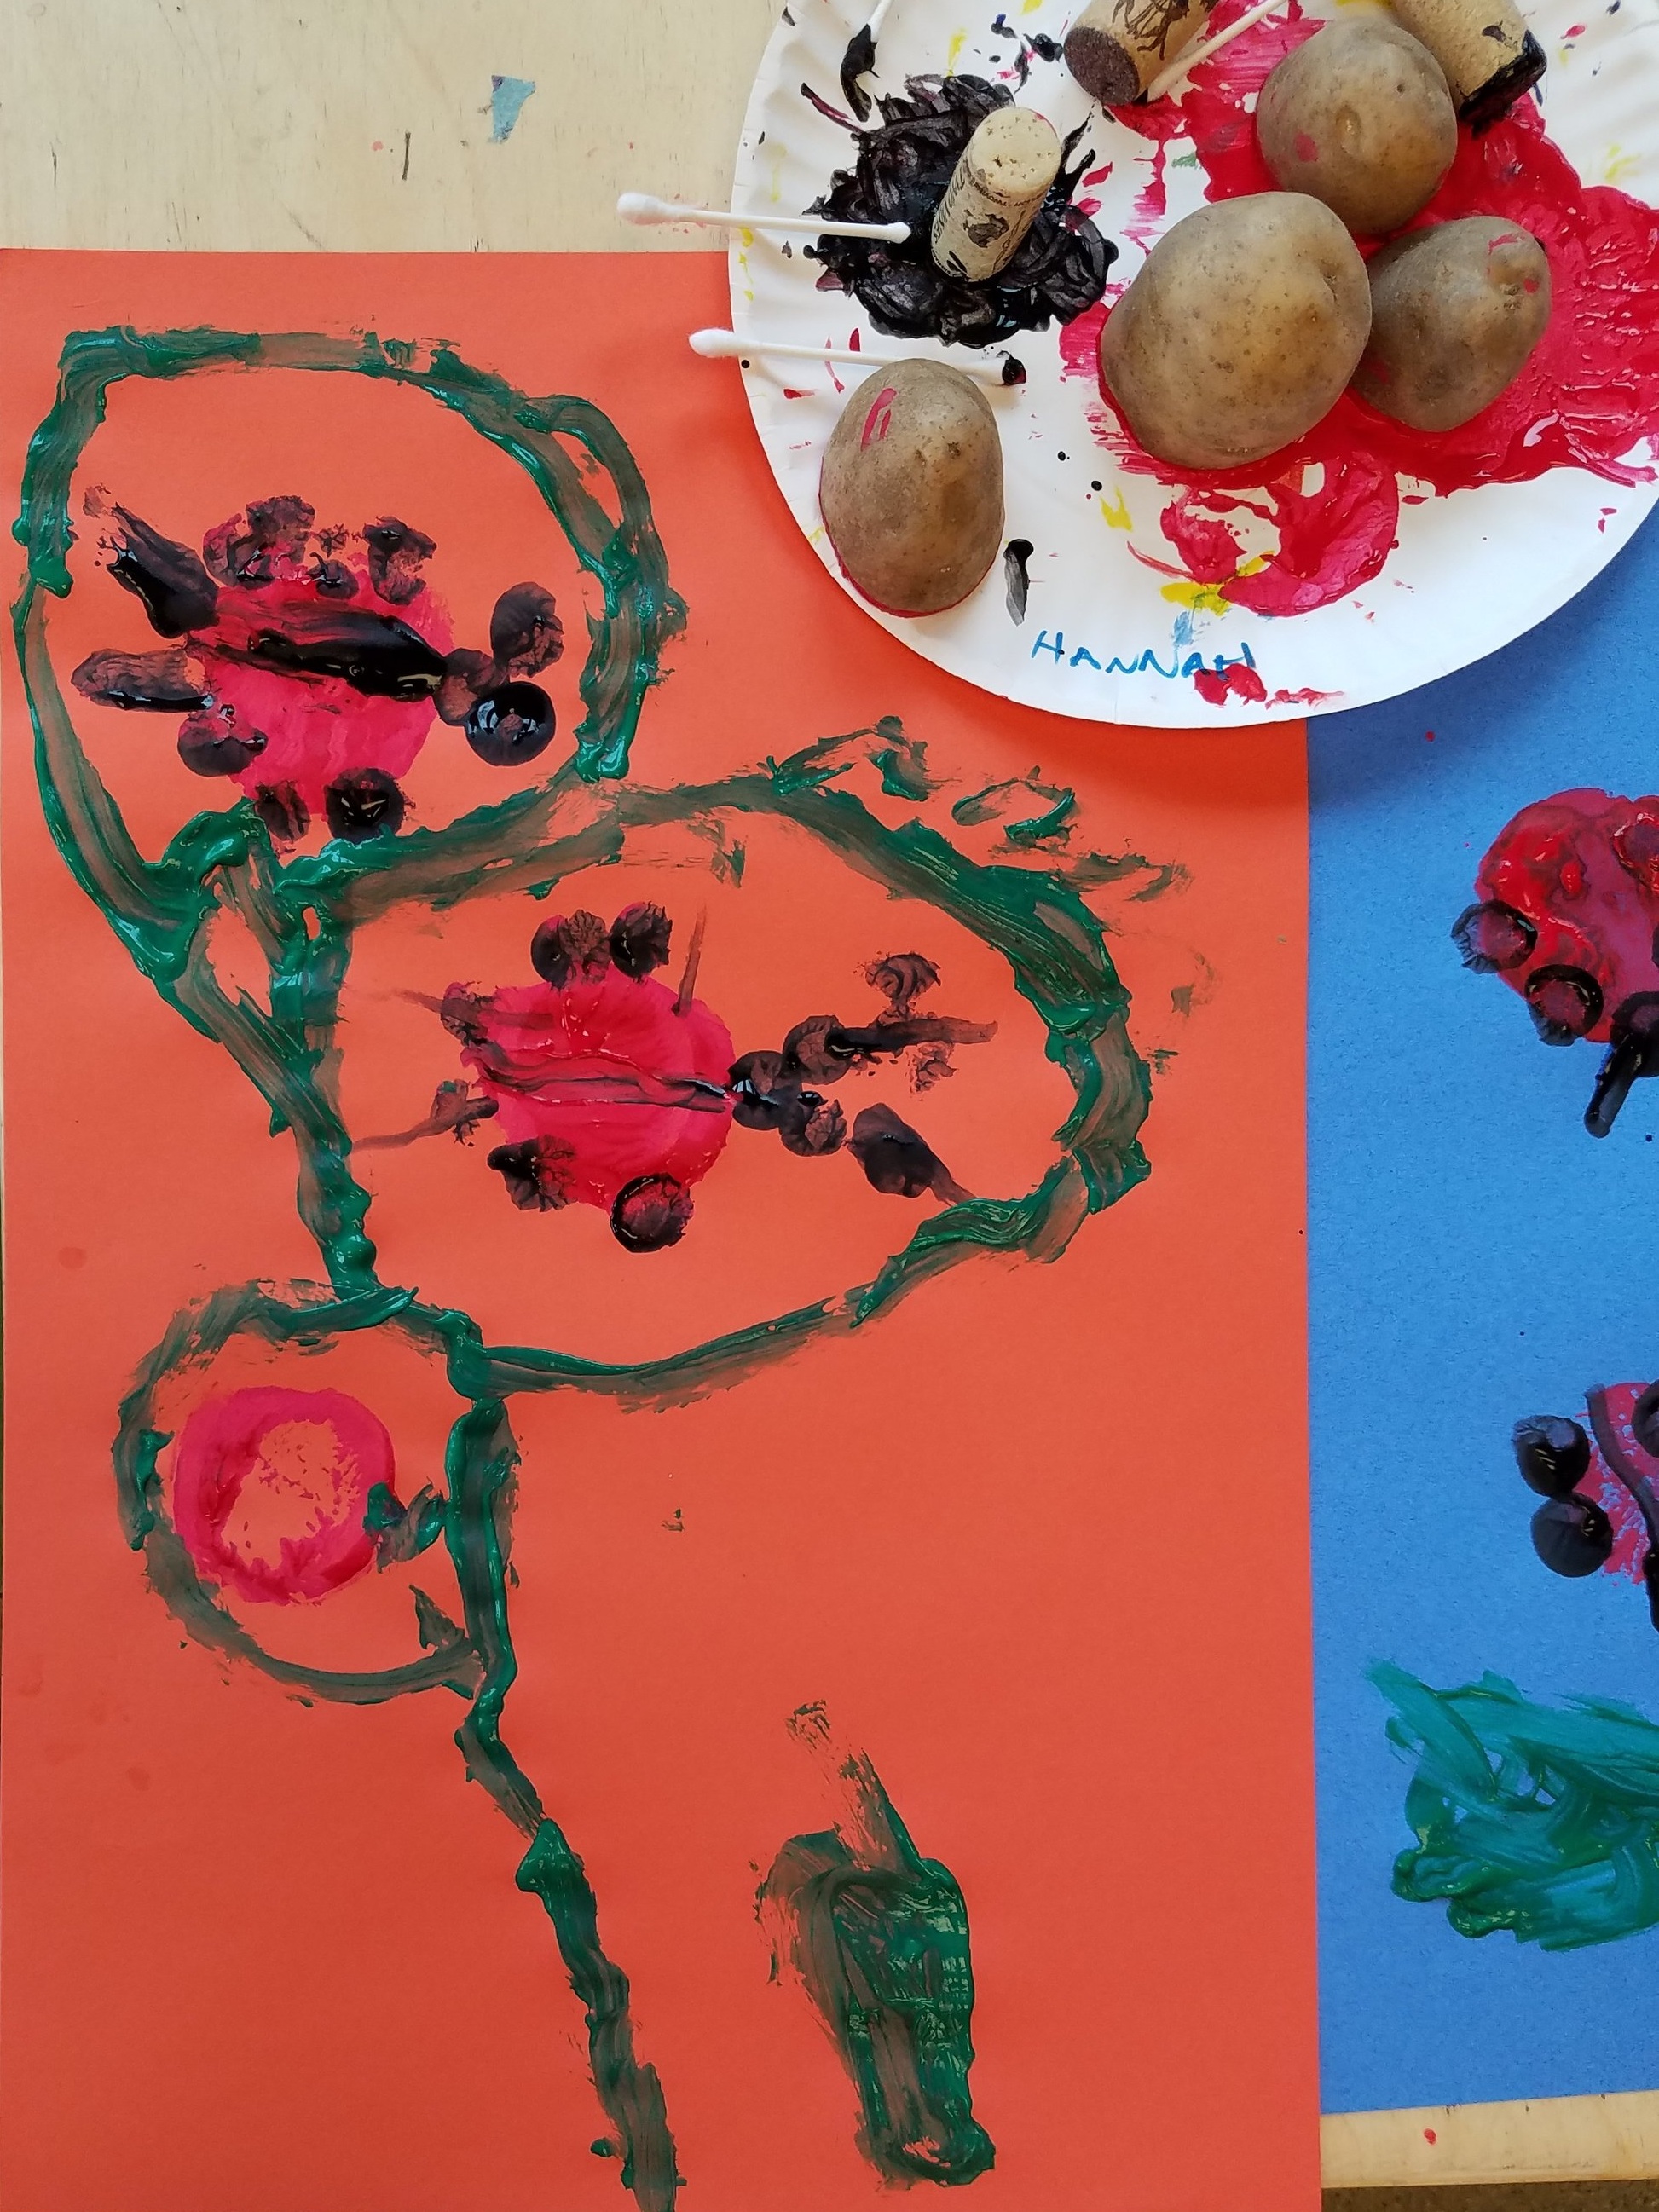
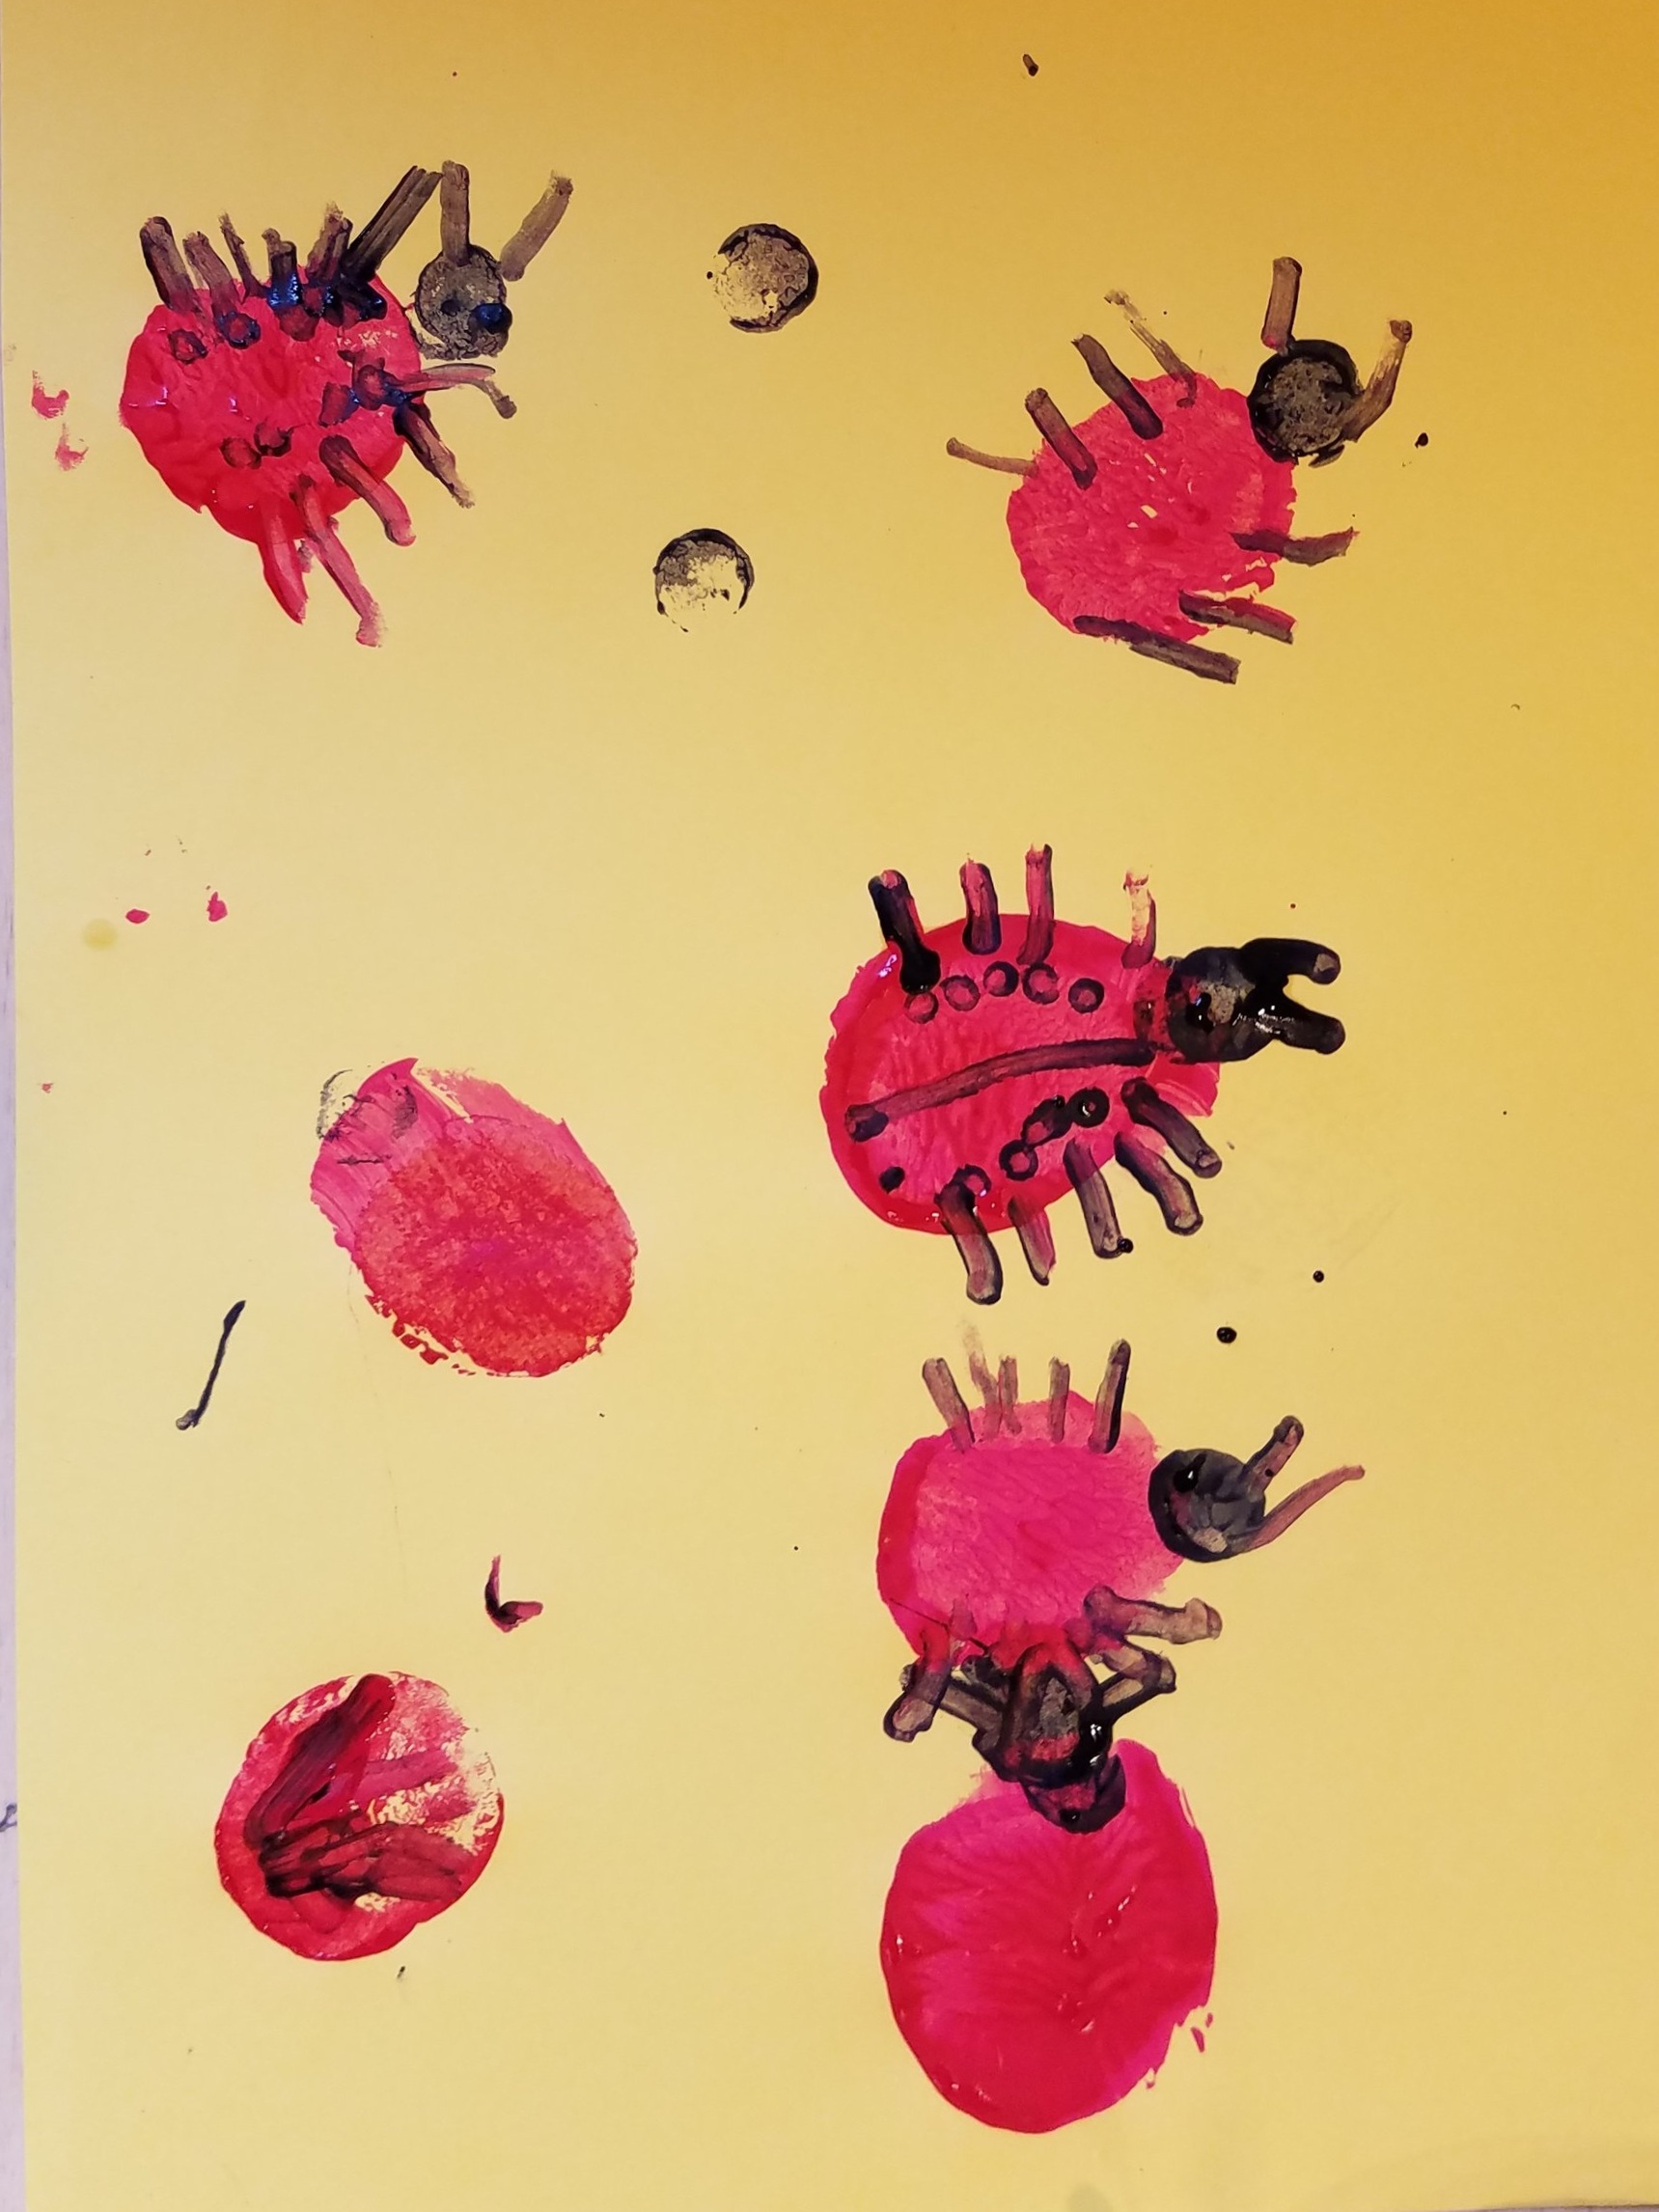
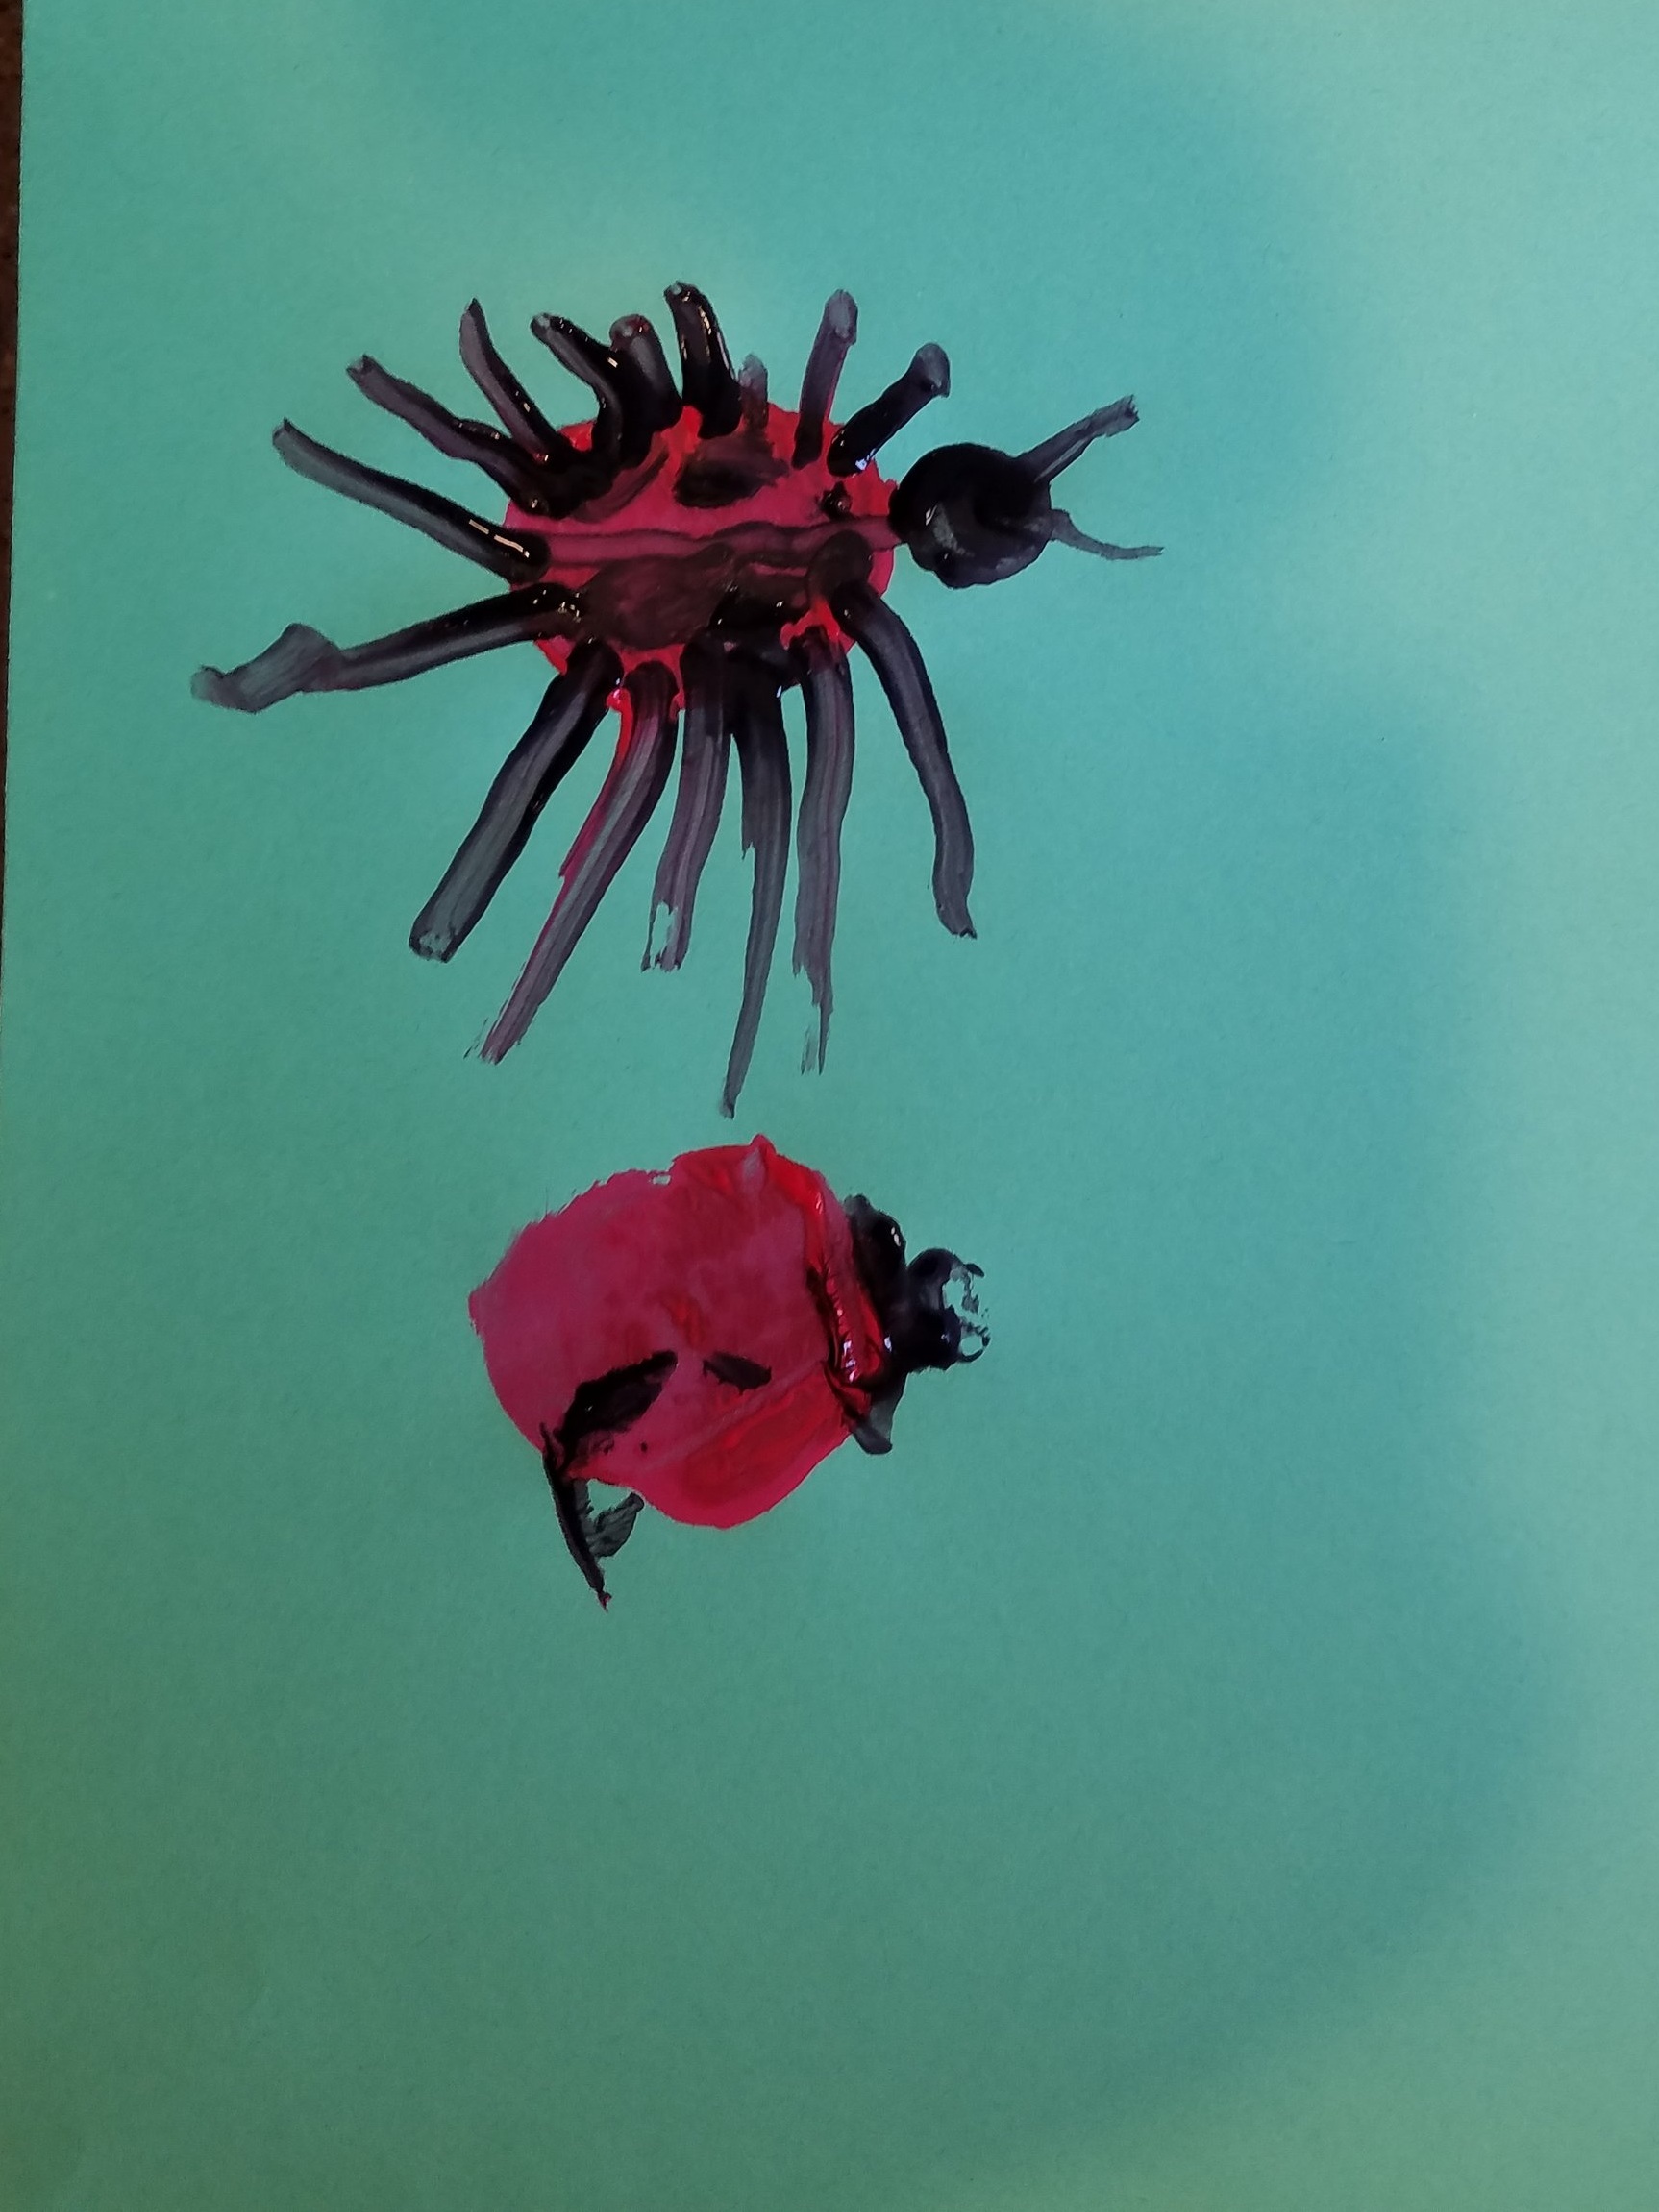
Students will use a potato to stamp a red circle for the body of their ladybug. They will decorate with a head, legs, and spots in unique an individual manner.
“BIG IDEAS”/ ESSENTIAL QUESTION(S)
What make insects different from humans?
Why are insects important to the natural wold?
What is printmaking?
STUDENT OUTCOME OBJECTIVES
Students will:
Learn about nature and the world around them through observation
Implement their new nature knowledge in a printmaking project
Express creativity through art making
PRIOR KNOWLEDGE
Students will need no prior art making knowledge. Any prior ladybug information will be taught to students previous to the art making portion of the day.
LESSON PREPARATION TIMELINE
Before April 2019 - Silverwood instructors outline lesson topics for Doodlebugs
April 2019 - MCAD TA picks which lesson to shadow and which to teach
April 16 - Choose art project
April 23 - Outline structure, decide on associated book, choose coloring page, finalize material plan and prep
April 29 - Silverwood preps materials
April 30 - Before class: prep potatoes, inks and brushes
April 30 - Teaching
EXAMPLES OF ARTWORK
Students will be shown an example of a completed project. During the lesson they will watch a short demonstration by the teaching artist.
ADDITIONAL RESOURCES
Story Time book: The Grouchy Ladybug by Eric Carle
Naturalist lesson with live ladybugs led by Seth Erlab
ASSESSMENT
The assessment is simple child centered and take place in the classroom. There is constant feedback of asking students question about what they were taught as well as invitation to share their own experiences. Students are asked if they enjoyed the art making that day, why if not, and ask about their favorite part of the experience. At the end of the day students are asked what they enjoyed most about the day. After all students have left, all teachers meet briefly to discuss how the day went and note adjustments for the next week.
MATERIALS
Small red potatoes cut in half ( sized to fit in childs hand)
Washable paint (red and black)
Markers
White construction paper - 8.5” x 11”
Towels (for wiping hands)
LEARNING ACTIVITIES AND TIMING
Explore time - children play with various puzzles, toys, games, and can do colouring sheets
Clean up - participants help put away explore time materials
Bathroom break
Circle time - topic of the day is introduced, participants are asked about their mood (answer by pointing at a ladybug drawn on the board that matching their emotion, happy, mad, sleepy, etc.)
Circle time - question of the day: where do you go to feel safe? the ‘magic finger’ will point at a participant that then introduces themselves and tells everyone where they go to feel safe
Nature lesson - participants stay on the rug as naturalist shows the live ladybugs and tells about their habitat, what they do for plants and describes the different parts of them
Ladybugs are actually beetles
Ladybugs are brightly colored to warn predators to stay away because they are toxic to some animals, not to humans.
Ladybugs eat aphids and can eat almost 5,000 in their lifetime.
Ladybugs hibernate in groups of adults over the winter
It is a myth that you can tell a ladybug’s age by counting its spots, but it is not true.
Ladybugs can fly when they lift up their wing casings
Ladybugs eat aphids and other insects
Baby ladybugs actually look like tiny alligators and are called larva
Snack time
Story time - while participants eat their snack, read a story of a related topic
Clean up from snack
Art time - participants will gather on the rug and be shown a finished example of the project. teaching artist demonstrates the printmaking technique and project step by step
tell students what the project is - ladybugs stamps made from potatoes
show finished example
show materials (paper, potatoes, paint)
first, write name on paper
take your potato half and dip it in the red paint
stamp as many lady bug bodies as you want (at least two, no more than six)
decorate with the other parts of a ladybug
head
how many legs? (ask students as it is mentioned in the nature talk, students can put as many as they like)
spots!
Children take their seats and materials will be passed out
Clean up - hands cleaned, papers left to dry
Prep to go outside - put on jackets and boots as needed
Outside time - walk, observe ladybugs, play a game
Return - head back inside, gather all belongings
If stamped bodies take too long to dry, stamp bodies, go outside, then come back in and decorate the ladybugs
TEACHING ARTIST REFLECTION
The overall program structure is great and something the participants are used to and responsive to. I’ve been in the classroom enough and playing alongside participants and helping out as needed so I don’t think it will be disruptive or jarring to have me lead a lesson. My biggest concern is, knowing this group of students, that there will be some craziness with the live ladybugs. They are an enthusiastic group and not always the best at following instructions.